
Introduction
When you buy a base model FR-S or BRZ you will discover that some under-panels are included on the car for aerodynamic purposes and protection. These panels do not compare to what is found on the Subaru BRZ Blue edition. Its panels allow for the car to maintain a complete flat underside further protecting and enhancing aerodynamics.
Tools
No tools specified.
-
-
Installing the 4 under body tray panels usually found on the Blue Series BRZ is pretty straightforward.
-
The first Thing one needs to do is raise the car. Whether you have jack stands or a lift the process is still reasonably easy.
-
Test the panels so you have an idea as to where you will be trying to install them.
-
-
-
Next, remove the existing panel that originally came with the FR-S. This is the longer panel located on the driver's under side.
-
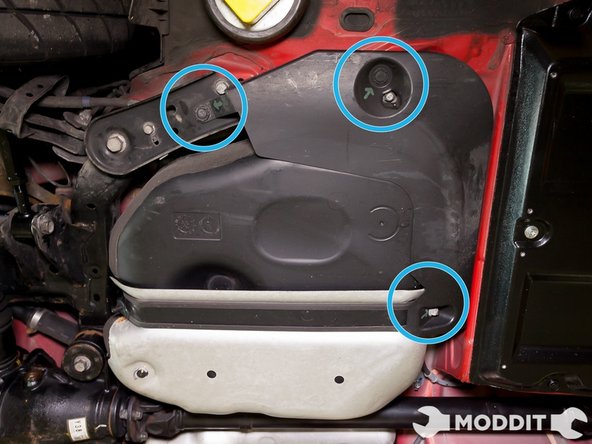
This panel can easily be taken out by removing all clips and bolts securing the panel to the car body underside. Most of them are quite visible and easy to find.
-
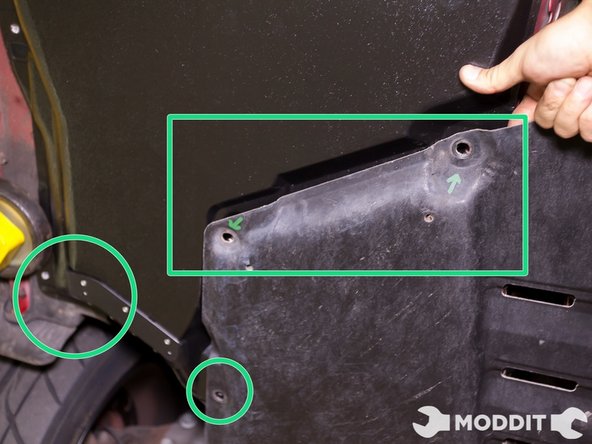
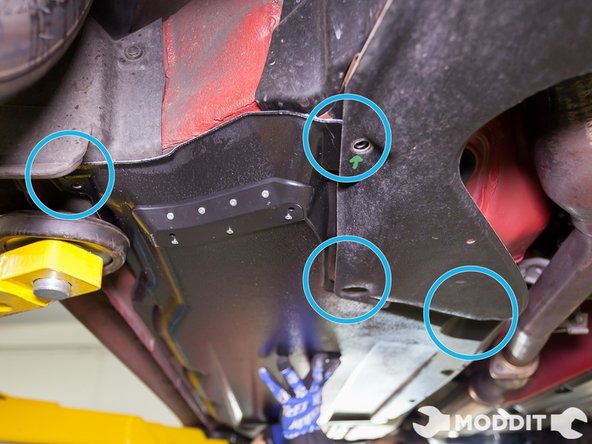
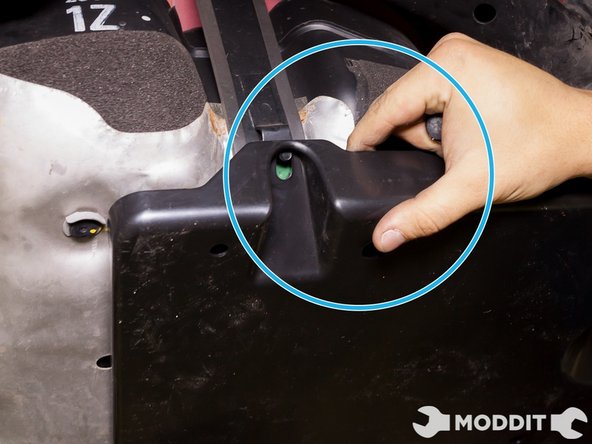
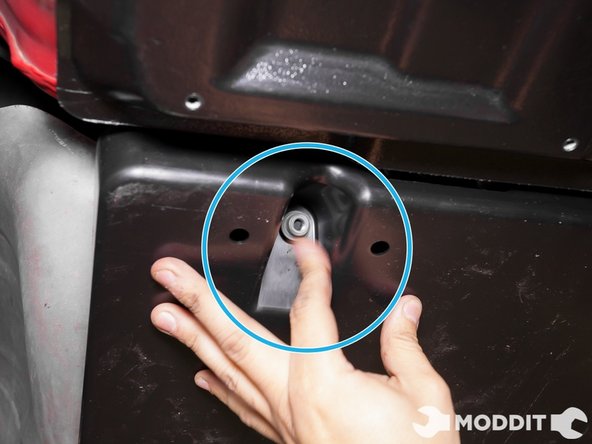
By quickly mocking up the install panels, you can also locate any bolts or clips you will have to loosen. Luckily only a few fasteners are shared by the Central/Left under body tray towards the very front of the car.
-
This bolt also helps secure the front left OEM mudguard.
-
-
-
Following the removal of all the clips and bolts on the smaller oem undertray, one can easily remove it and put it to the side.
-
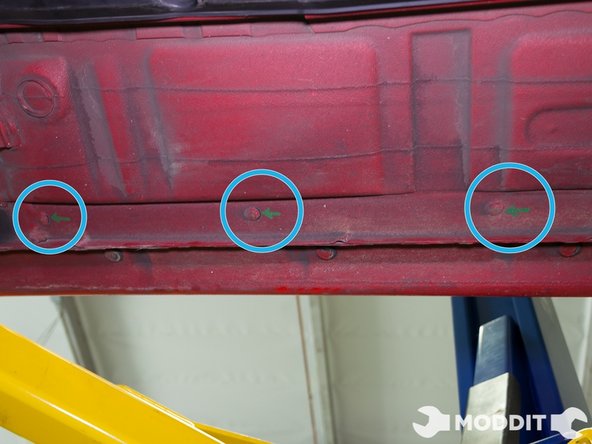
Once that piece is removed and out of the way, one needs to locate all the pre-existing mounting locations for undertrays that Subaru/Toyota have drilled into the car. We assume that they had something just like this in mind for the FR-S and BRZ cars.
-
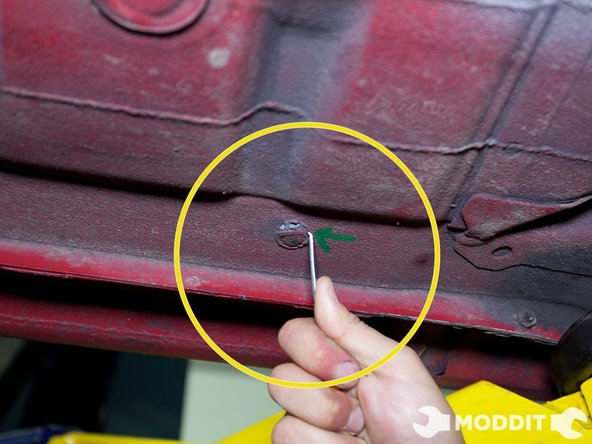
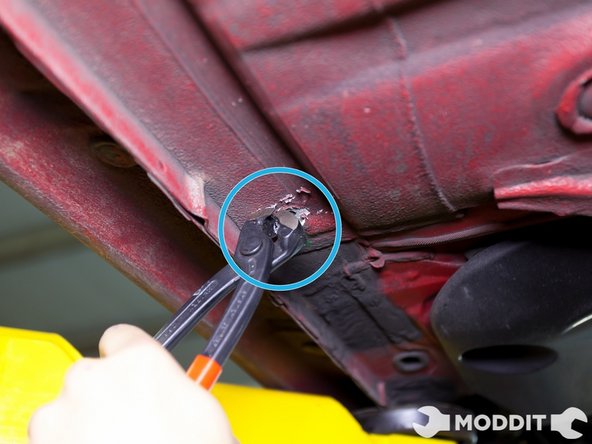
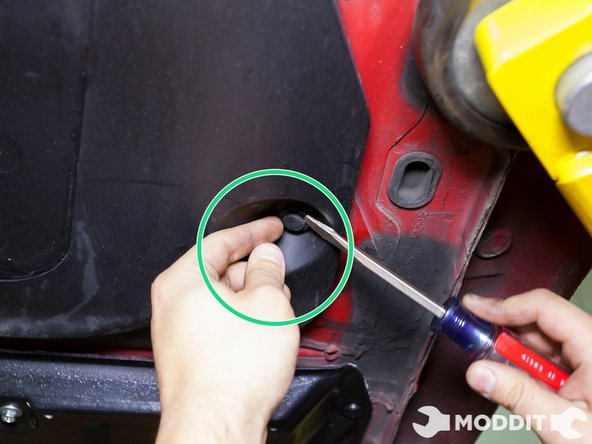
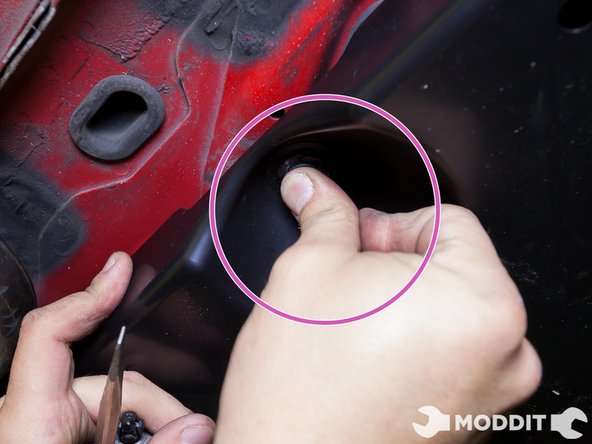
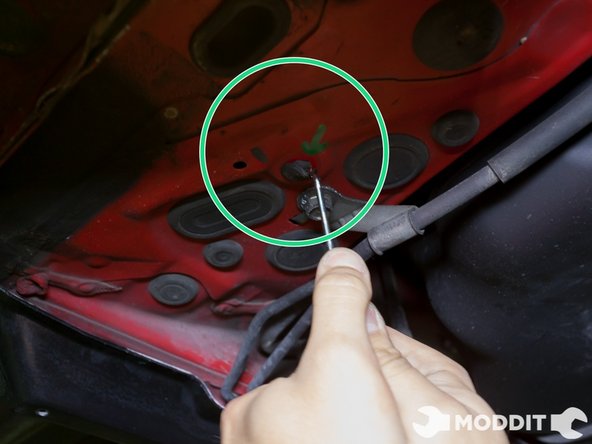
It is recommended to use a sharp, 45 degree pick to easily remove these clips. As you can see, the clips have been covered in factory sound dampening material and may be hard to lift with just your hands.
-
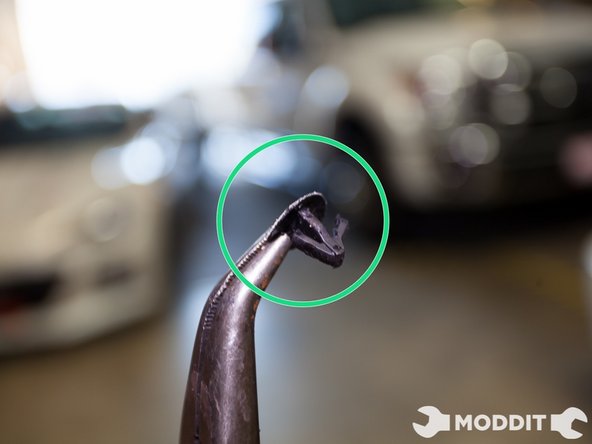
If the clips become unbearably tough to take out, feel free to use some pliers. The DIF Install parts suggested at the beginning of the install guide take into consideration that you might end up destroying these clips.
-
-
-
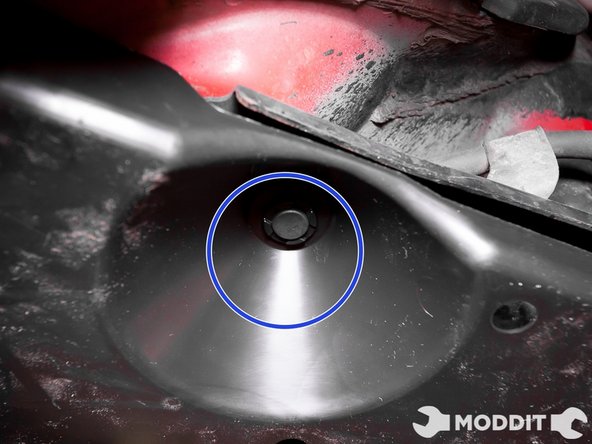
Here is a closer look at one of the clips covering the pre-drilled holes from the factory.As you can see from the design they might prove tough to take out.
-
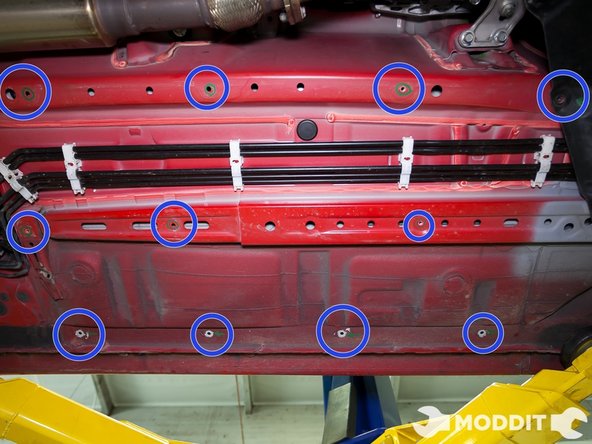
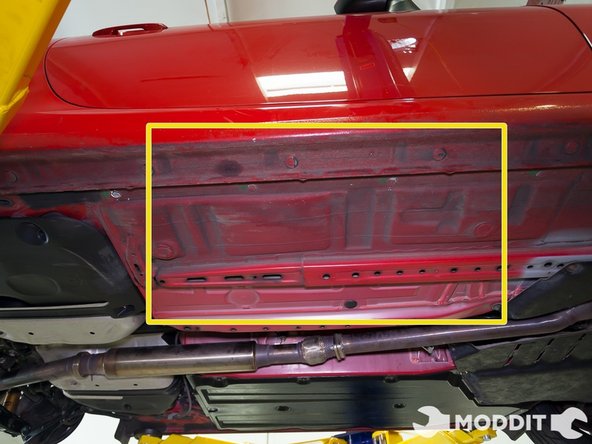
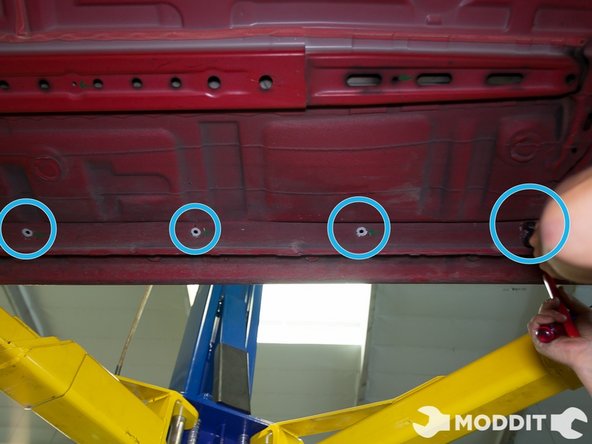
After removing all the sound dampening clips and OEM left/central under tray, this is what that area should look like. Visible here are also some of the holes we have marked for the install. Not shown are the sections closest to the front and back.
-
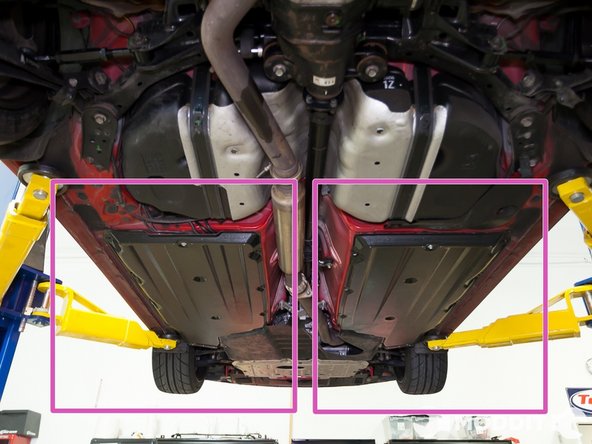
In this image we can also see just how much more coverage one will attain by using the BRZ Blue Series under body Trays.
-
-
-
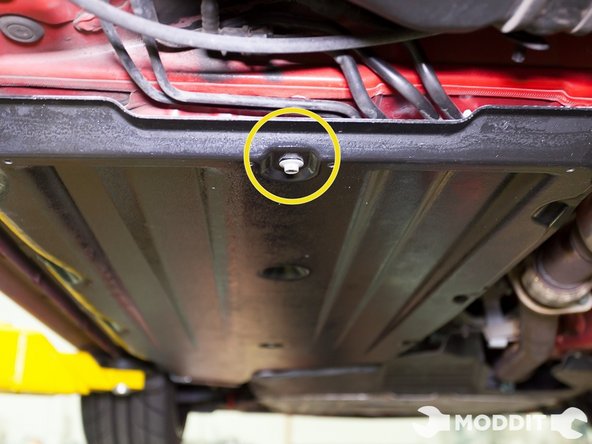
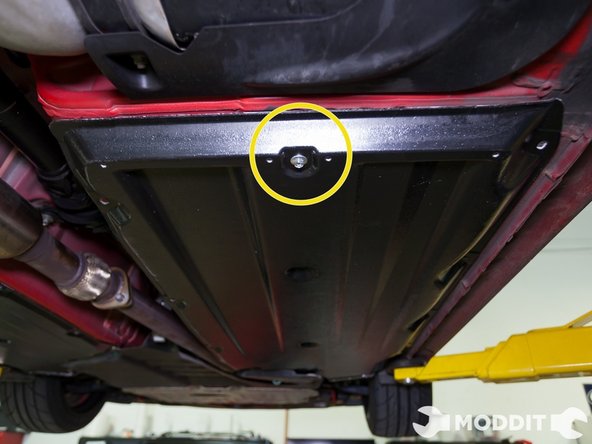
Once ready to install the Central/Left Under Body Tray and with the help of a friend to hold the piece up, the forward most section of the panel slides over the engine under tray/protector.
-
Next Secure a rear most section of the Central/Left under tray with a bolt to prevent it from falling and allowing you to fasten the rest of the clips and bolts.
-
Once all the bolts and clips are secure this is what you should be left with. Now a larger area of your Central/Left underside is protected by the OEM undertray.
-
-
-
Now to install the Central/Right section of the BRZ Blue Series under panel is a bit easier since you don't have to remove a pre-existing OEM unit.
-
The same technique applies to the Central/Right under tray as the opposite side. Locate all the dampening material clips, remove them, and be sure to use force when removing the clips.
-
-
-
When beginning to lift up the Central/Right panel for install, you can clearly see here some of the areas the front-most section overlaps.
-
Again bolt up a front section of the Central/Right Panel and also a rear one in order to keep the panel in place while the remaining fasteners go into place.
-
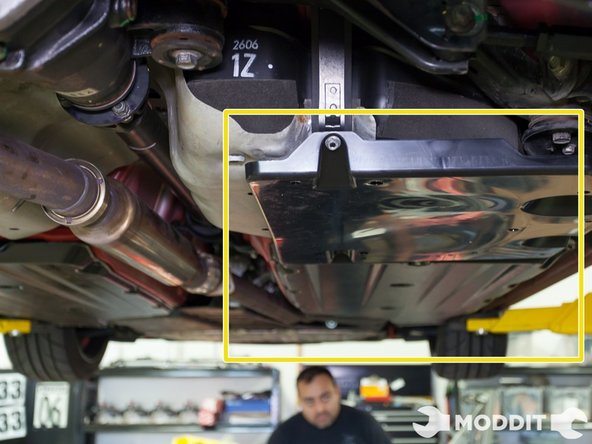
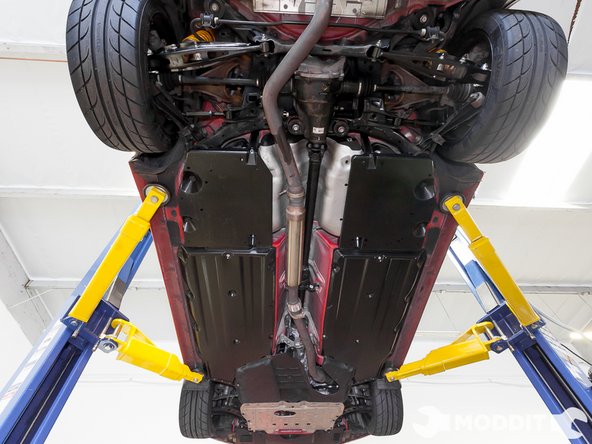
After all clips are installed and bolts tightened. This is what the complete central underbody trays attached should look like. You're half way there!
-
-
-
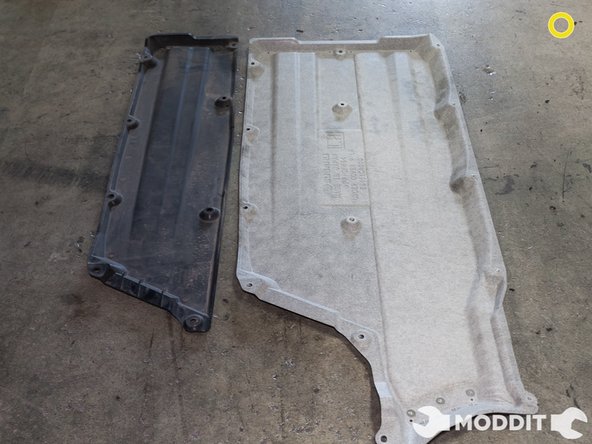
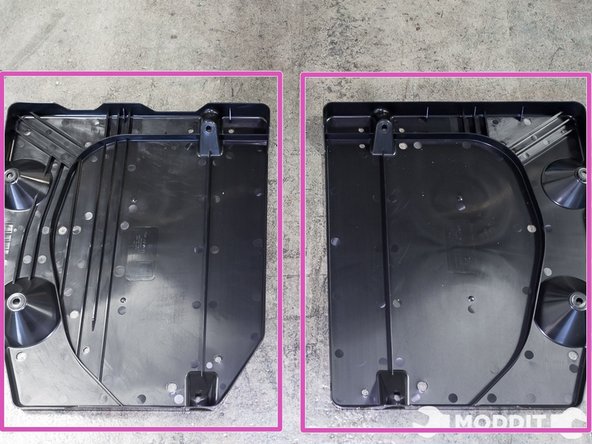
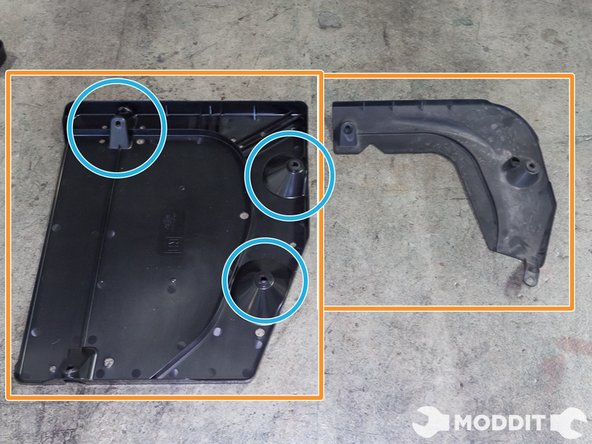
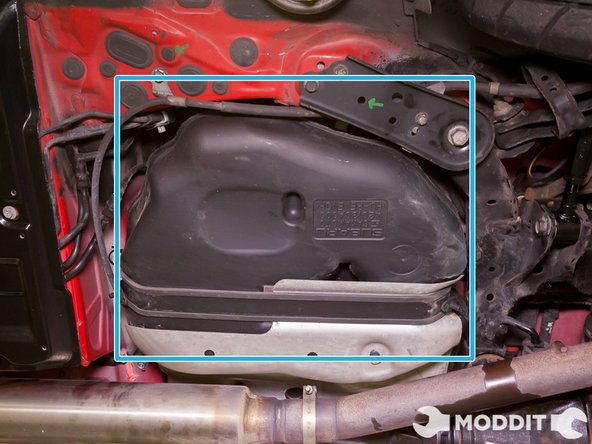
Once the two central under trays are installed move to install the two Rear/Fuel Tank under trays. Here you can see them side by side.
-
There is a stock, fuel tank under tray protector that is quite small and not nearly as protective as the ones you're looking to install. Remove it by taking out the bolts and clips and put it aside.
-
Here you can see that a flat head screw driver will also work just as well to remove the plastic clips in the underside.
-
-
-
Once out, you can compare the stock under tray protector and the new right/fuel tank undertray from the Subaru Blue series.
-
Using the similar mounting points found on the smaller stock unit you you can align the right/under panel to where it belongs
-
Continue to press and lock the remaining fasteners around the new, right-side Fuel Tank under tray.
-
-
-
Inspect to make sure everything is secure and afterwards you should have your right/fuel tank under tray cover installed.
-
Next move on to the left/fuel tank under tray area. It is recommended you quickly mock up and loosely place the new panel below this area to get an idea of where it will go.
-
You will discover that this side has some clips hidden by the factory dampening material as well. Using the same sharp 45 degree pick as before (or any pick for that matter) pry the clips from the insulating material and remove.
-
-
-
Secure a few more bolts on the new left/fuel tank under tray to get it to hold up.
-
Push in some of the final plastic pins to completely secure this panel.
-
Once this left/fuel tank under tray panel is in you will have completed installing a total flat bottom under tray on your FR-S (or BRZ).
-


Cancel: I did not complete this guide.
One other person completed this guide.

One Comment
This post has details on which bolt and which push-in clip to use.