
Introduction
As an enthusiast, the replacement of the OEM US Front grill to the JDM Spec front grill is usually the beginning of a never ending cycle of parts that is installed and removed on the vehicle.
Tools
Parts
No parts specified.
-
-
The first step is to lift up the front end of the car with a jack and jack stands.
-
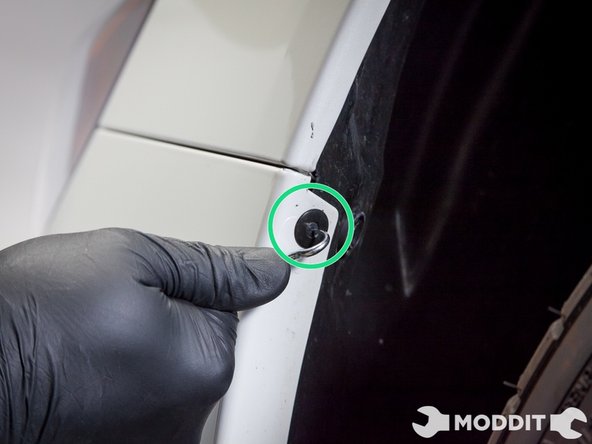
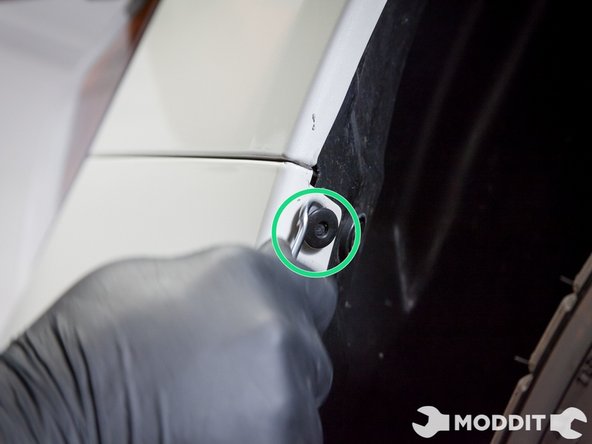
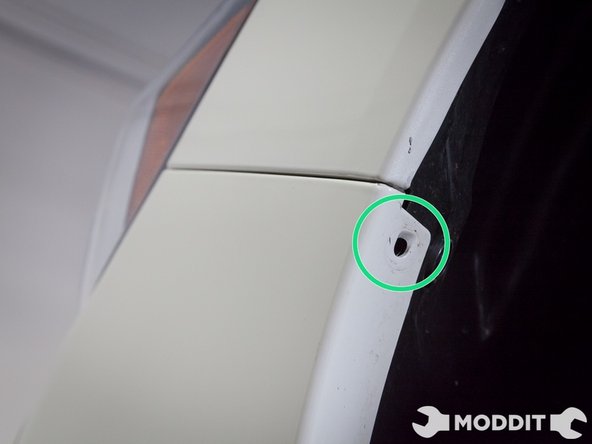
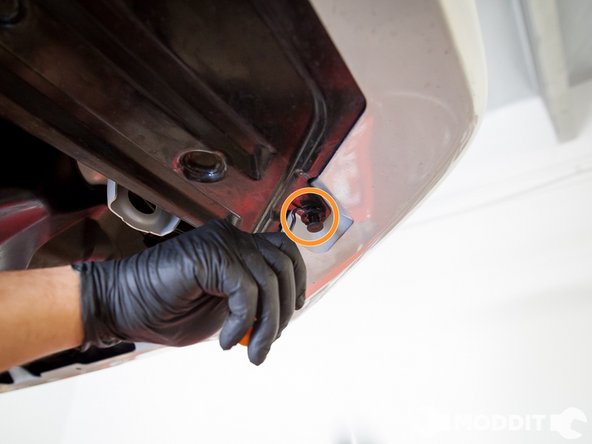
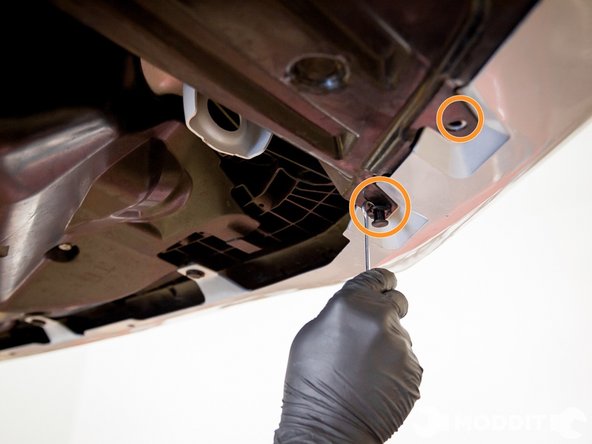
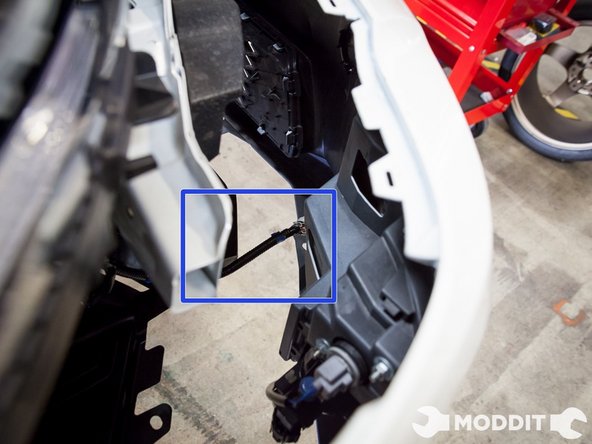
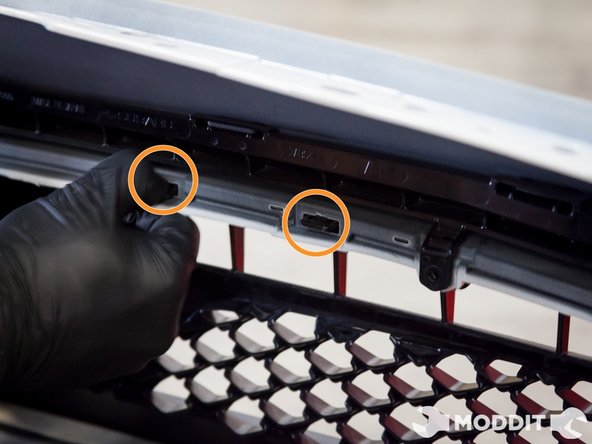
After the car is in the air, pop the hood and locate the top clips that need to be removed.
-
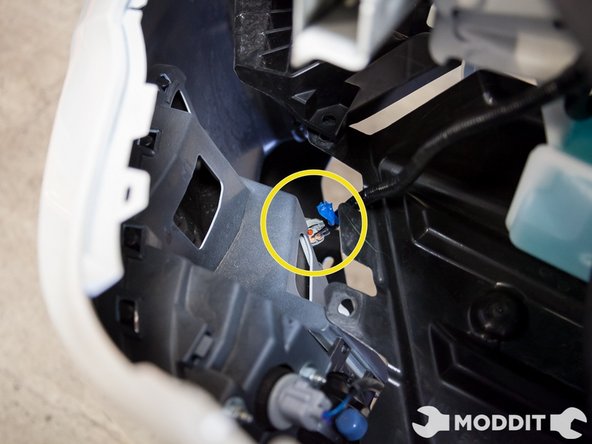
The clips circled will be the initial clips that will need to be removed with the flat head or small pick.
-
-
-
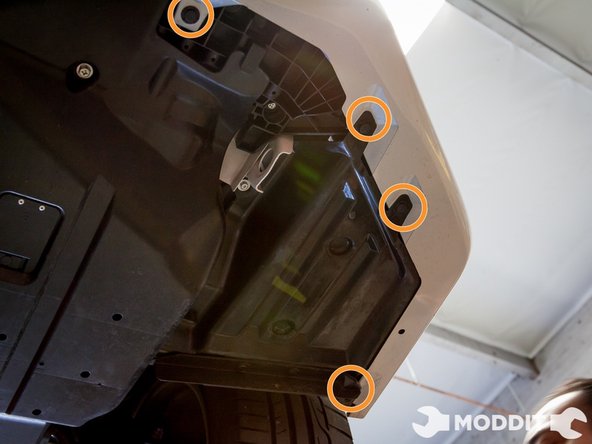
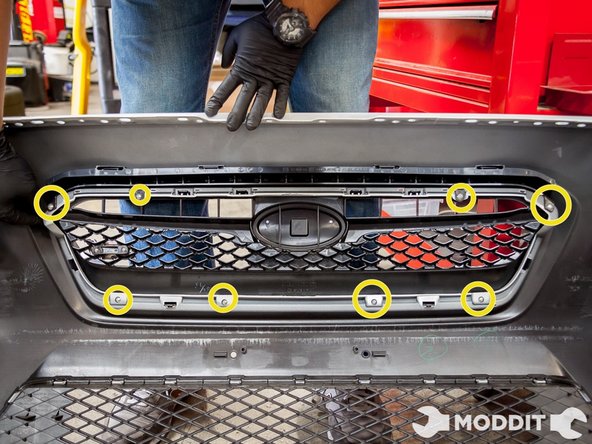
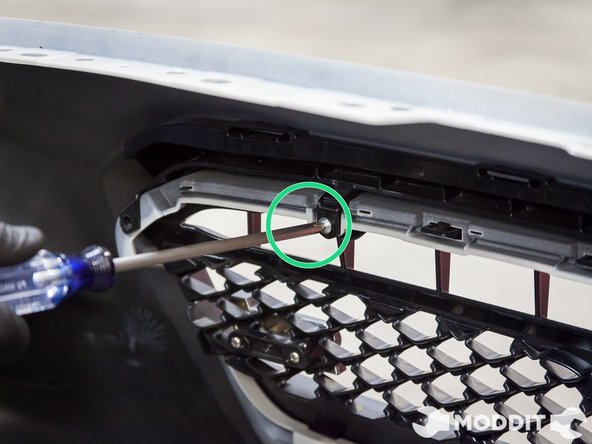
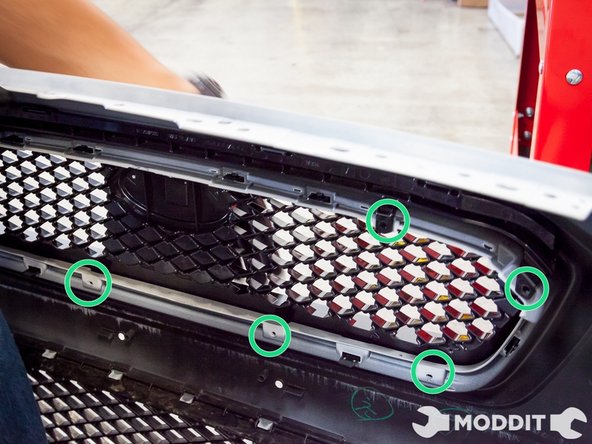
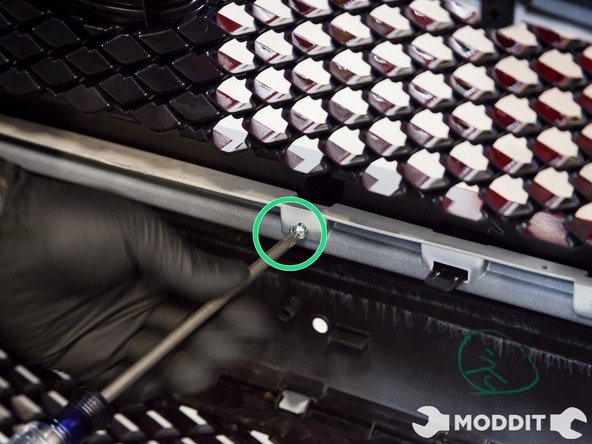
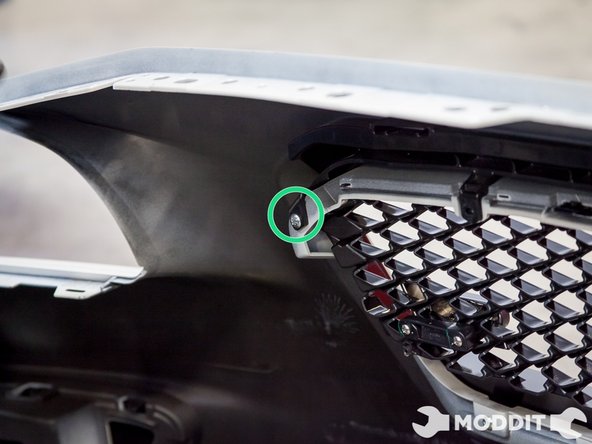
After the front bumper removal, locate the 8 Phillips head screws on the back of the grille.
-
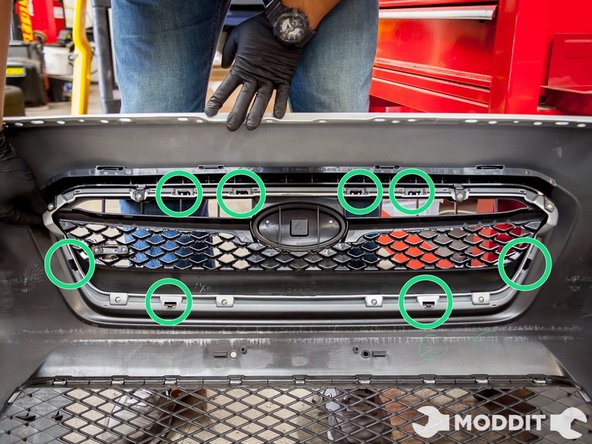
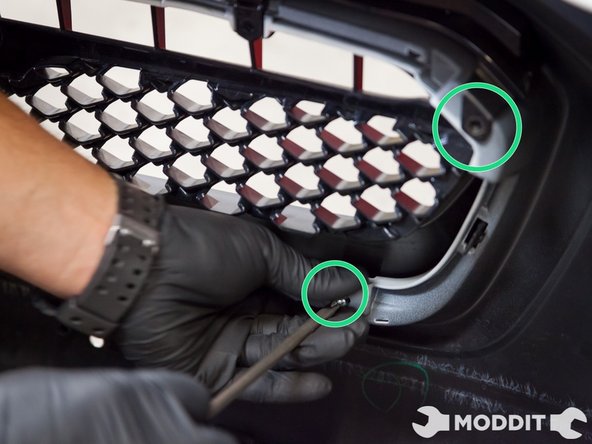
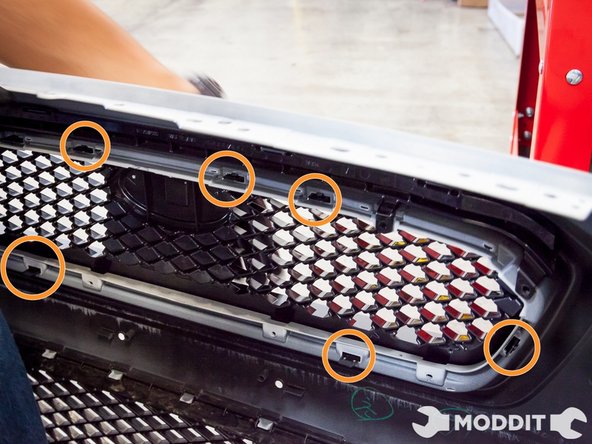
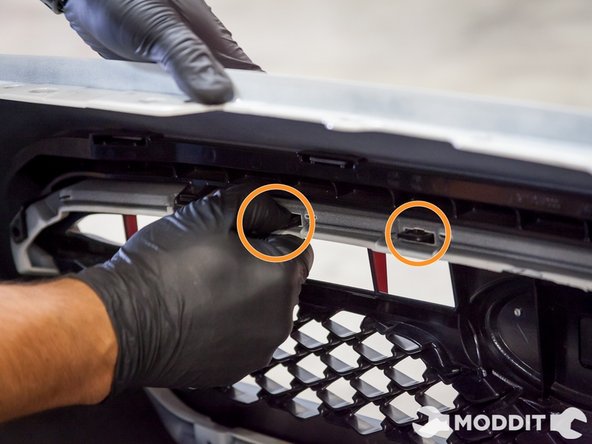
Then locate the 8 push tabs that clips the grill on the bumper.
-


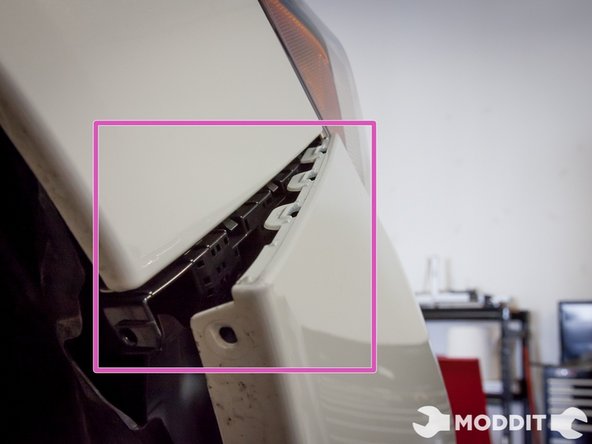


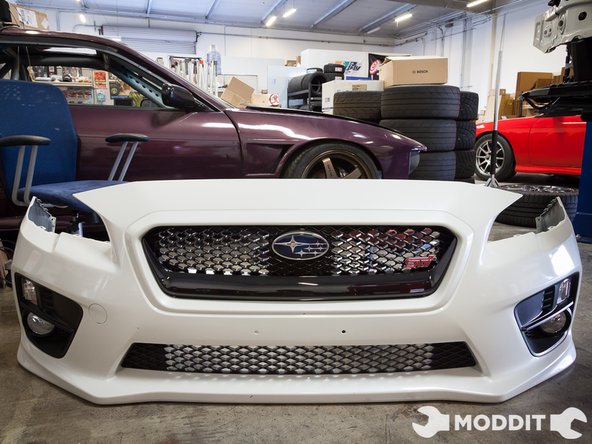
The JDM Spec front grille matches the lower grill on the bumper. Resulting in a cleaner and a more uniform look.
The JDM Spec front grille matches the lower grill on the bumper. Resulting in a cleaner and a more uniform look.
