Difficulty
Moderate
Steps
19
Time Required
02:00:00

User-Contributed Guide
This guide is not managed by the site's staff.
Quiz
0
Parts
No parts specified.
-
-
Installing in the seats, make sure to have the proper tools. You will need an E10 Torx socket.
-
If you do not have that socket, do not attempt to remove the seats.
-
FRSport does not recommend using the impact tool while removing the seat.
-
Make sure to disconnect the battery.
-
-
-
With the rear hardware removed, return the to the front bolts and remove them.
-
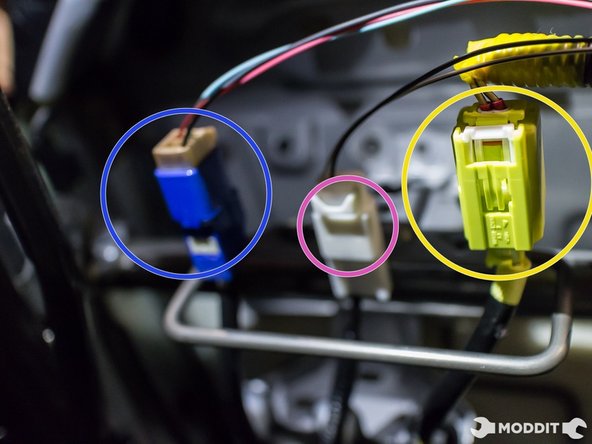
Tilt seat to expose the three connectors hidden under a small flap of carpet.
-
The blue plug can be released by pressing the release tab at the top.
-
On the white plug, the release tab is located at the bottom.
-
The yellow plug must have the white release tab pushed inward towards the rear of the seat.
-
-
-
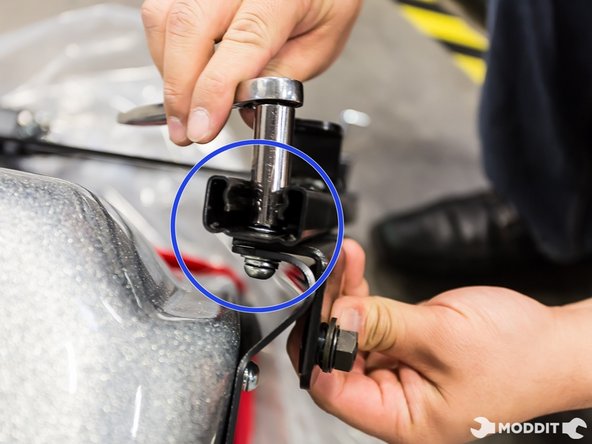
Remove the right head plastic cover nearest the seatbelt buckle.
-
With the 14mm wrench or ratchet, remove the factory seatbelt buckle.
-
Carefully remove the buckle.
-
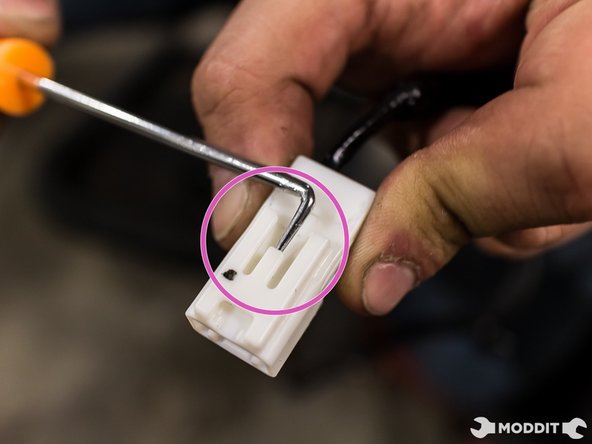
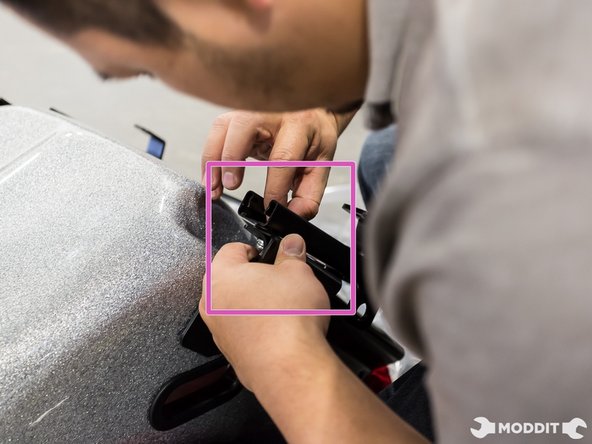
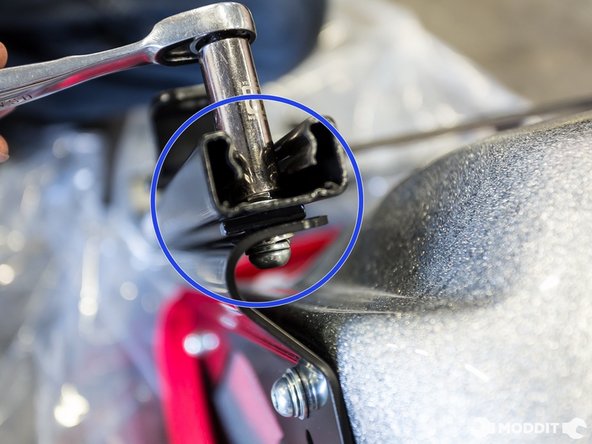
For the final clip, you will need a 90 degree hook or a very small flat head to lift the tip of the white clip to slide it forward and out.
-
-
-
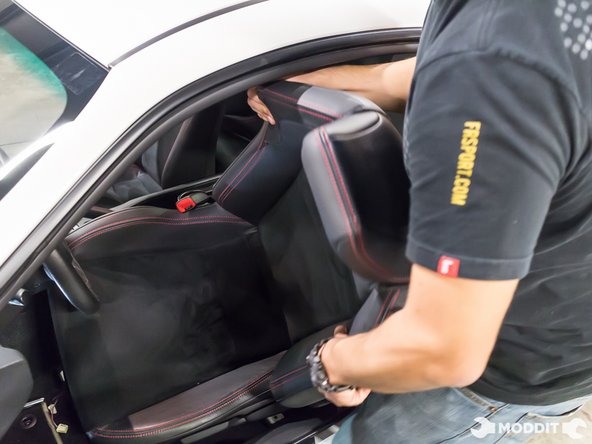
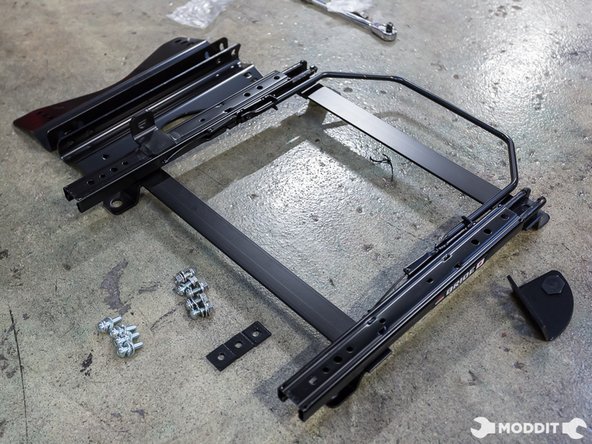
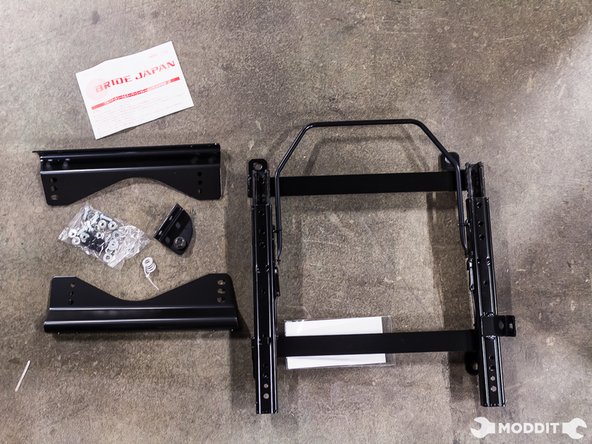
After the removal of the stock seats, youre now ready for the bucket seat install.
-
Gather up all the parts that came in the box and arrange them to make it easier during the install.
-
-
-
After bolting on the seat belt buckle, you can now move on to the seat.
-
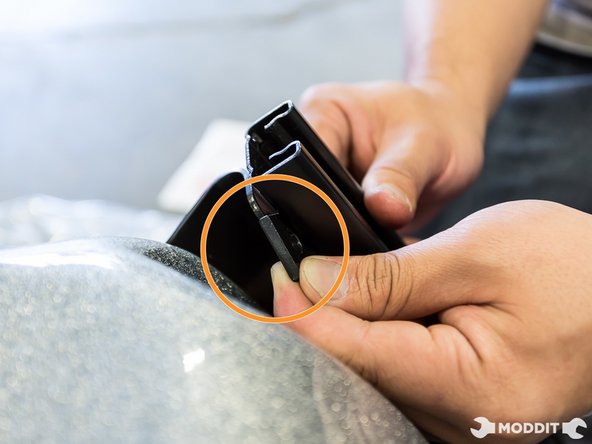
Bolt the side mounts on to the seat first. This prevents the seats from being stretched and damaged if the side mounts were too far apart being bolted into the rail first.
-
Since this is a non recline able seat, position the seat on the side mounts to the preferred seating position.
-
-
-
Once both side mounts are tight on the seat, it is now time to bolt the side mounts to the seat bracket.
-
A 2nd pair of hands might be useful for this as to make sure that the rail is lined up properly on the holes of the side mount.
-
Line up the holes and loosely push the bolts through and thread the nut on.
-
When using the Bride FO Seat Rail / Slider, the provided spacers need to be used to keep the seats level. Do not forget those spacers.
-
-
-
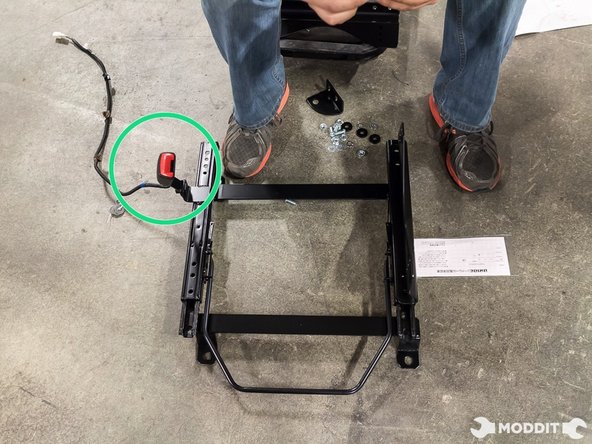
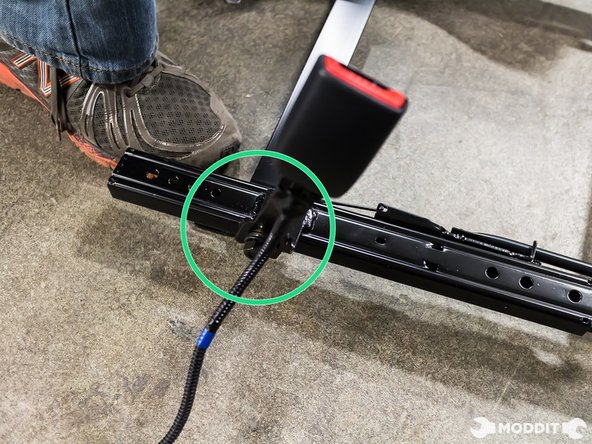
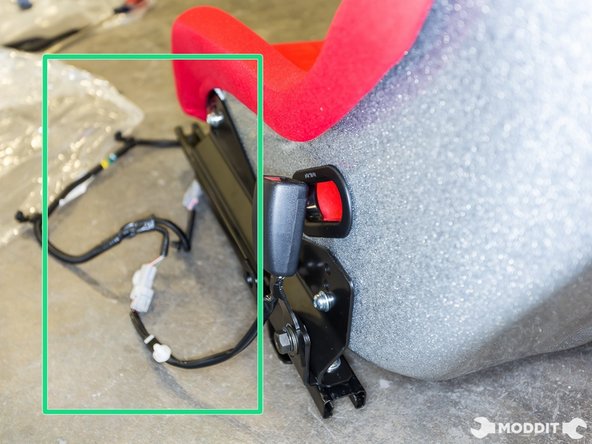
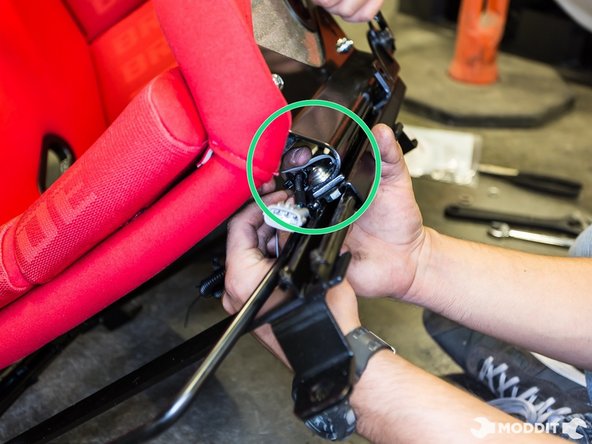
Depending on the side of the the seat, the seat belt wires may be really long or really short.
-
A good way to keep them from being pinched and keeping the install clean would be to wrap the wires through the brackets and sliders.
-
We used zip ties to tie them down into the bracket for that clean look.
-
-
-
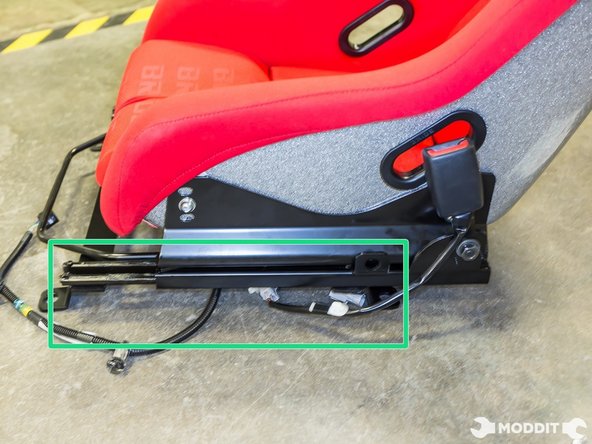
Give the all the bolts on the seat and rail a once over to make sure they're all tight.
-
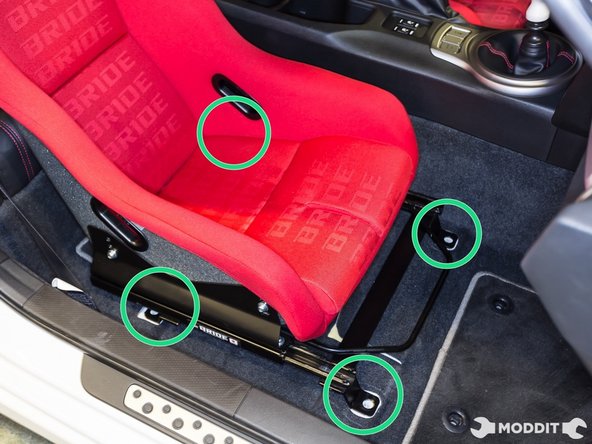
it is now time to bolt the seat into the car. We did both sides of the car so a matching pair of bucket seats will be shown.
-
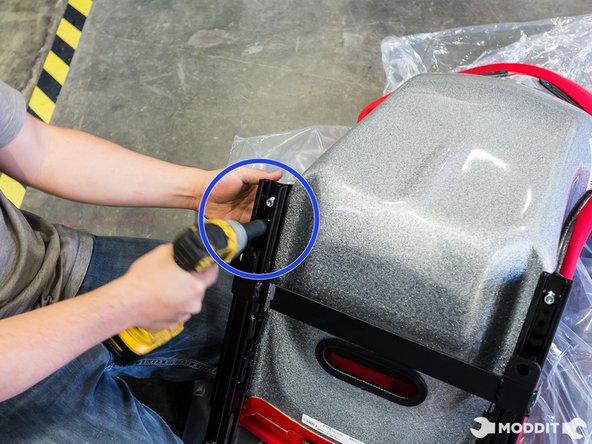
Line up the seat bracket to the holes of the chassis and use the stock bolts to bolt the new seats back in.
-
-
-
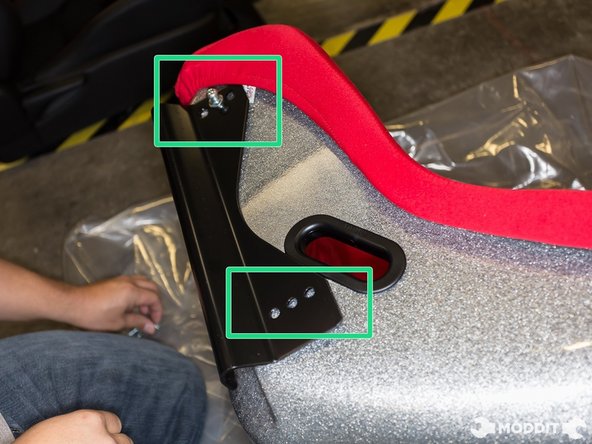
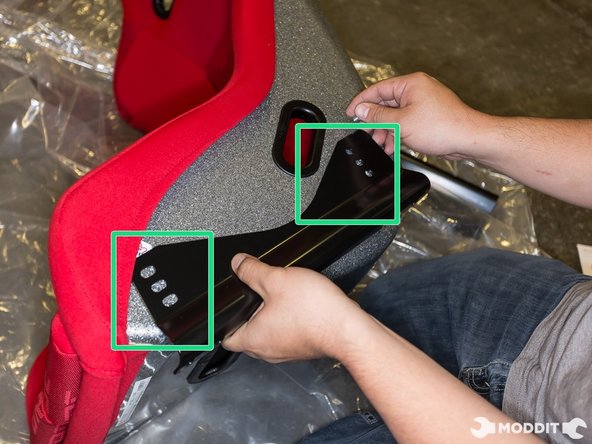
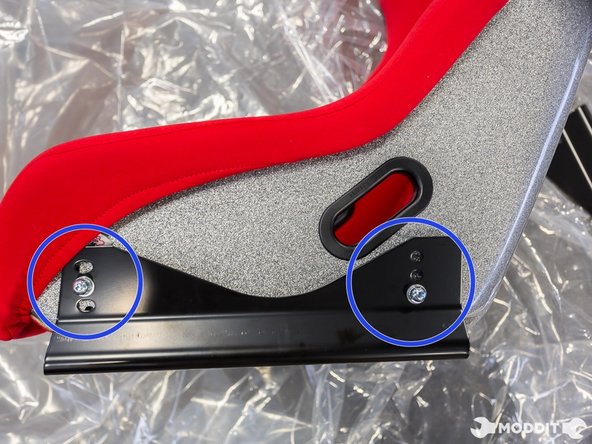
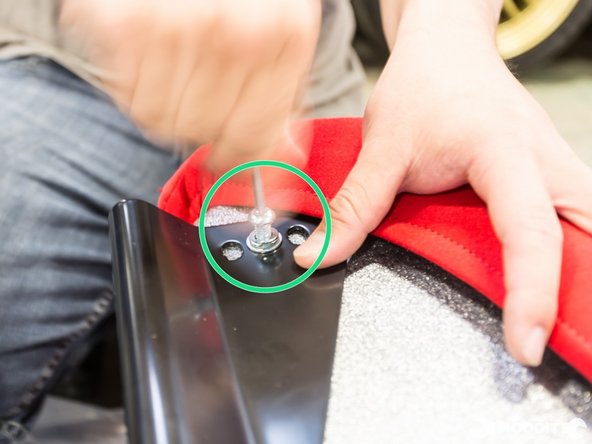
Begin by assembling the seat bracket purchased separately. An aftermarket seat will not fit in OEM seat rails/brackets. Install may vary between manufacturers (Sparco, Bride, PCI, etc.)
-
-
-
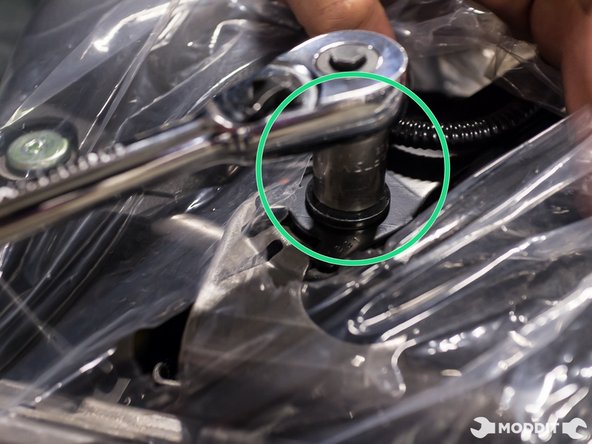
Slide the OEM seat back and loosen the two front bolts using an E10 Torx socket.
-
Slide the OEM seat forwards and loosen the two rear bolts using the same Torx socket.
-
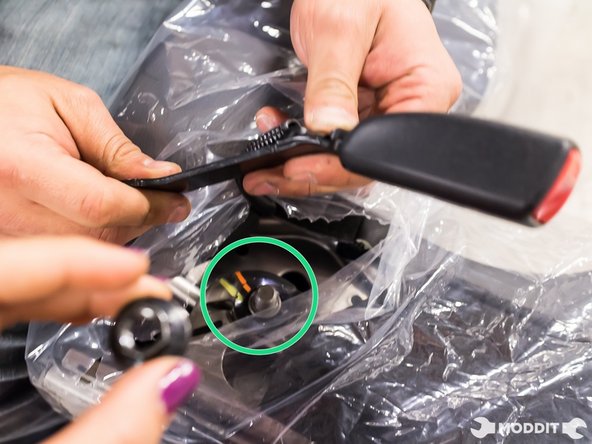
Slide the OEM seat back and take out the two front bolts to access the plugs under the seat.
-
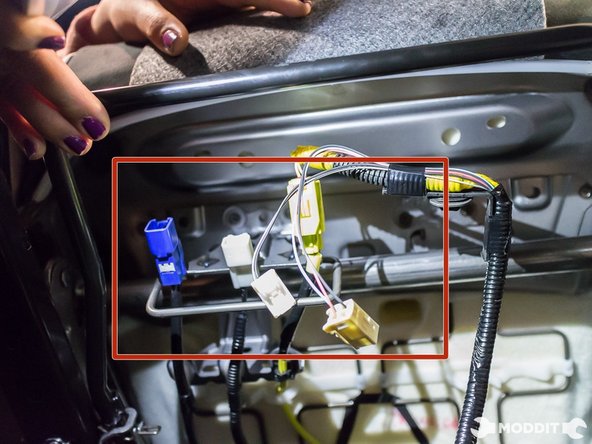
Disconnect the the blue plug by pressing the top release tab.
-
Release the yellow tab by pushing the release tab inwards.
-
Disconnect the white plug by pressing the release tab at the bottom.
-
Remove the two rear torx bolts and remove the OEM seat from the car.
-
-
-
Put the aftermarket seat and bracket in place of the OEM seat. Hand tighten the two (2) front and two (2) rear bolts in place of the Torx bolts.
-
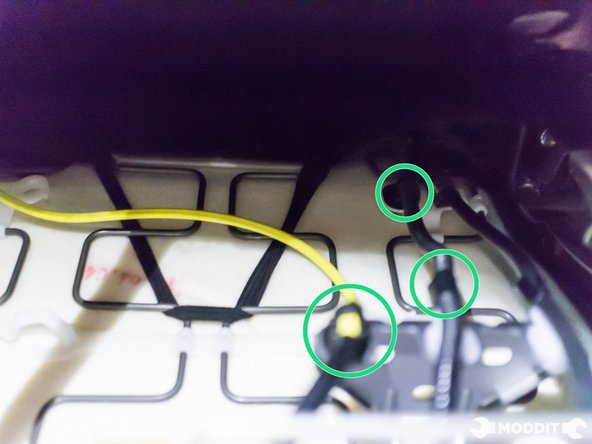
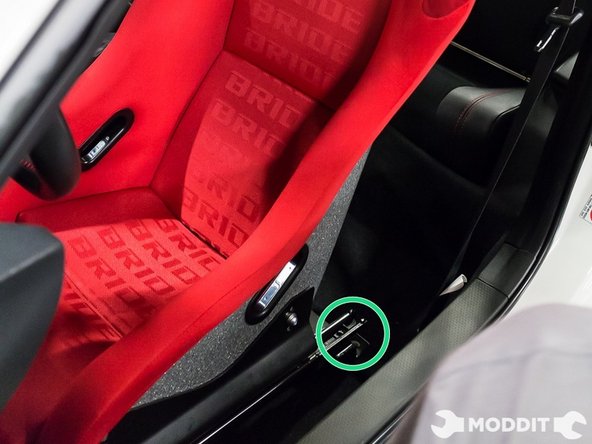
Reconnect the seatbelt and seatbelt wiring under the seat.
-
A resistor can be purchased for the disconnected airbag wire. This will prevent the airbag light from appearing lit up on the dash.
-
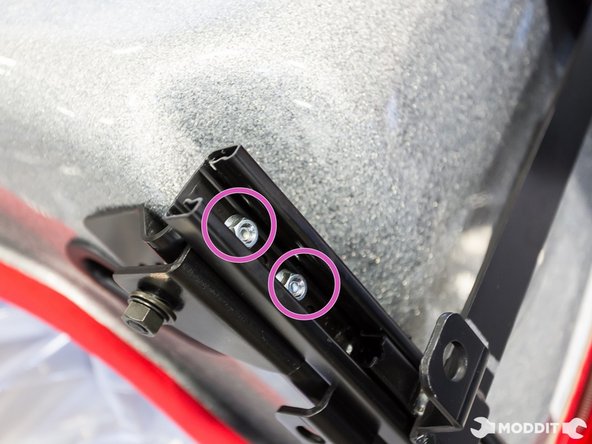
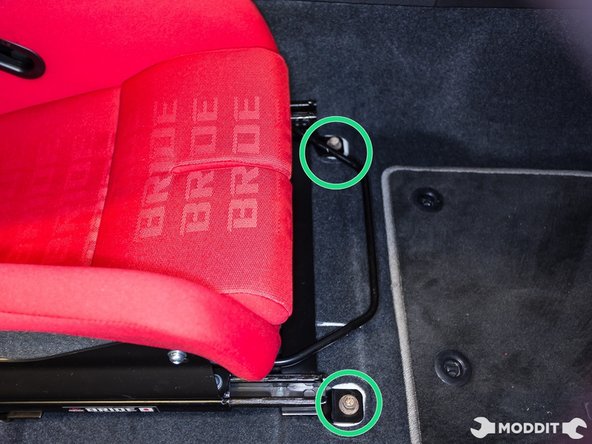
Tighten all bolts that connect the seat bracket to the floor.
-
Make sure that all seat bracket and seat bolts are tightened and the seat is correctly adjusted.
-