
Difficulty
Easy
Steps
7
Time Required
00:30:00 - 00:45:00

User-Contributed Guide
This guide is not managed by the site's staff.
Introduction
Since we compete in AutoX with our BRZ, we wanted more camber adjustment option in the rear wheels for our car. These SPC rear lower control arms, give us just that. These arms give us the camber we need or less camber that we need. This part is definitely a must after lowering the car.
-
-
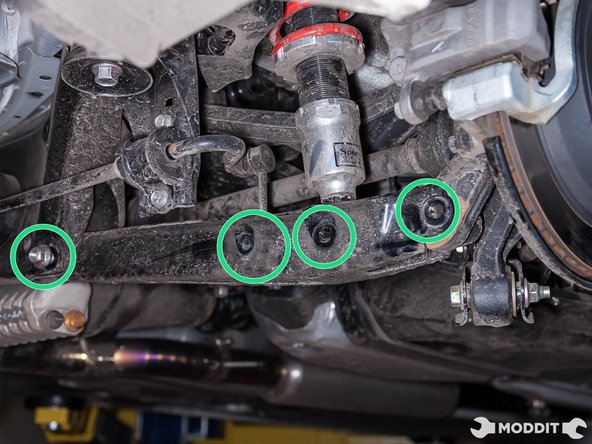
The BRZ Platform has camber adjustability done through the rear lower control arm. With the SPC rear lower control arms, more camber can be obtained.
-
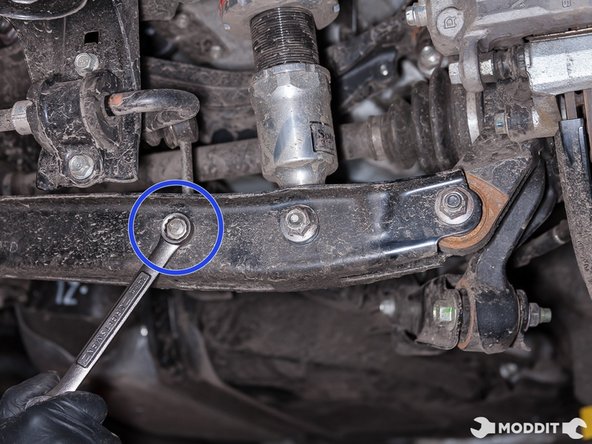
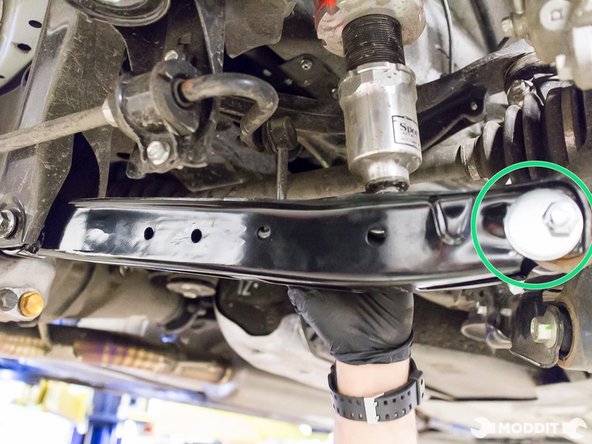
Begin by removing the wheels and tires on both sides of the car after it has been lifted into the air.
-
-
-
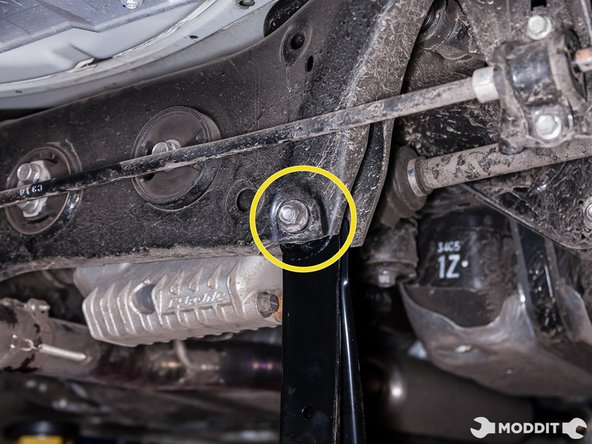
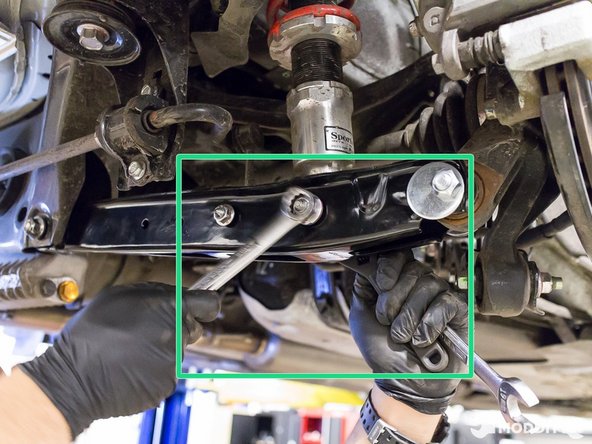
Repeat process for opposite side.
-
The SPC includes an eccentric bushing for your toe arm to give you more adjustability out of your factory toe rod.
-
For this write-up, we will not be installing it, as we will be installing an adjustable arm in the future.
-
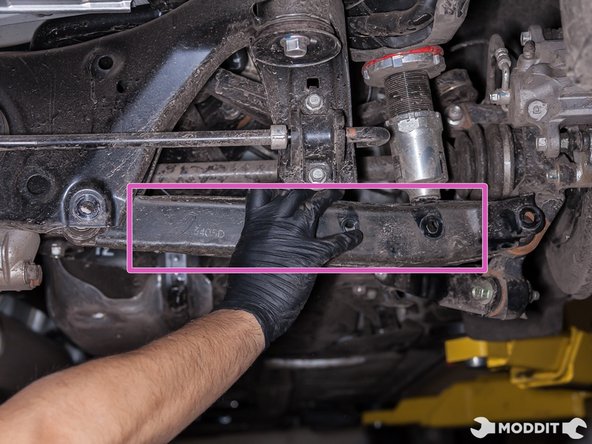
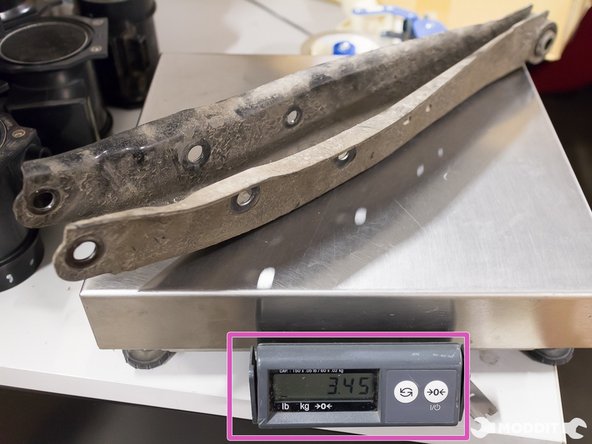
Although the arm is slightly heavier than the stock arm, it is definitely more rigid and the extra camber adjustments makes up for a small weight addition.
-


The install of the rear lower control arms will definitely change the rear alignment. It is now time to get an alignment and get that rear end straightened out.
The install of the rear lower control arms will definitely change the rear alignment. It is now time to get an alignment and get that rear end straightened out.
Cancel: I did not complete this guide.
One other person completed this guide.
