
Introduction
A quick and simple how to on how to remove the shock and spring assembly from a stock Subaru BRZ or Scion FRS. Always be safe when working on a vehicle and be aware of your surroundings.
Tools
Parts
No parts specified.
-
-
The first thing to do before installing anything is to get your tools, coils, and vehicle ready. Start by removing the trunk interior before anything. This way you are clean of interior panels.
-
Remove the trunk liner first. It’s interesting to note that on the Subaru BRZ this super heavy duty liner is included. Well at least on the limited version we found this to be true.
-
New line.Use a pick or flat-head screwdriver to pry up the retaining clips on 3 separate interior panels in the trunk. Remove the center rear panel first to make taking the side panels out easier; there were a total of 4 clips on the rear there.
-
Be very careful not to break any clips because the moment you pull the wrong way these clips can break off.
-
-
-
On the BRZ, there are also 6 retaining clips per side panel, so a total of 12. On an FR-S we have read that there are only 4 clips so its an interesting difference. After each clip is pried up, the clips should be removable by hand.
-
The BRZ also has a Remote Trunk Release Cancel Button plug to disconnect on the driver side interior panel. After we had pulled the driver side interior cabin panel off we noticed we couldn’t completely remove it out of the way because we had to disconnect this small gadget.
-
A very useful button indeed in case someone hijacks you and throws you into the trunk haha.
-
-
-
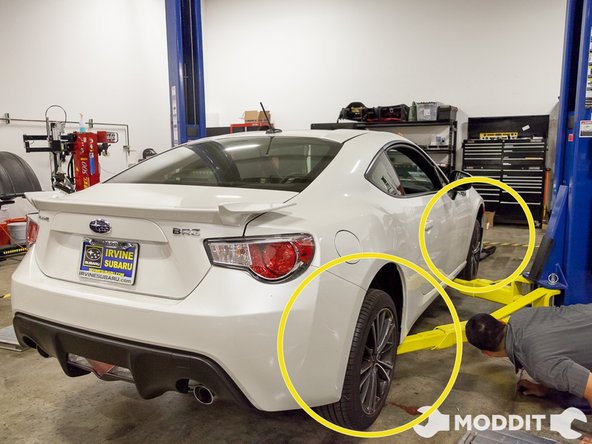
After taking out all of the trunk interior panels, you are ready to get the car in the air. We got the vehicle up in the air with our car lift, then loosened the lug nuts on our BRZ. We mainly used an impact gun for most of the loosening of bolts/nuts, however you can use ratchets and/or wrenches if you don’t have an impact gun.
-
Make sure to keep those lug nuts in a safe and control area. They can get kicked or knocked somewhere. You want to make sure that you have all of the lugs before you start driving.
-
-
-
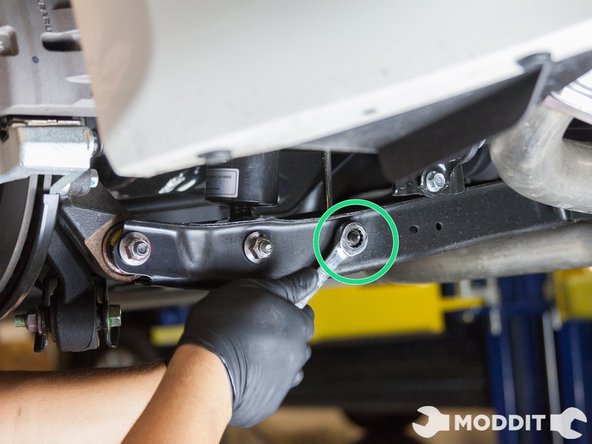
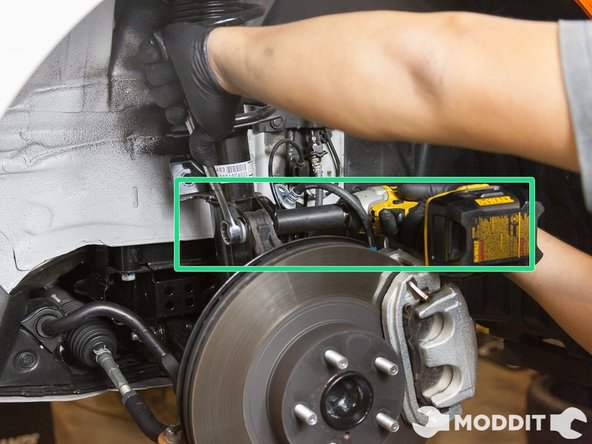
Next, we removed the end link from the control arm itself with a 14 mm socket and wrench. We did this on both sides so that one side would not have more tension than the other. We found out that doing this reduced the amount of effort needed to remove the lower portion of the stock strut & spring from the lower control arm.
-
If you are doing this by yourself, then the removal of the link is a must. As you can see in the image, we succeeded in forcing it out, but it was way easier when we took off the sway bar link on the other side.
-
-
-
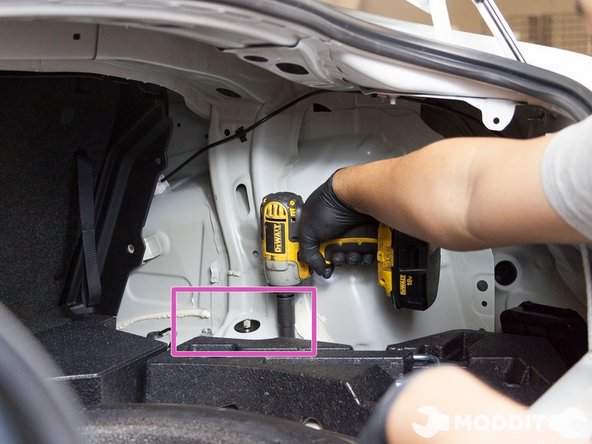
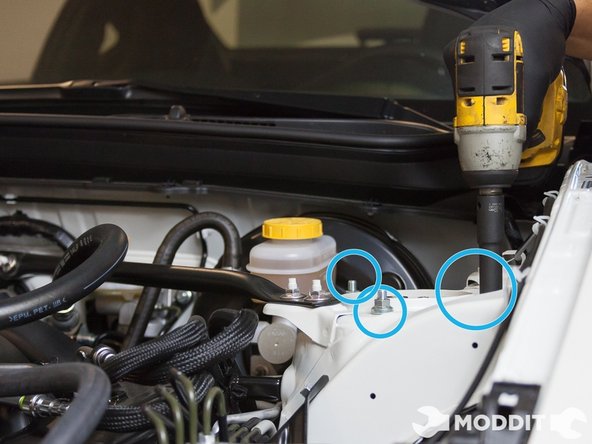
Because the interior panels should already be removed, you can now remove the 14mm top hat nuts located in the trunk.
-
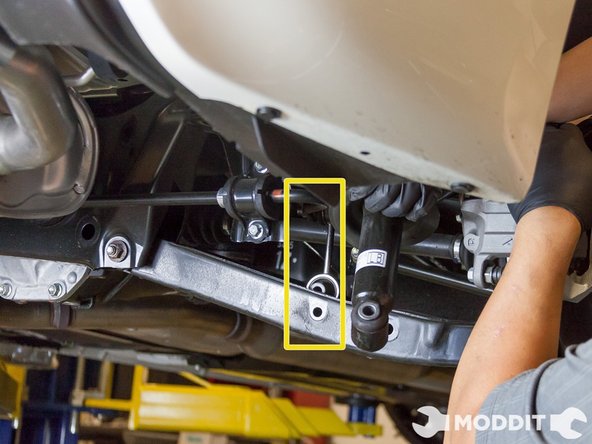
New line.At this point you can begin removing the oem suspension from the car. You will have to put some force on the rear suspension/rear control arm to have enough clearance to remove the OEM strut assembly from the rear. This especially true if one has not removed the sway bar link.
-
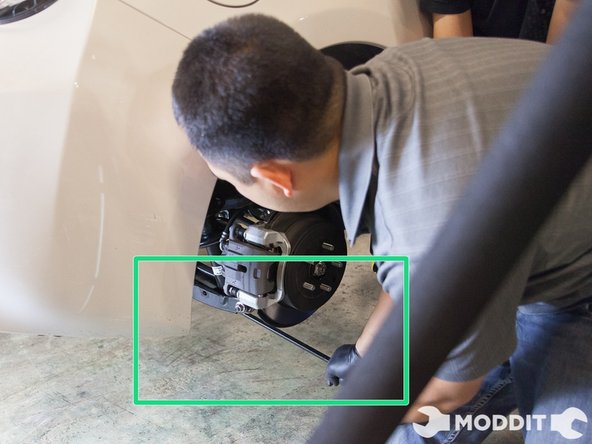
We decided to use a pry bar and pried from the front of the lower control arm through to the sway bar.
-
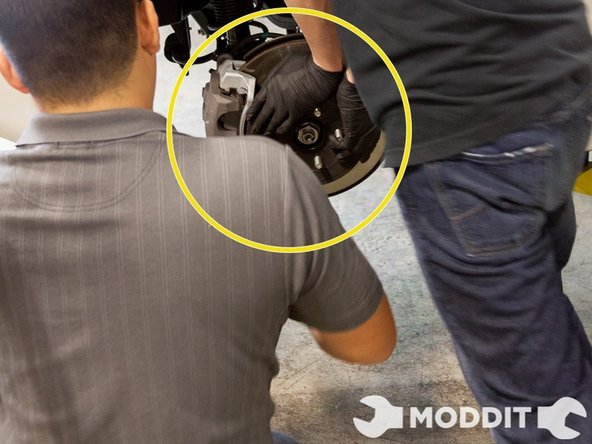
While one person pried the suspension control arm down (Or in our case our guy literally pushed down and that seemed to work too), another person removed the strut assembly. Again you may have to remove the rear sway bar if you aren’t able to safely remove the stock strut.
-
-
-
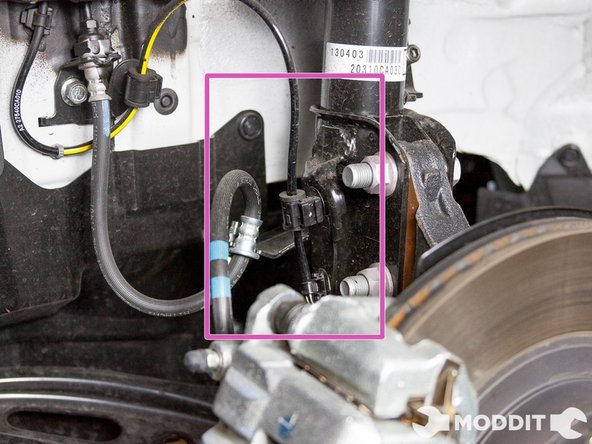
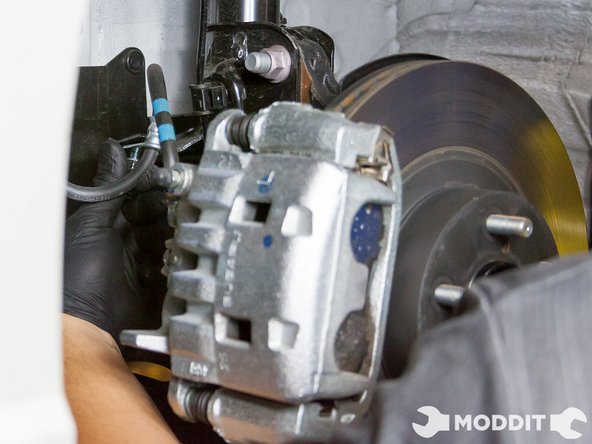
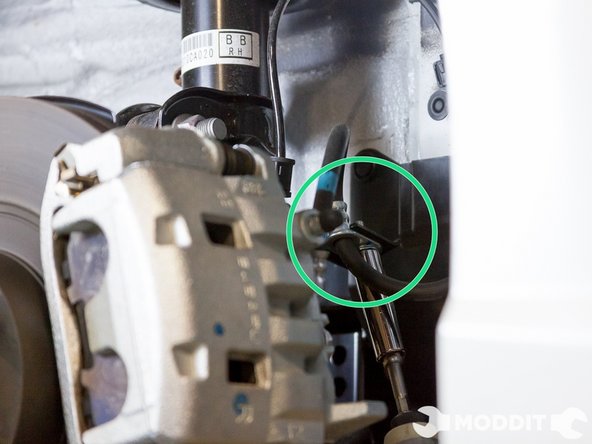
Next, remove the ABS sensor clips located on the oem strut. There are actually 2 clips to the ABS sensor line: one can use a pick, a screwdriver, or even one’s fingers (if possible) to remove the 2 clips holding the ABS line to the strut housing.
-
After you manage to take the strut off, remember to also remove these clips with pliers from the strut housing in order to reuse them on your coilovers. We almost tossed them before we realized we needed them. They are quite small and easily forgettable.
-
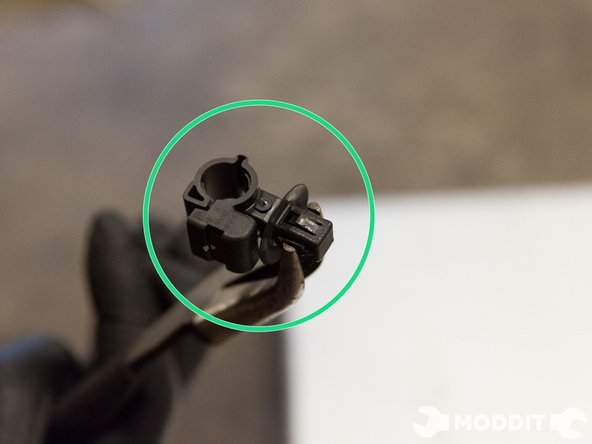
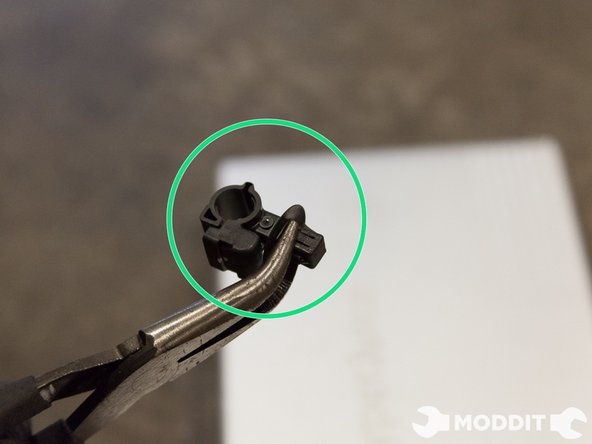
To remove the entire clip from the stock strut in order to reuse on the Stance coilovers, we have to loosen a 4-way clip that is a completely tricky bastard, you have to pinch the larger two prongs, then the smaller two prongs at the same time to remove it.
-
We would recommend dealing with this clip outside of the car since inside it would be a total pain on the vehicle.
-
-
-
The last small component to remove on the front oem suspension are the sway bar end links. Use a 14mm socket on the nut side and an Allen wrench on the bolt to remove the end links. If you don’t have replacement sway bar end links, then leave the end links on.
-
At this point you should find a box, crate, or use the jack (or if you have a friend helping like us, he or she will do) to support the front lower control arm as the whole front oem suspension will soon be disconnected from the stock suspension and fall.
-
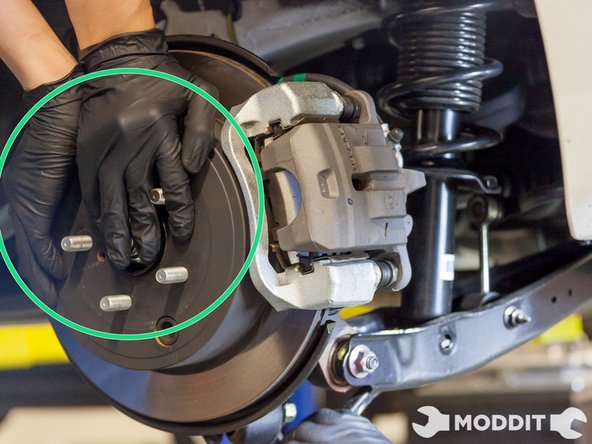
Use a 19 mm ratchet on the nut side of the strut housing to spindle bolts and a 19 mm combination wrench to secure the bolt on the opposite side. There are two of these bolts per side.
-
Then proceed to remove the two upper, shock tower bolts, they are 14mm nuts. While holding the strut against the car we remove both of them gently. Here a helper is really useful in order for to maintain the strut in place while you remove it and prevent it from crashing to the ground.
-
Once you have all the Suspension components taken out, you can go ahead and proceed with your coilover or spring install.
-


One Comment
Awesome guide that everyone can follow through and with that it needs to use a car hoist (https://www.corghi.com.au/) or lift for proper assembly.