
Difficulty
Moderate
Steps
15
Time Required
00:45:00

User-Contributed Guide
This guide is not managed by the site's staff.
Introduction
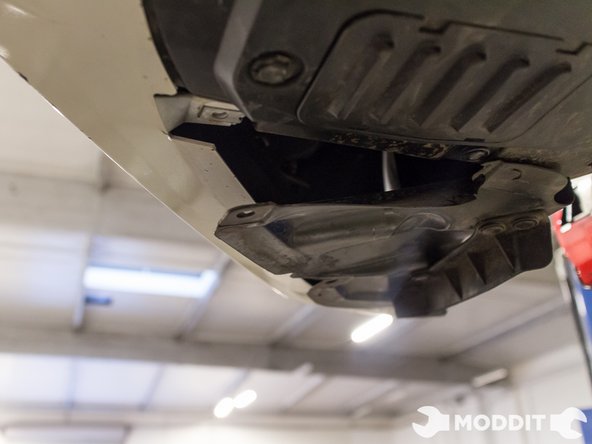
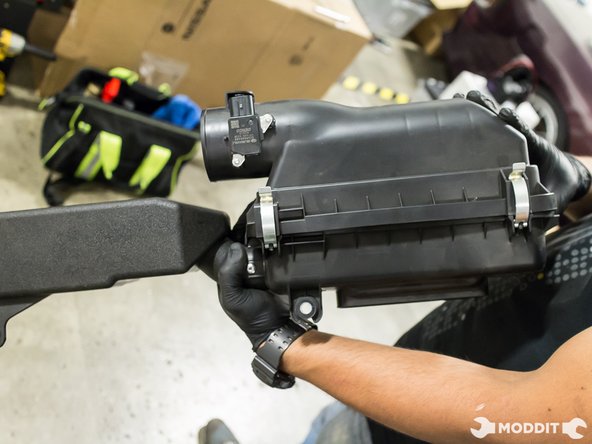
Removal of the stock intake box usually leads to the installation of an aftermarket intake or the replacement of the box if damaged.
Tools
Parts
No parts specified.
-
-
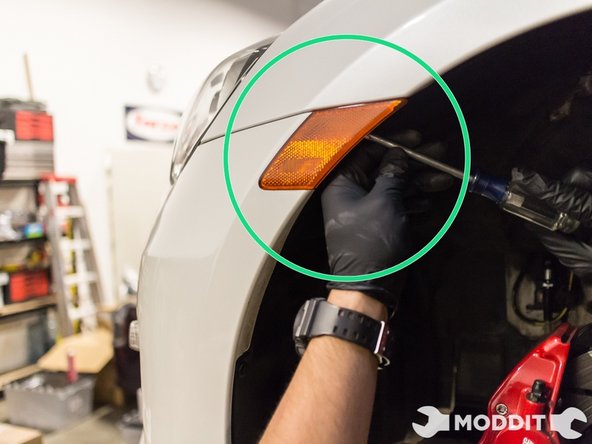
The very first thing we need to accomplish in our guide is to remove the front 2 wheels.
-
We do this just to have easier access inside the wheel where we will be removing some items.
-
-
-
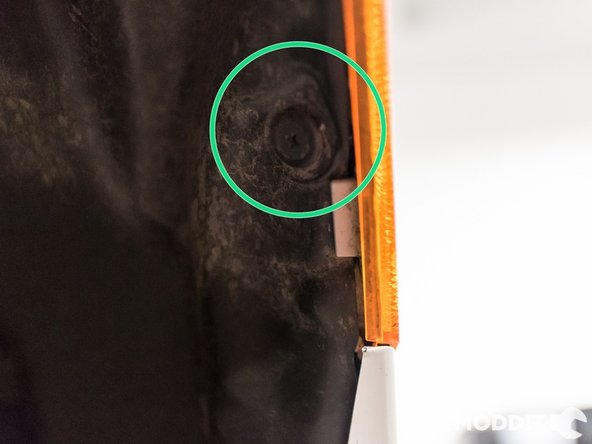
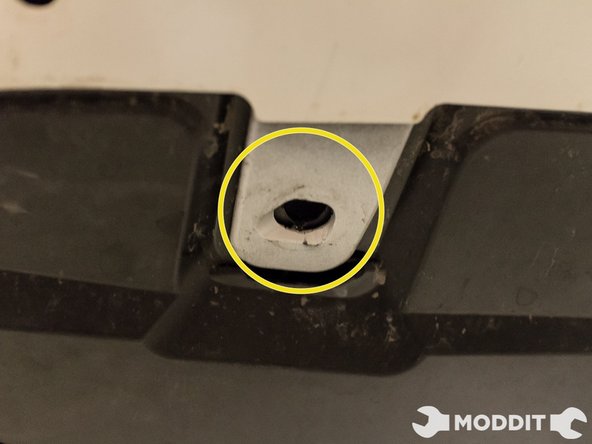
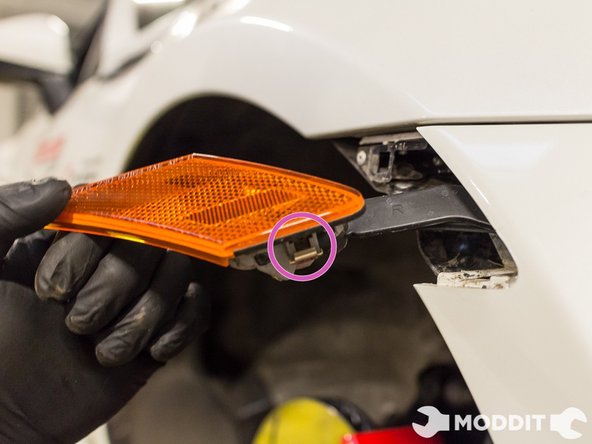
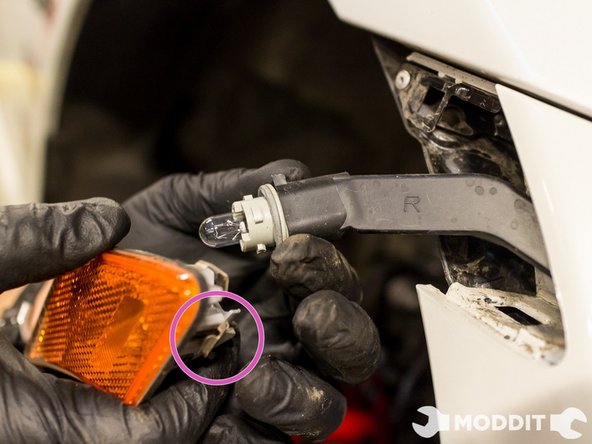
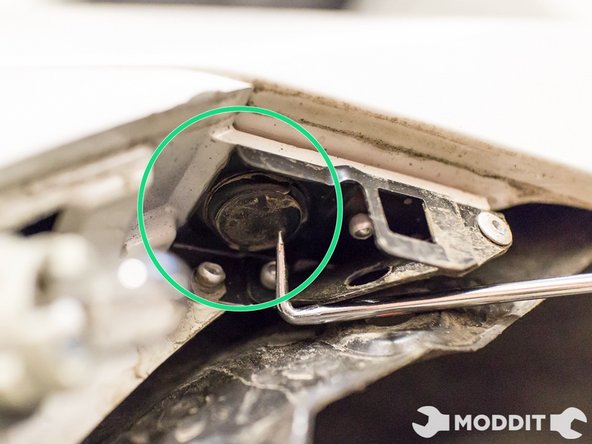
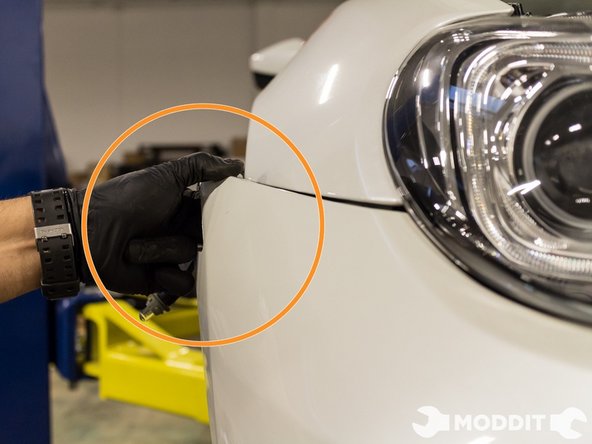
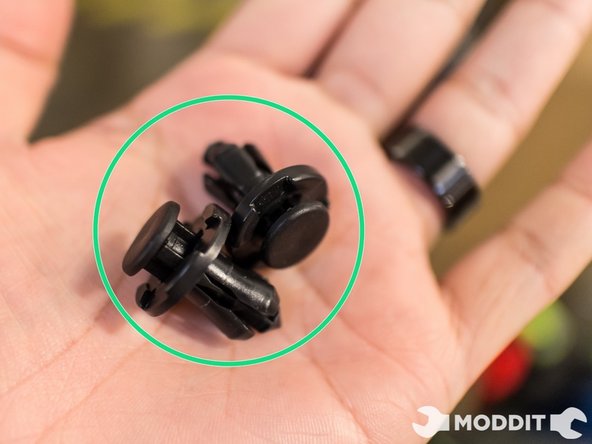
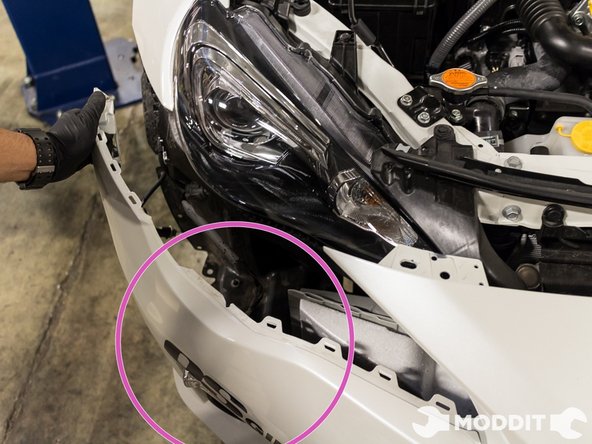
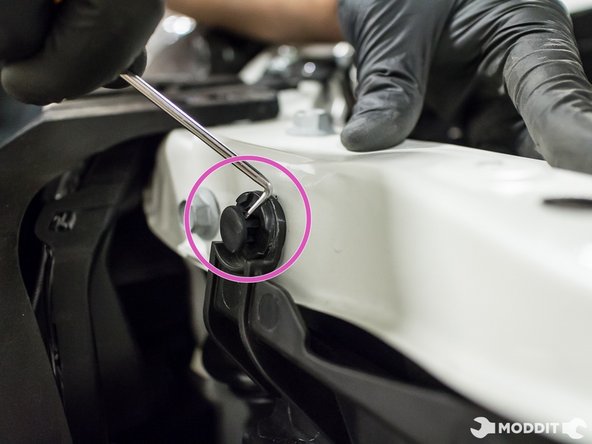
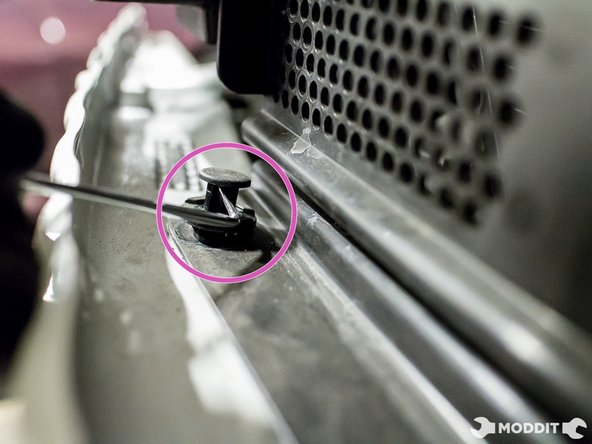
After removing the side markers, a hidden plastic clip that needs to be removed will appear just above where the bulb was.
-
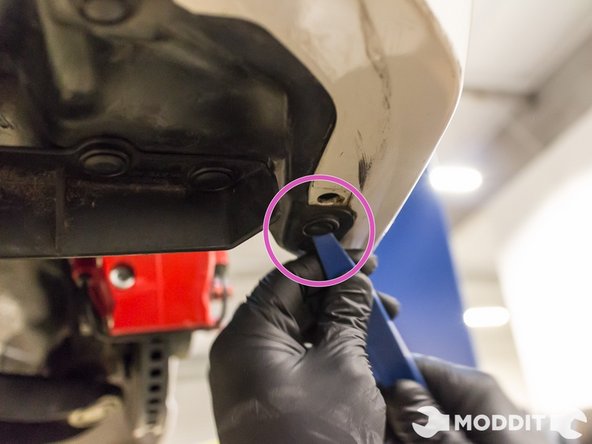
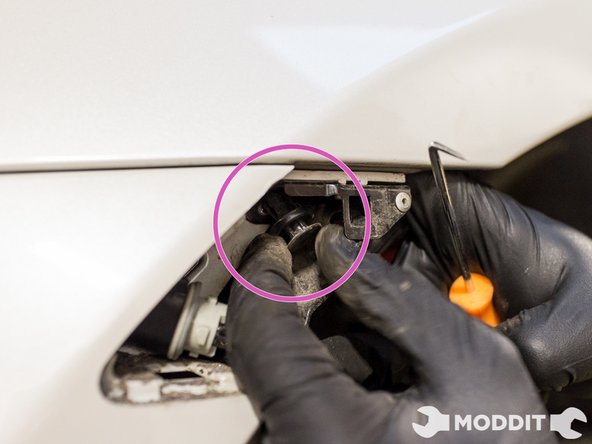
This clip secures the top part of the outside bumper to the bottom of the foremost fender section.
-
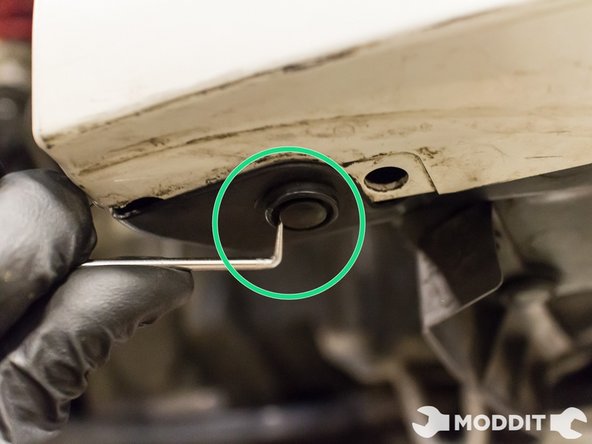
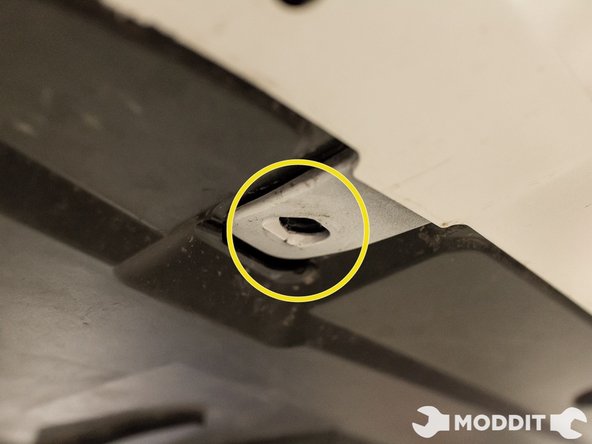
After you remove this clip the sides of the front bumper should easily come off.
-
-
-
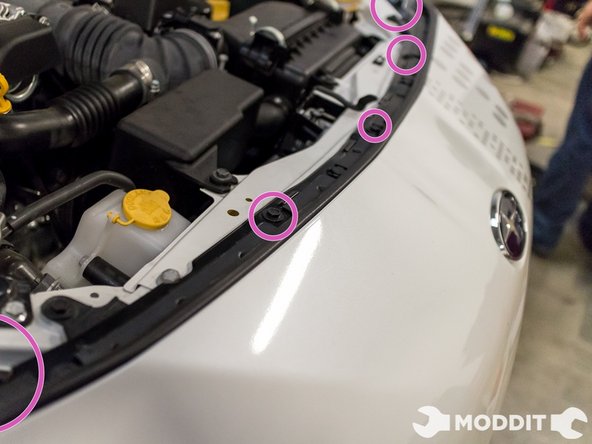
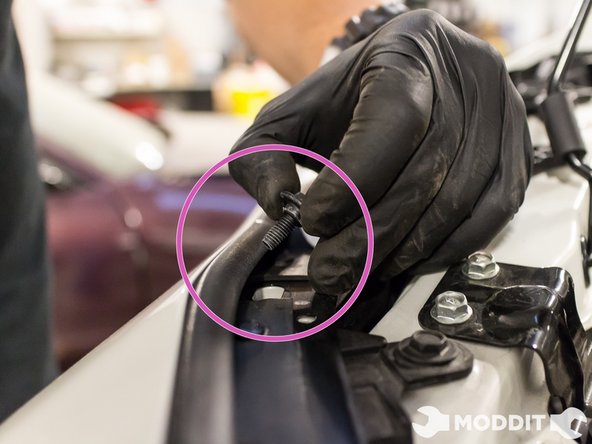
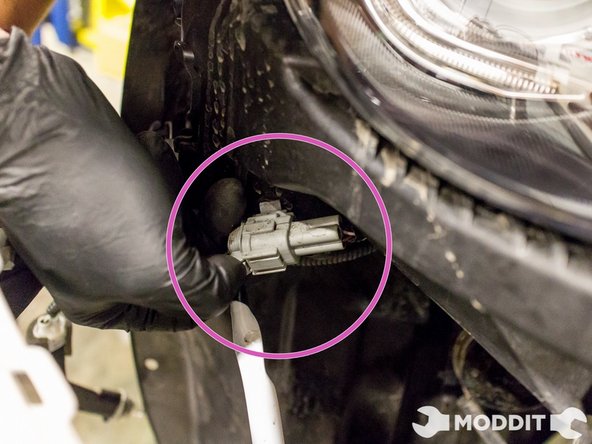
After the top fasteners have been removed, the front bumper can now be pulled firmly from the vehicle.
-
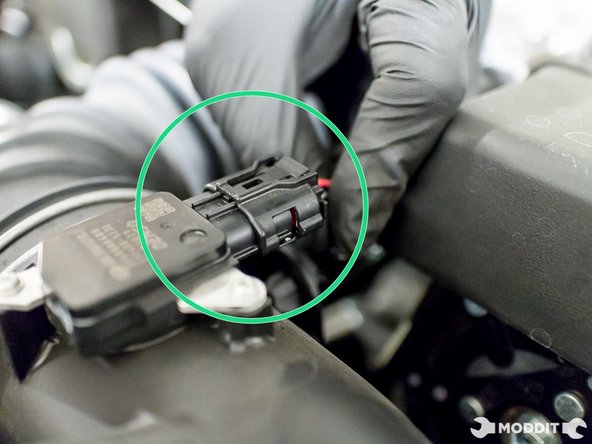
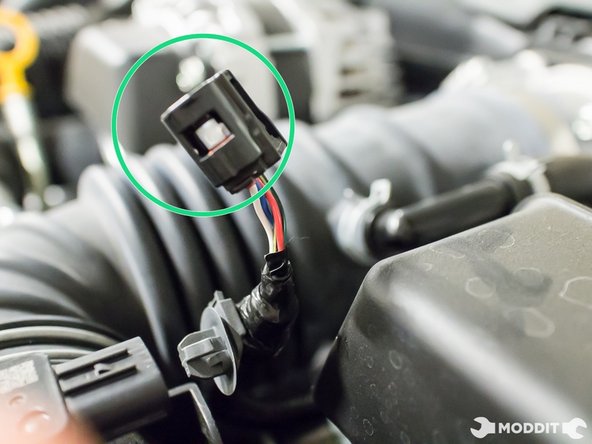
Before completely removing the front bumper however, disconnect the two plugs under the headlights to the fog lights and to the turn signals, on both sides.
-
After performing this last step, you will have succeeded in removing the front bumper on a Subaru BRZ.
-
-
-
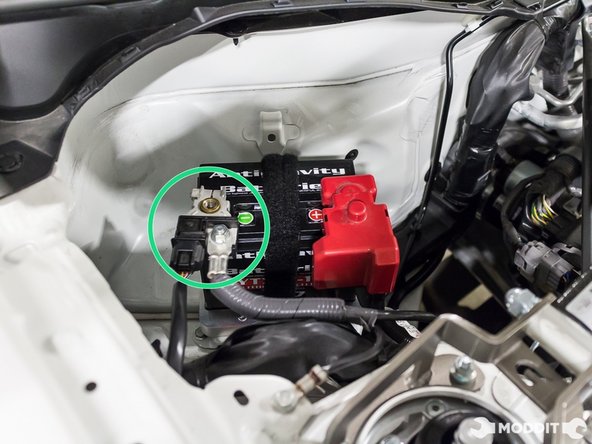
Disconnect the battery. (picture shown is the DIF Super lightweight Battery Tray)
-
Disconnecting the batter insures that you do not get electrocuted while working on your car.
-
-
-
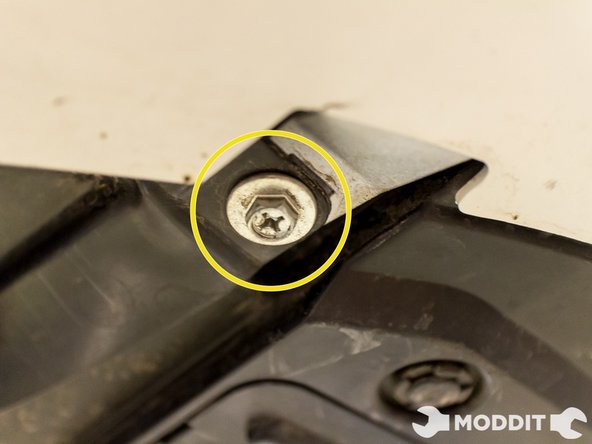
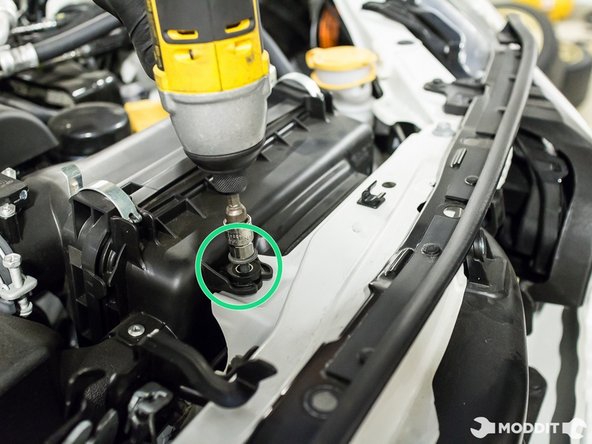
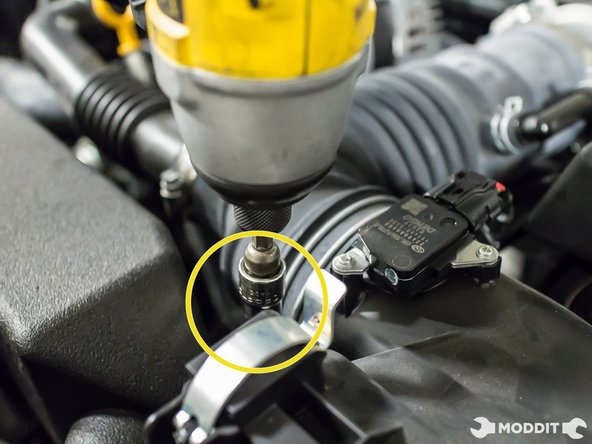
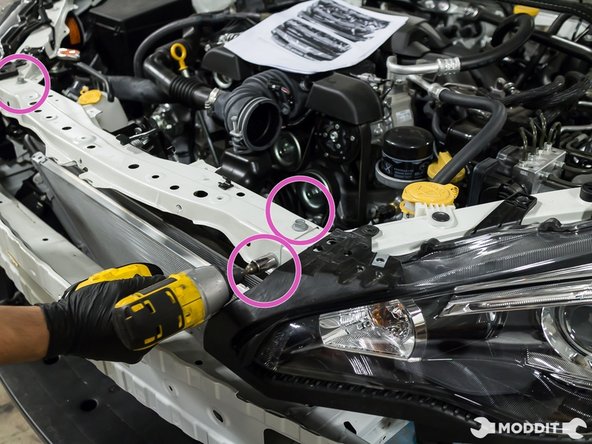
Using a 12mm socket, remove the four bolts securing the top of the radiator support to the vehicle.
-
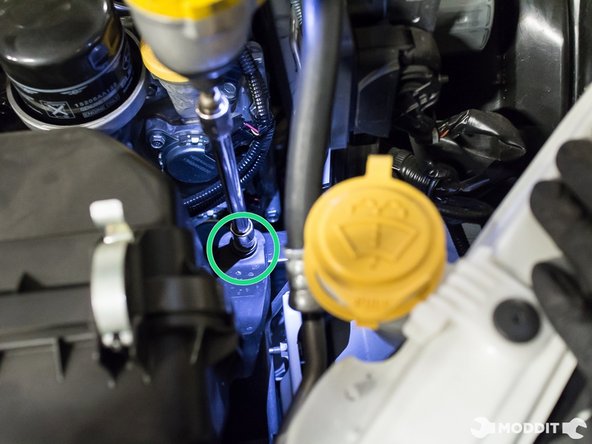
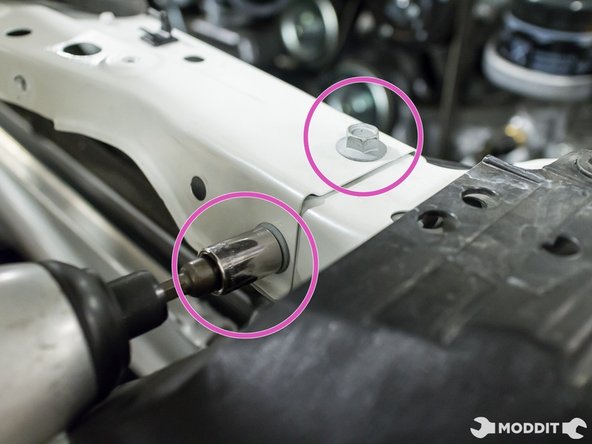
With a preferred racheting 12mm wrench, remove the two bolts securing the radiator support center brace to the lower radiator core support.
-
Hint: The two bolts are located near the header.
-


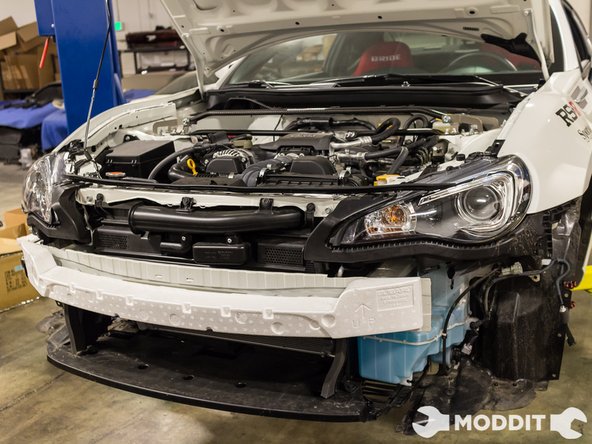
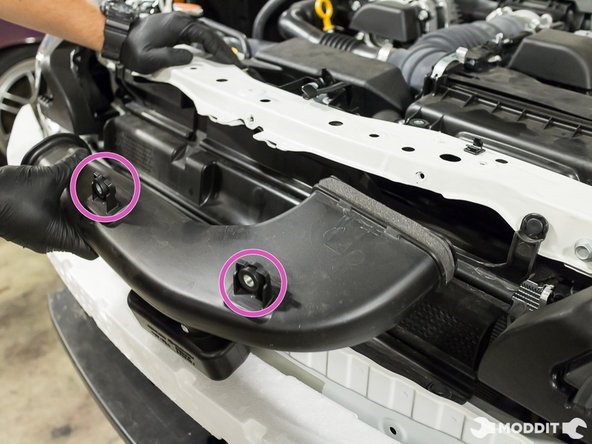
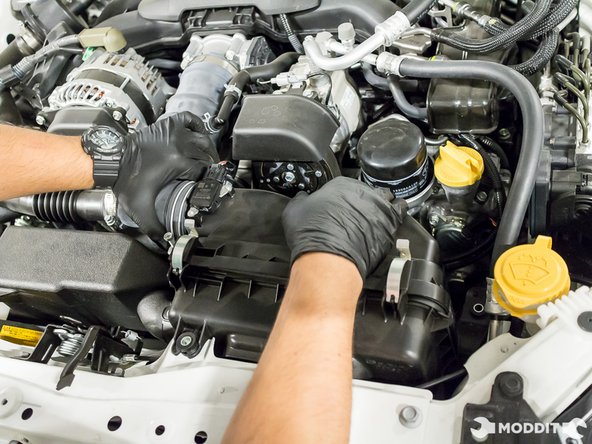
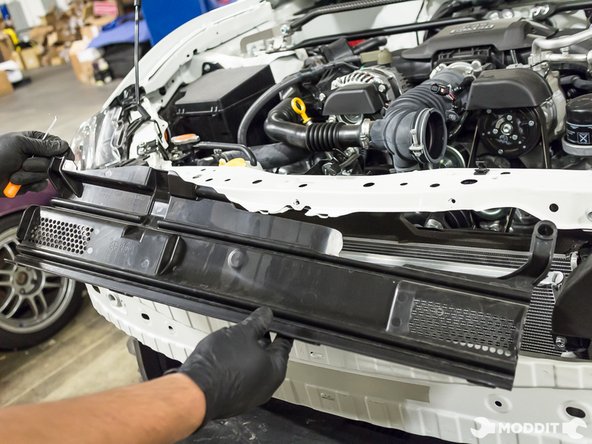
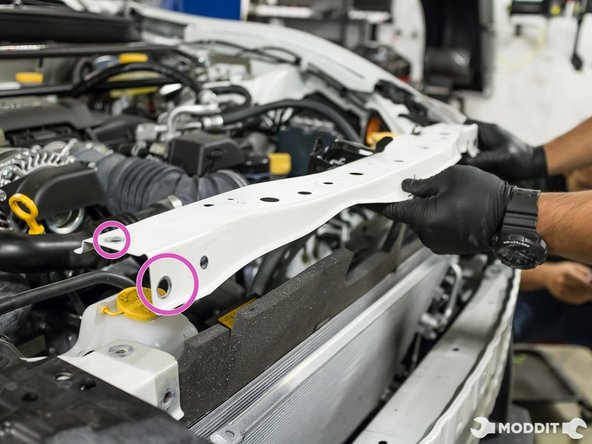
After the removal of the bumper and intake, you are now ready to tackle any installation behind the bumper.
After the removal of the bumper and intake, you are now ready to tackle any installation behind the bumper.
