
Difficulty
Moderate
Steps
7
Time Required
00:20:00 - 00:40:00

User-Contributed Guide
This guide is not managed by the site's staff.
Introduction
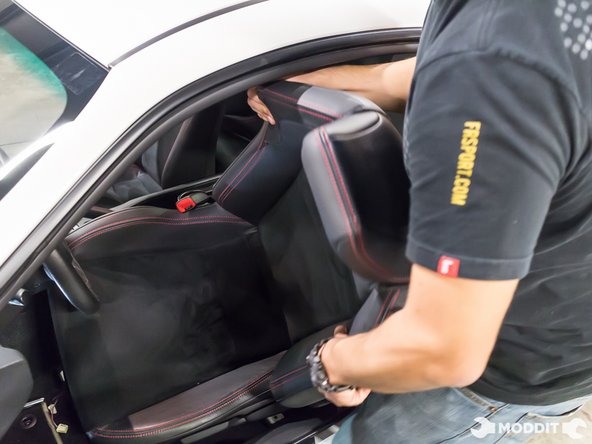
The removal of the front stock seats can be done for different reasons. Today's reason is to install Bride Seats into our BRZ. But if you wanted to remove the seats to clean under them, this guide is also a perfect one for you.
-
-
Installing in the seats, make sure to have the proper tools. You will need an E10 Torx socket.
-
If you do not have that socket, do not attempt to remove the seats.
-
FRSport does not recommend using the impact tool while removing the seat.
-
Make sure to disconnect the battery.
-
-
-
With the rear hardware removed, return the to the front bolts and remove them.
-
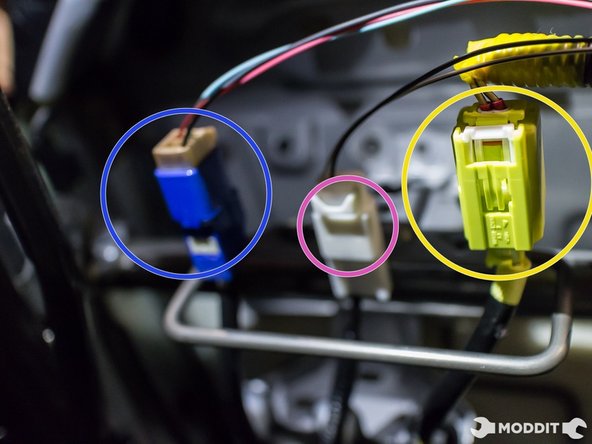
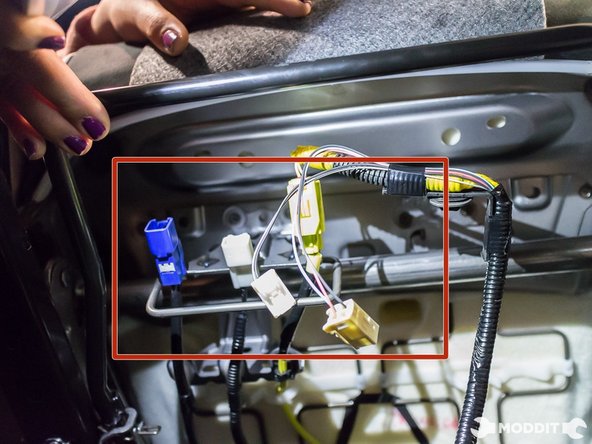
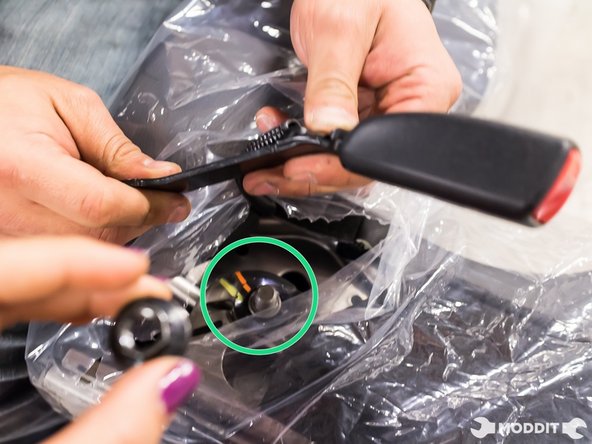
Tilt seat to expose the three connectors hidden under a small flap of carpet.
-
The blue plug can be released by pressing the release tab at the top.
-
On the white plug, the release tab is located at the bottom.
-
The yellow plug must have the white release tab pushed inward towards the rear of the seat.
-
-
-
Remove the right head plastic cover nearest the seatbelt buckle.
-
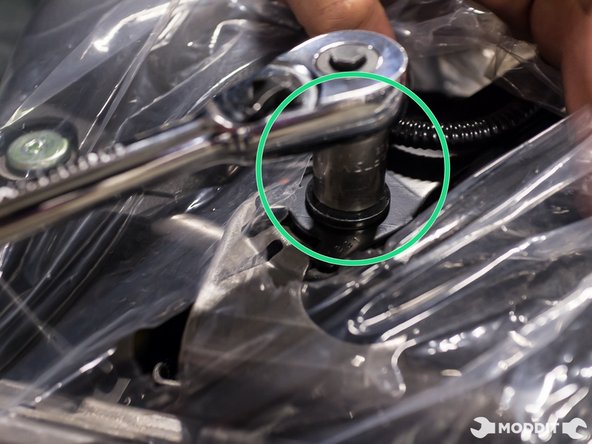
With the 14mm wrench or ratchet, remove the factory seatbelt buckle.
-
Carefully remove the buckle.
-
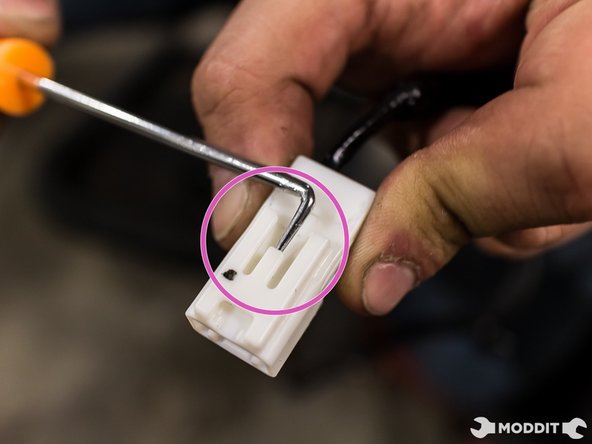
For the final clip, you will need a 90 degree hook or a very small flat head to lift the tip of the white clip to slide it forward and out.
-


The removal of the seats is fairly easy, please be cautious to the stock seat bolts and then wires when removing the seats.
The removal of the seats is fairly easy, please be cautious to the stock seat bolts and then wires when removing the seats.
