
Introduction

This guide will help overview the removal of the front bumper from a 2015 Subaru WRX STi.

  1. The first step is to lift up the front end of the car with a jack and jack stands.
    • The first step is to lift up the front end of the car with a jack and jack stands.

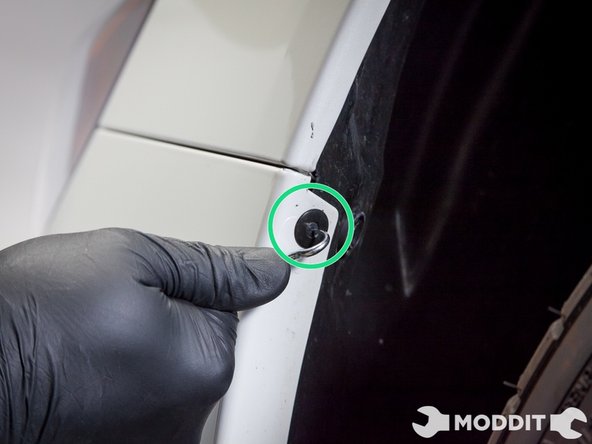
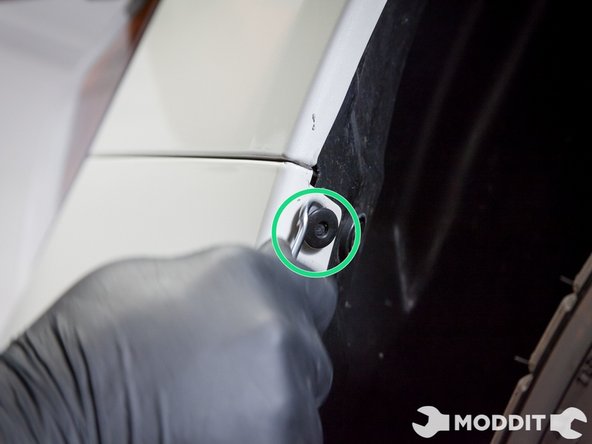
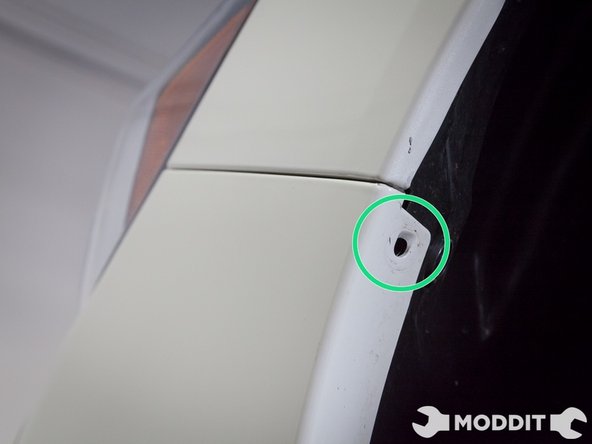
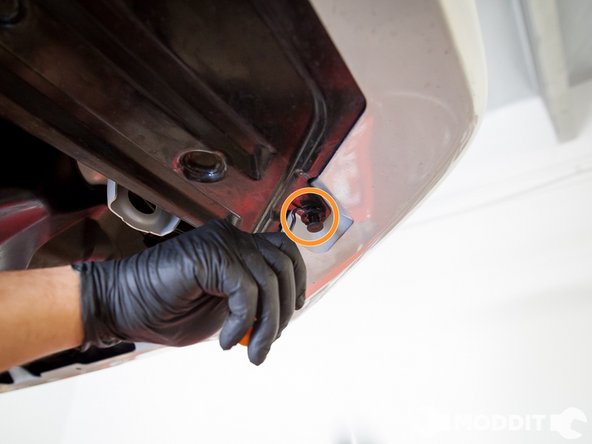
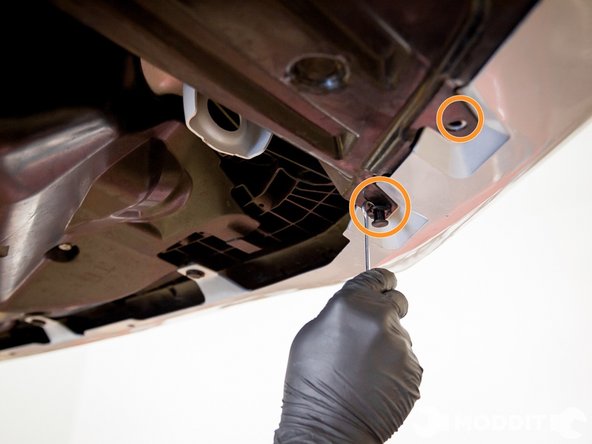
    • After the car is in the air, pop the hood and locate the top clips that need to be removed.

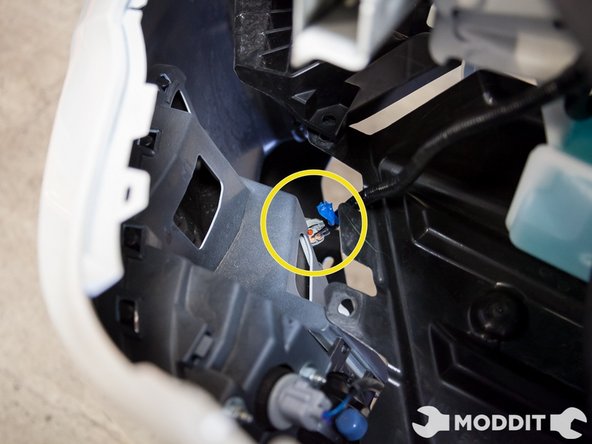
    • The clips circled will be the initial clips that will need to be removed with the flat head or small pick.
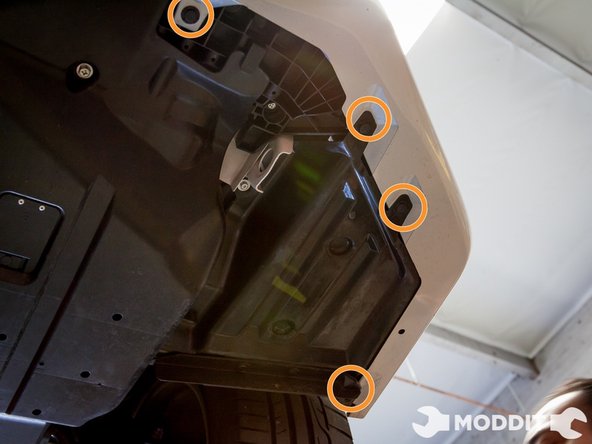
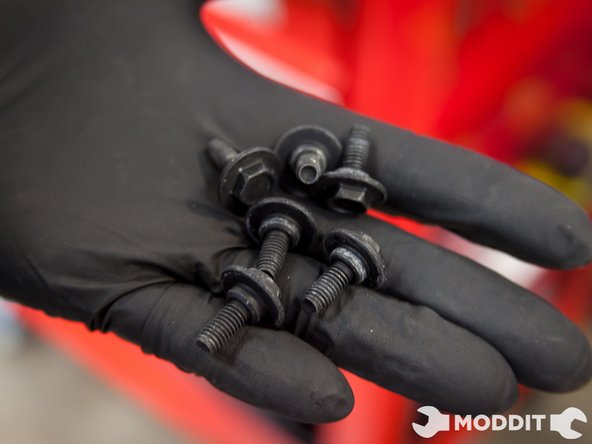
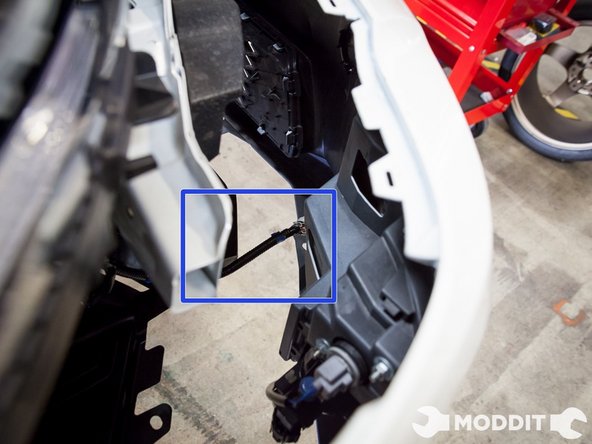
  2. Start with small clips on the intake scoop to free it from the bumper. Then start removing the clips on the top with a small pick or screw driver. Be gentle as these clips like to break quite easily. Then start removing the clips on the top with a small pick or screw driver. Be gentle as these clips like to break quite easily.
    • Start with small clips on the intake scoop to free it from the bumper.

    • Then start removing the clips on the top with a small pick or screw driver. Be gentle as these clips like to break quite easily.

  3. After the top clips are removed, it is time to attack the clips on the side of the bumper that is attached to the fender liner. Removal of the wheels is not necessary but will increase the space to work with. Removal of the wheels is not necessary but will increase the space to work with.
    • After the top clips are removed, it is time to attack the clips on the side of the bumper that is attached to the fender liner.

    • Removal of the wheels is not necessary but will increase the space to work with.

  4. Then under the car, there are a series of clips that connect the bumper to the under tray. Pop those out as well with the small pick or screw driver. Then under the car, there are a series of clips that connect the bumper to the under tray. Pop those out as well with the small pick or screw driver. Then under the car, there are a series of clips that connect the bumper to the under tray. Pop those out as well with the small pick or screw driver.
    • Then under the car, there are a series of clips that connect the bumper to the under tray. Pop those out as well with the small pick or screw driver.

  5. The last set of fasteners are 10mm socket bolts. They're on the top of the bumper in the engine bay. Remove the 6 bolts and the bumper will be ready for pulling.
    • The last set of fasteners are 10mm socket bolts. They're on the top of the bumper in the engine bay.

    • Remove the 6 bolts and the bumper will be ready for pulling.

  6. After the 6 bolts are removed, it is time to slightly tug on the bumper. Starting from the sides of the bumper, carefully pull them out to free from the fender. Then pull from the front, but not all the way as the lights are still connected.
    • After the 6 bolts are removed, it is time to slightly tug on the bumper.

    • Starting from the sides of the bumper, carefully pull them out to free from the fender.

    • Then pull from the front, but not all the way as the lights are still connected.

  7. Remove the plug for the lights. Once the plug is removed, the bumper is ready to be pulled.
    • Remove the plug for the lights.

    • Once the plug is removed, the bumper is ready to be pulled.

Conclusion

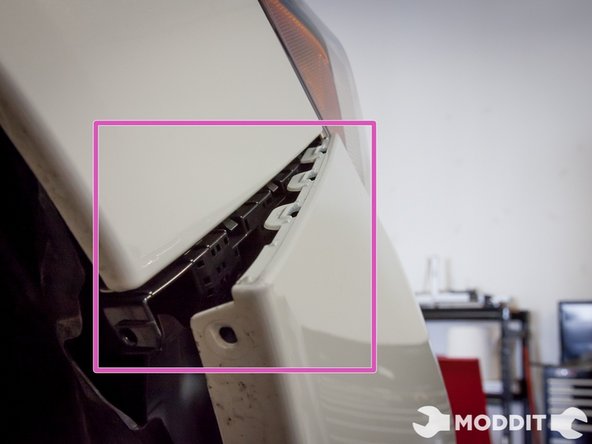
The removal of the front bumper is a fundamental step to working on vehicle parts behind the bumper.

Bench Espiritu

Member since: 05/02/2014

2,060 Reputation

18 Guides authored

One Comment

I'm having trouble getting the clips out on step 3 and tips?

Griffin d - Reply

Add Comment

View Statistics:

Past 24 Hours: 2

Past 7 Days: 14

Past 30 Days: 75

All Time: 12,702

Copyright© 2019 Moddit