
Difficulty
Very difficult
Steps
12
Time Required
03:00:00 - 04:00:00

User-Contributed Guide
This guide is not managed by the site's staff.
Introduction
This header removal is a great write up to show the steps on removing the stock header on a Scion FRS or Subaru BRZ. The stock header is a bit heavier than our catted HKS one. If you are installing a header without a cat, im sure you will notice a big difference in power and the difference in weight as well.
Parts
No parts specified.
-
-
Initially, before starting on any project on the front of the car, you would want to get it in the air. Supported by Jack stands.
-
There are various bolts on the back under tray that need to be taken off with a 10mm socket
-
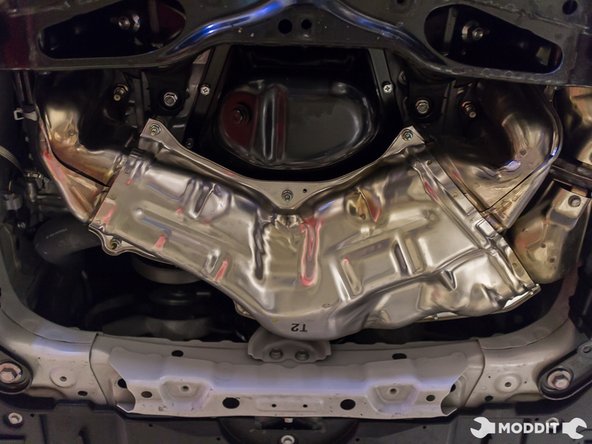
There are 11 Bolts that have to be taken off to remove the black under tray.
-
-
-
After getting the rear under tray off, its time to move on to the front under tray.
-
Theres 7 black clips that require a flat head to pop out. Be careful not to break the head on these. Once they pop out, just pull them out of the hole.
-
After the Clips are out, go ahead and use the 10mm socket to get the bolts out. There should be (8) 10 mm head bolts holding up the under tray.
-
Once those bolts are taken out, the under tray will drop. Be careful not to damage the tray as it is a key item in the undercarriage of the vehicle.
-
-
-
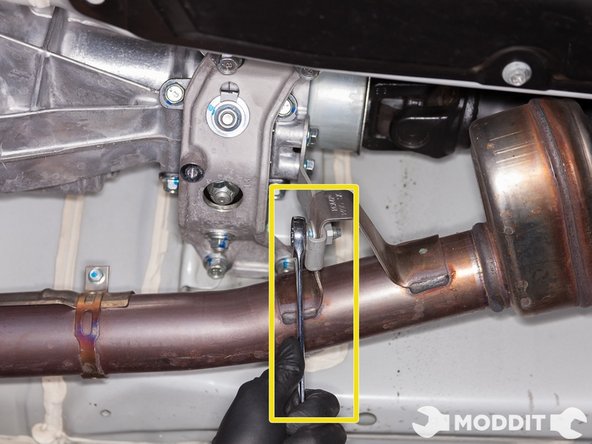
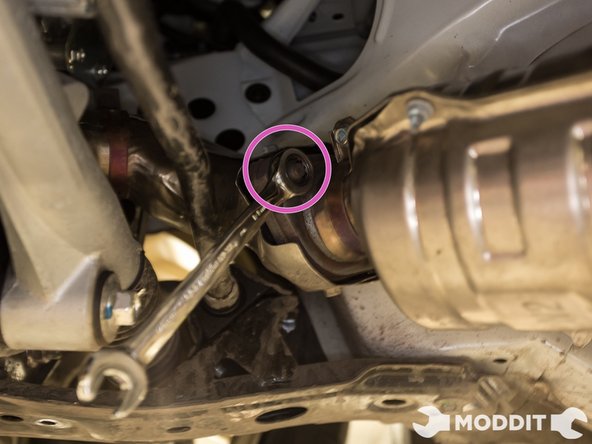
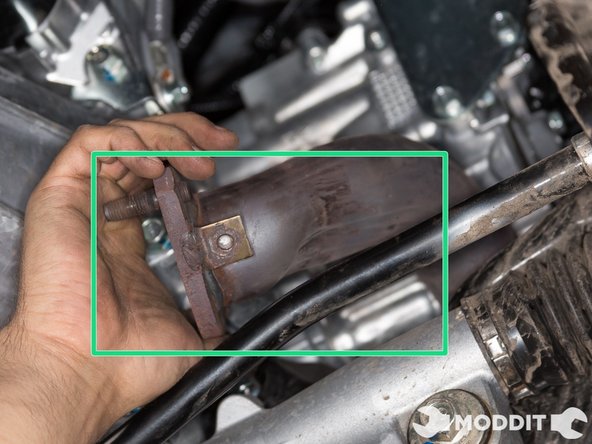
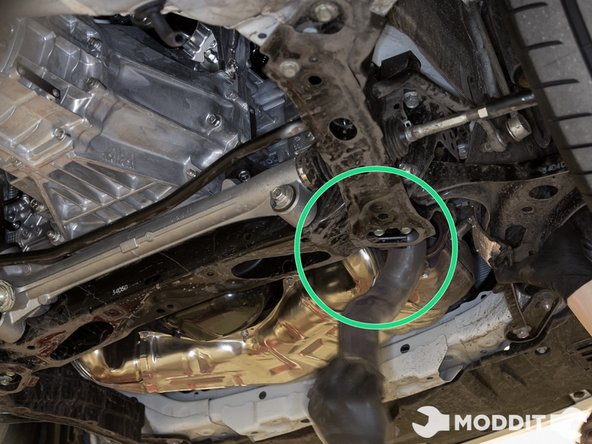
First step is to unbolt the nuts from the front pipe that connects to the cat back part of the exhaust. Keep these, as they will be reused later on.
-
-
-
Caution, depending on your region's weather condition, oxidation must make it difficult to remove nuts.
-
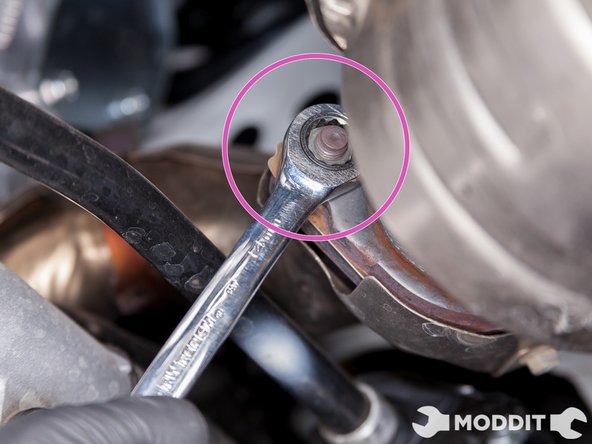
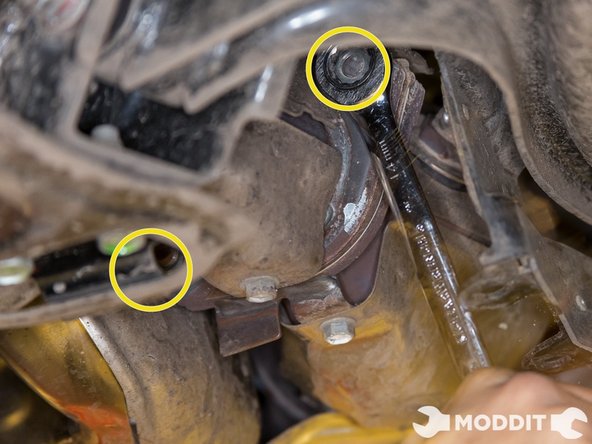
Using a 14mm wrench, remove the two nuts holding the frontpipe to the overpipe.
-
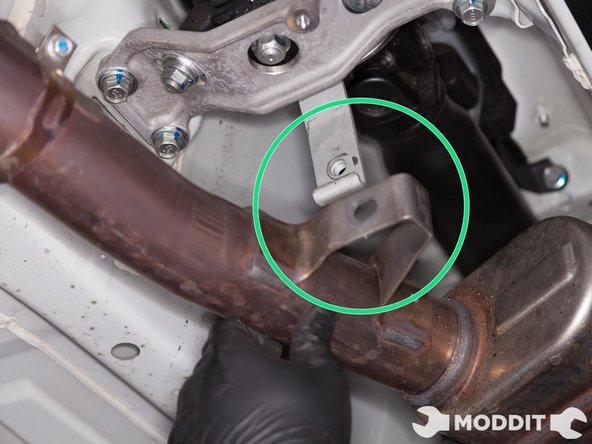
Utilizing a 14mm wrench, remove the bolt supporting the front pipe to the transmission mounting bracket.
-
-
-
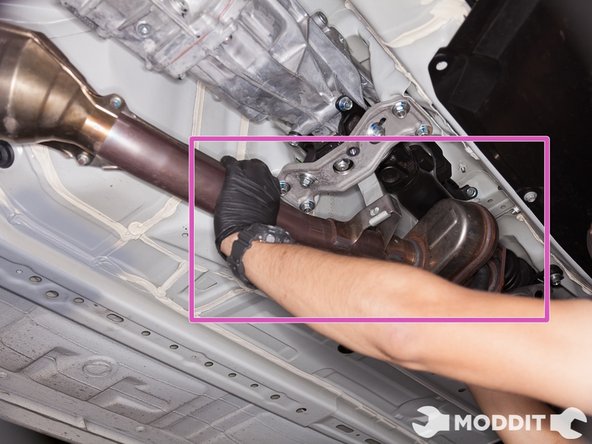
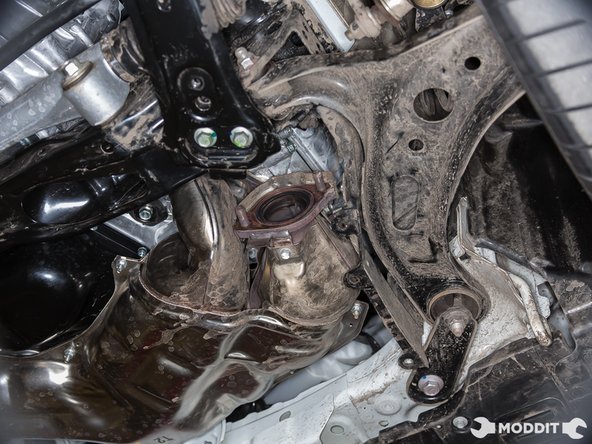
After the removal of the front pipe, you are now ready to move on to the over pipe.
-
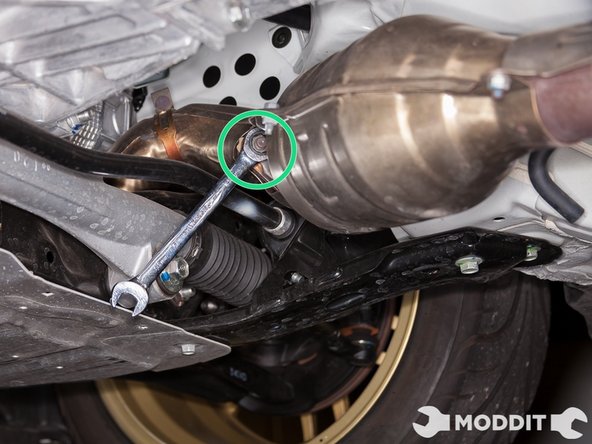
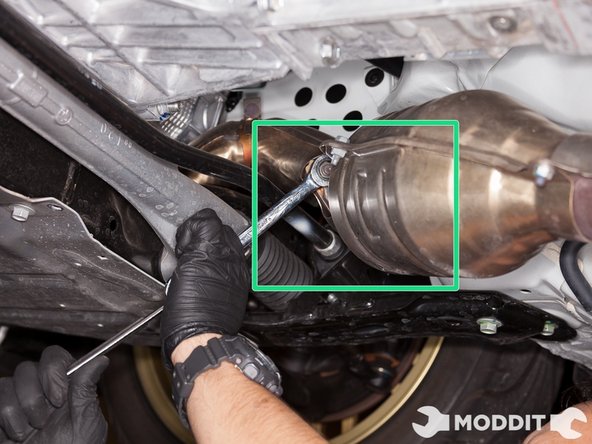
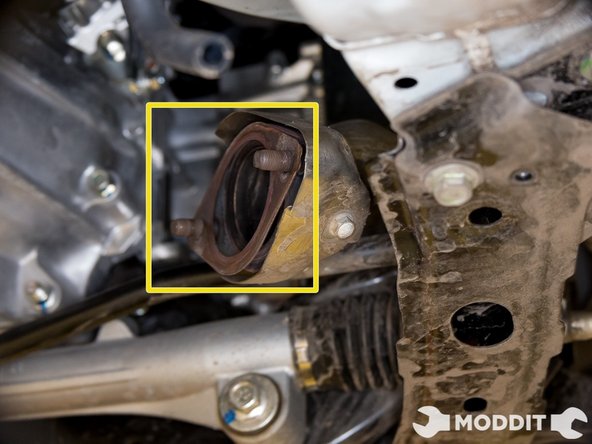
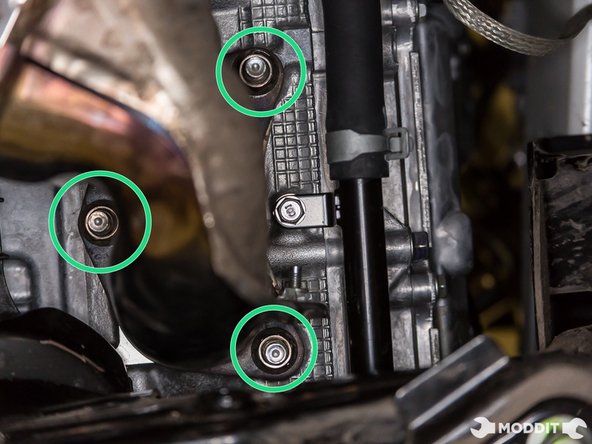
Remove the nuts securing the overpipe to the header. A 14mm gear wrench is suggested.
-
-
-
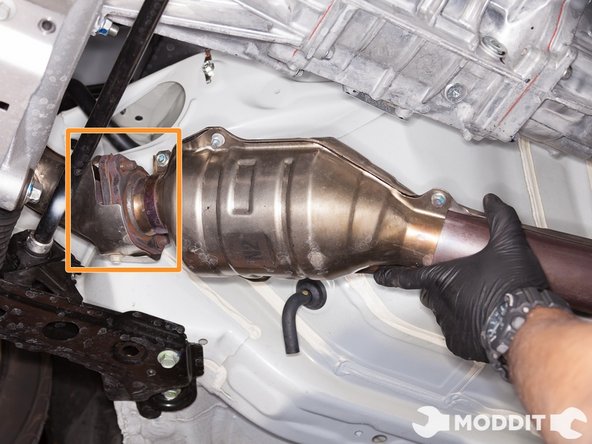
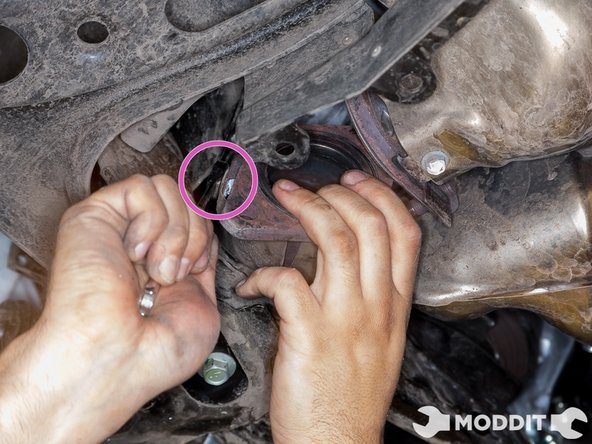
After removing the under trays and the 2 exhaust components, you are now ready to tackle the header. Be sure to confirm that you are able to remove the o2 Sensors because you shouldnt continue without removing them.
-
-
-
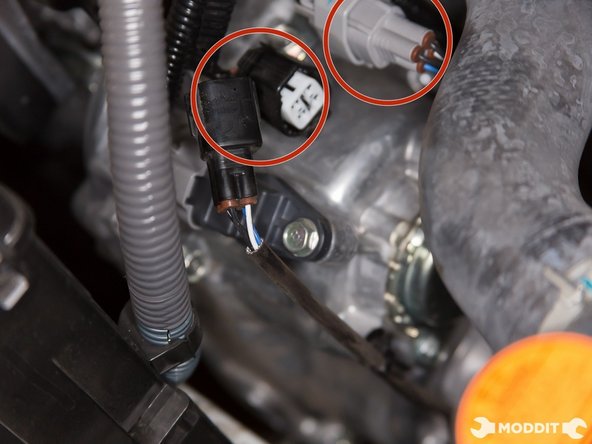
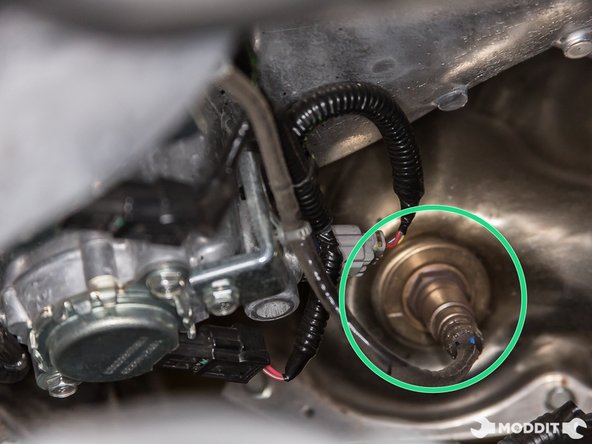
You now have to un-clip the two o2 sensor pig tails. The black and the grey one.
-
You also need to disconnect the clip securing the o2 sensor wires to the front of the motor.
-
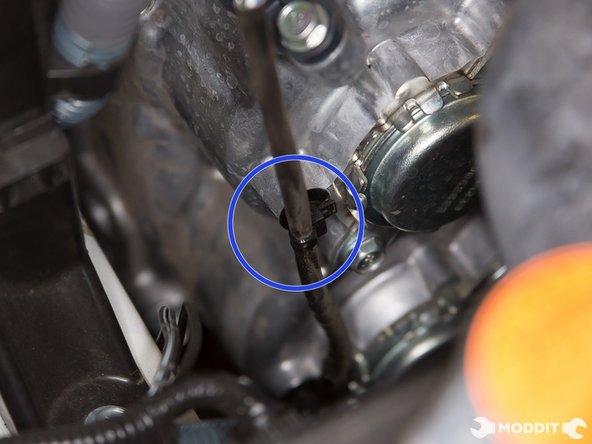
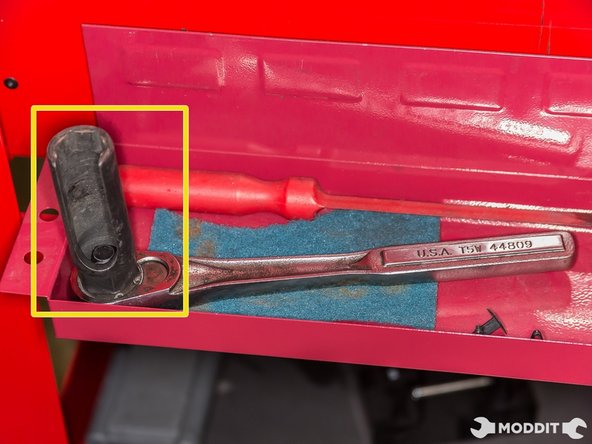
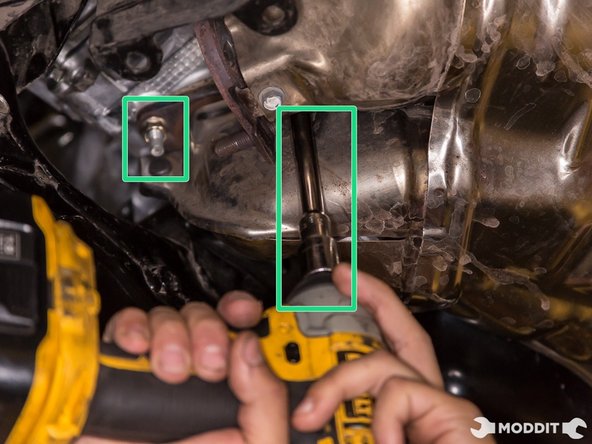
You may now remove the o2 sensor. Be careful not to strip or round the head of the sensor, as it will make it more difficult to remove.
-


The completion of the header removal can now lead to the installation of the aftermarket header.
The completion of the header removal can now lead to the installation of the aftermarket header.

One Comment
Before removing the O2 sensors make sure the manifold is completely cold. Not even warm. The threads on the O2 sensors rip off super easy.