
Difficulty
Moderate
Steps
9
Time Required
01:00:00 - 01:30:00

User-Contributed Guide
This guide is not managed by the site's staff.
Quiz
0
Introduction
In the process of adding aftermarket headers, radiators, and even intake pipes, the removal of the front bumper on the Subaru BRZ is a must. This write up will help you in that endeavor.
Tools
Parts
No parts specified.
-
-
The very first thing we need to accomplish in our guide is to remove the front 2 wheels.
-
We do this just to have easier access inside the wheel where we will be removing some items.
-
-
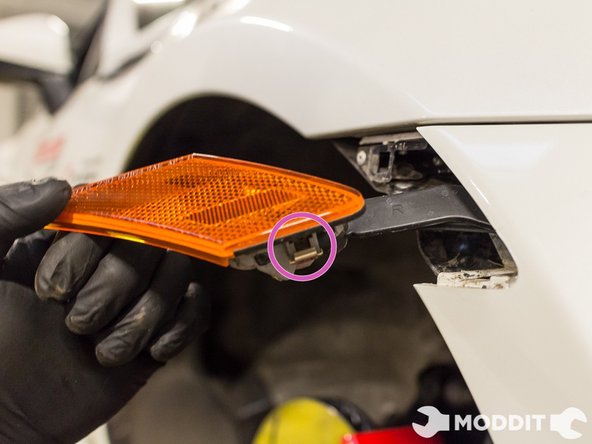
-
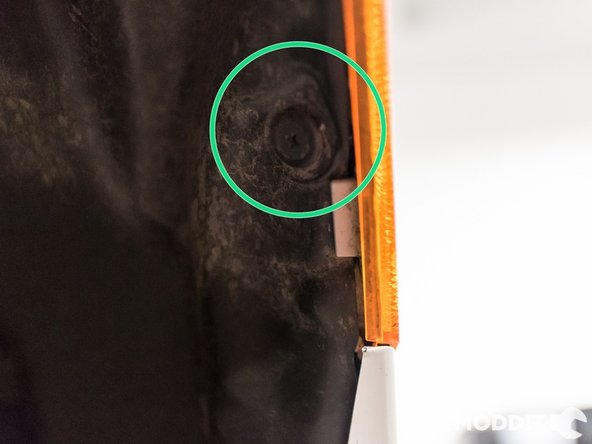
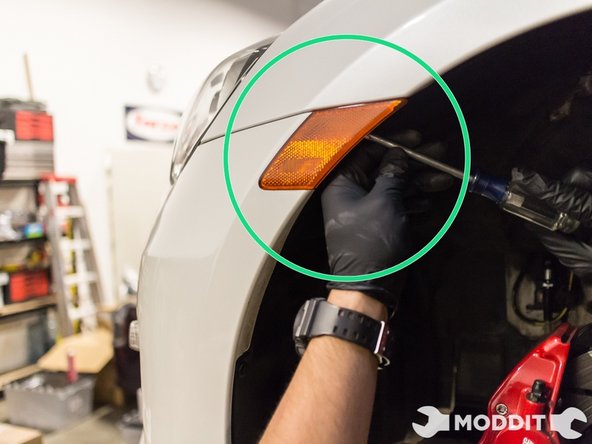
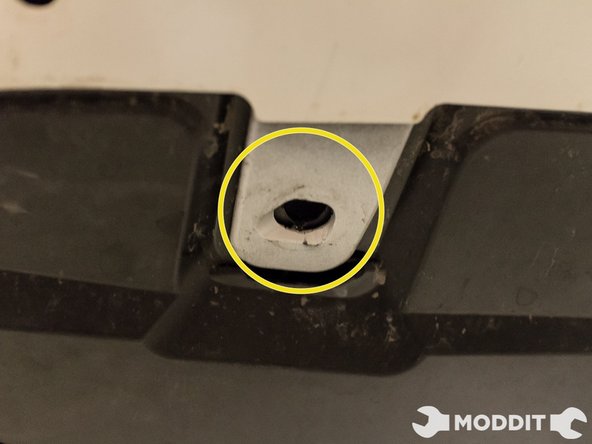
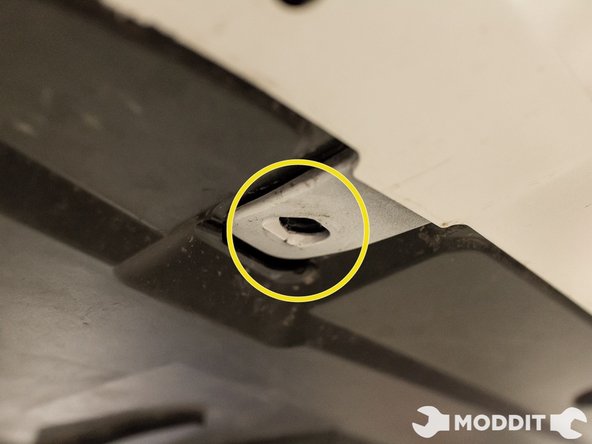
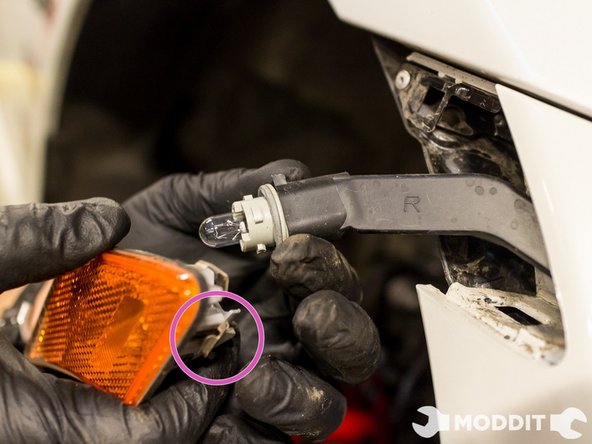
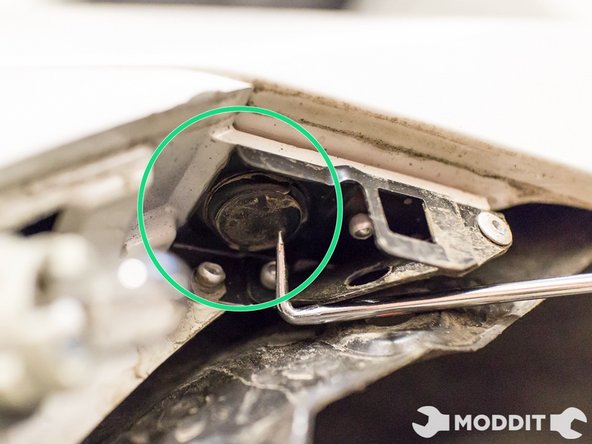
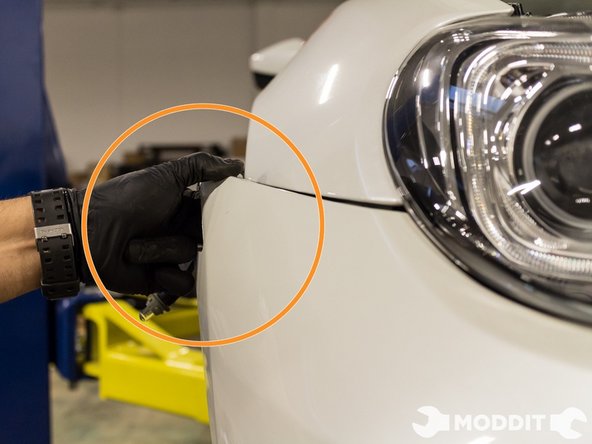
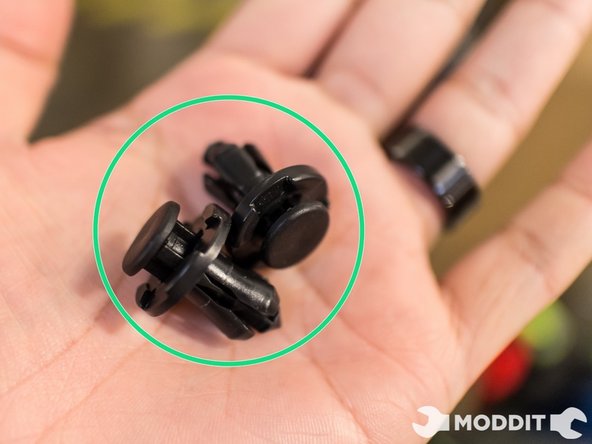
After removing the side markers, a hidden plastic clip that needs to be removed will appear just above where the bulb was.
-
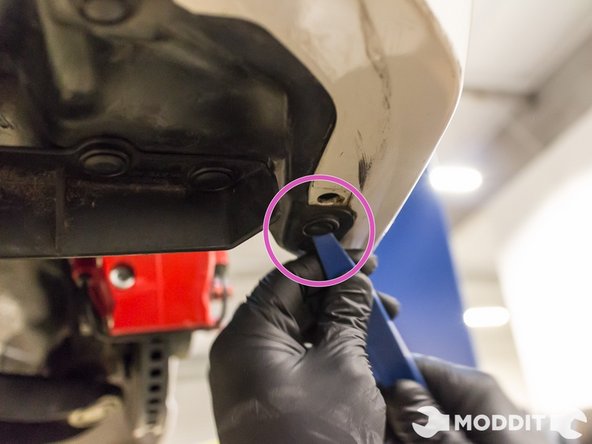
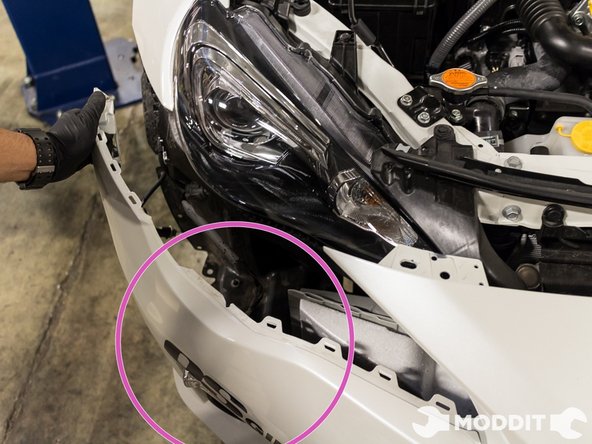
This clip secures the top part of the outside bumper to the bottom of the foremost fender section.
-
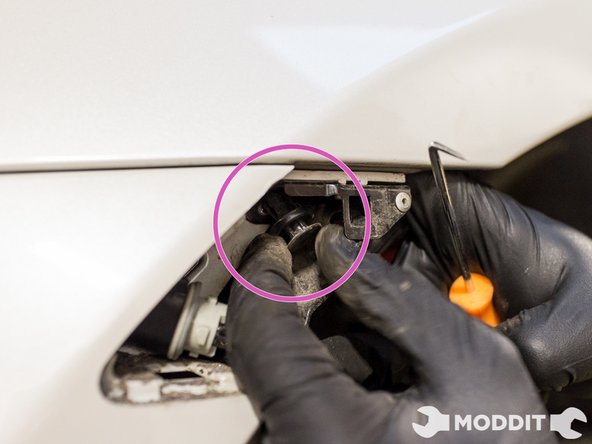
After you remove this clip the sides of the front bumper should easily come off.
-
-
-
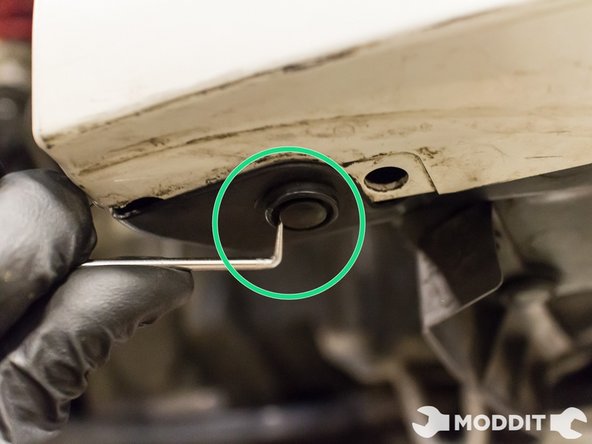
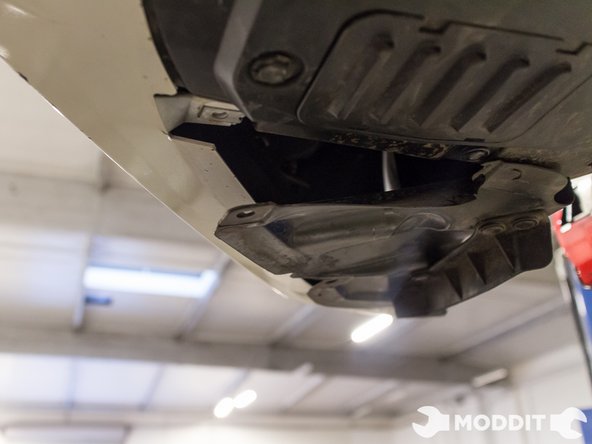
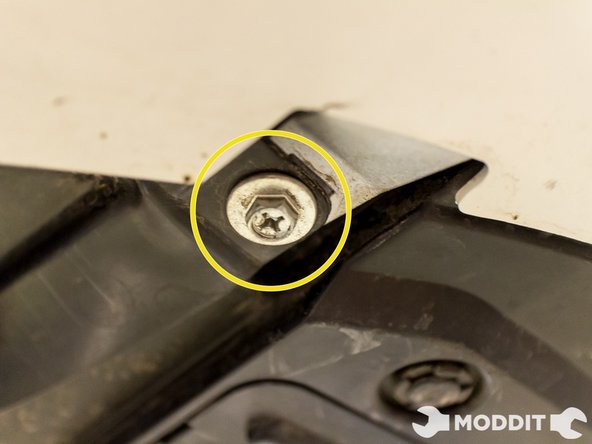
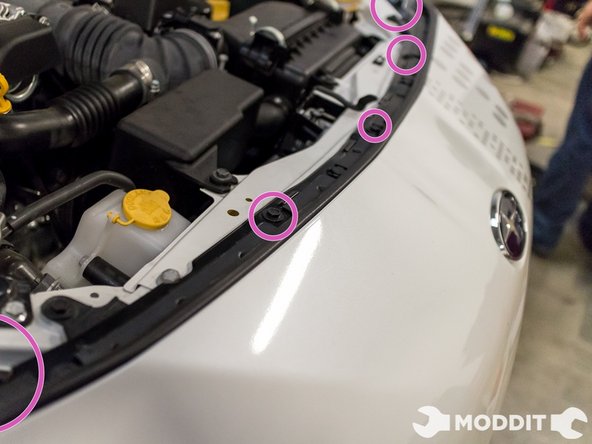
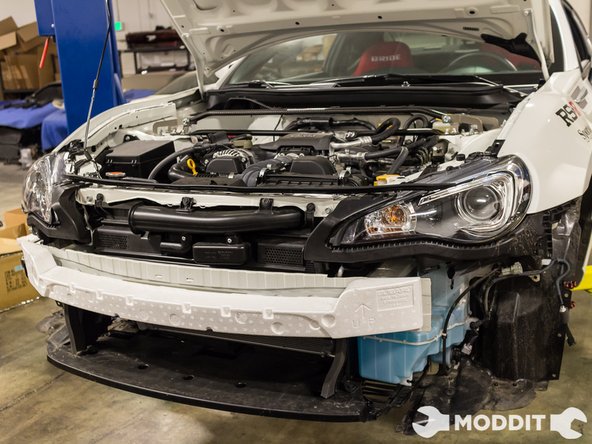
After the top fasteners have been removed, the front bumper can now be pulled firmly from the vehicle.
-
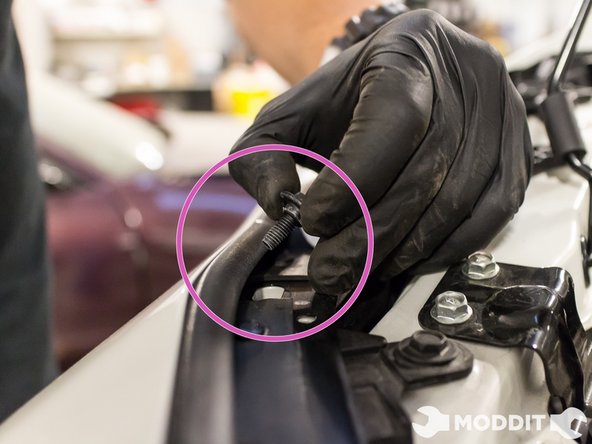
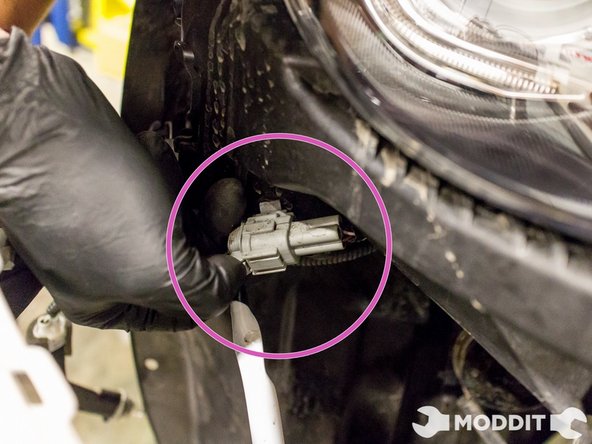
Before completely removing the front bumper however, disconnect the two plugs under the headlights to the fog lights and to the turn signals, on both sides.
-
After performing this last step, you will have succeeded in removing the front bumper on a Subaru BRZ.
-


Cancel: I did not complete this guide.
4 other people completed this guide.