Difficulty
Very easy
Steps
10
Time Required
00:15:00 - 00:30:00

User-Contributed Guide
This guide is not managed by the site's staff.
Introduction
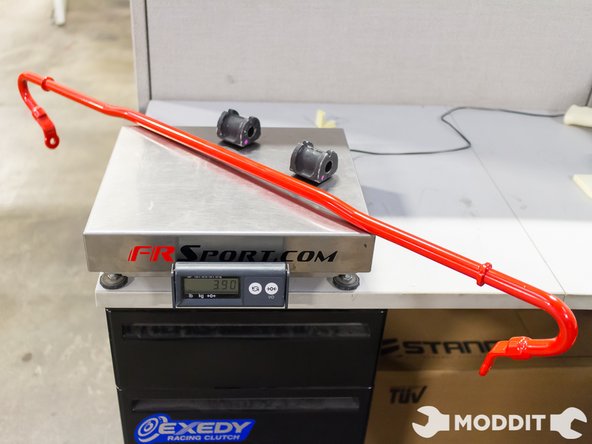
Built for the driving enthusiast, the Sustec Stabilizer eliminates roll for exceptional stability and maximum tire contact patch and grip.
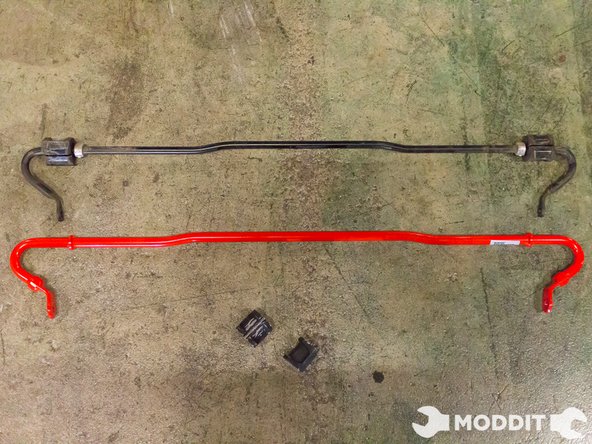
Unique to the Sustec Stabilizer is it's FULL CHROMEMOLY steel alloy construction. Chromemoly's strength is such that a small diameter chromemoly anti-sway bar is significantly stronger than the standard steel anti-sway bars that are larger in diameter.
Chromemoly anti-sway bars, which have typically only been readily available to race users, are now available to all motorsport enthusiasts.
In this write up we will show you how to install the Subaru BRZ Rear version of the sway bar.
-
-
To begin this project you must either get the car up with an available lift or use jack stands in order to elevate the car where you need it.
-
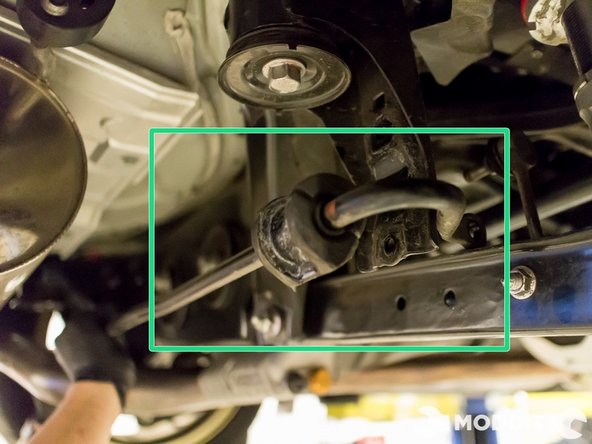
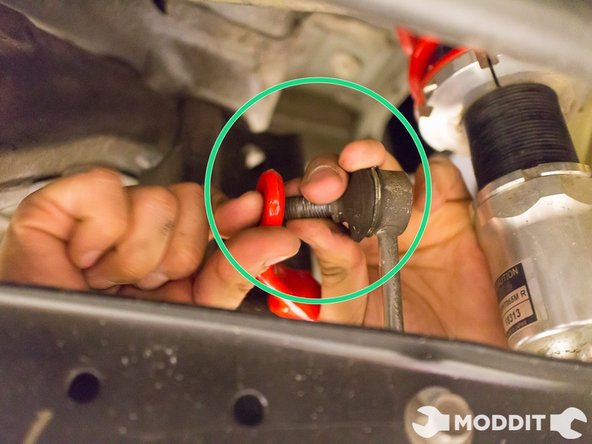
After this is done, we can begin the removal. With a 14mm wrench, loosen the nut supporting the end links to the rear sway bar.
-
-
-
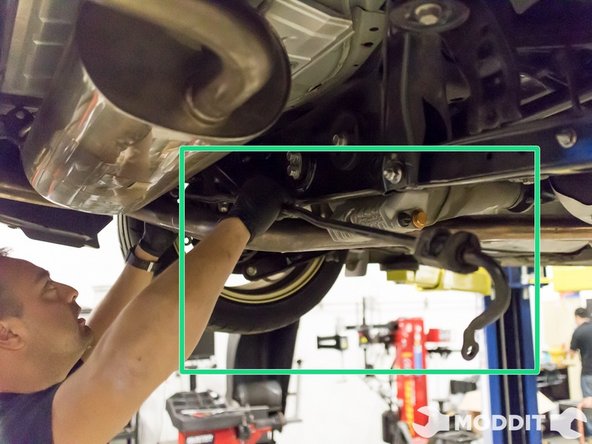
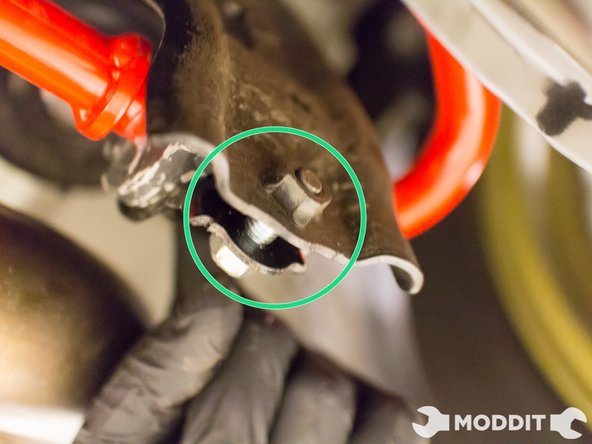
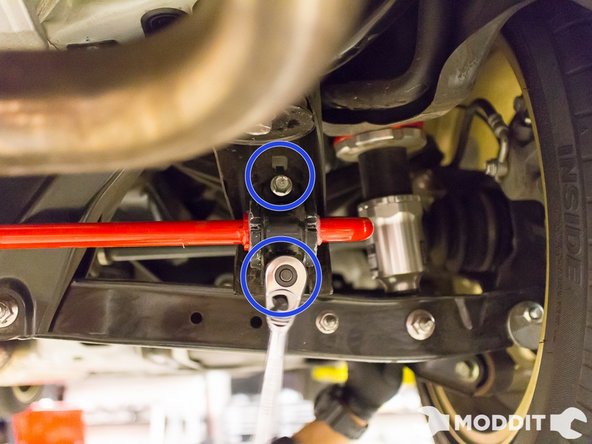
Now using a 12mm socket and ratchet, remove the two bolts securing the bar to the chassis. These bolts also hold on to the brackets which will come off as soon as you remove the bolts
-
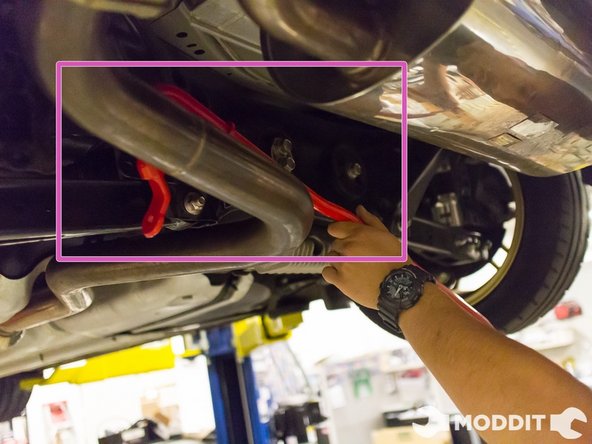
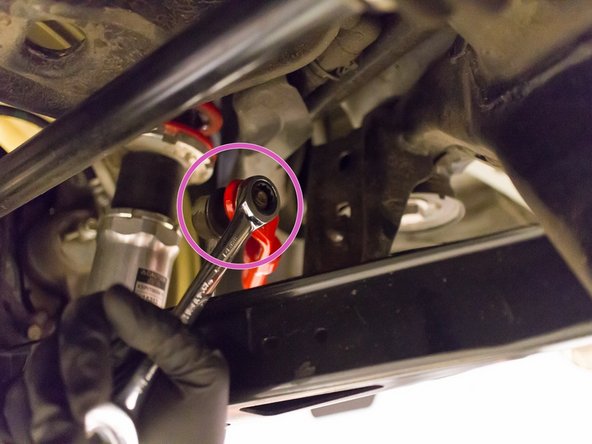
The top sway bar bracket bolt may require an extension due to its position. Maneuver around the exhaust if necessary.
-
-
-
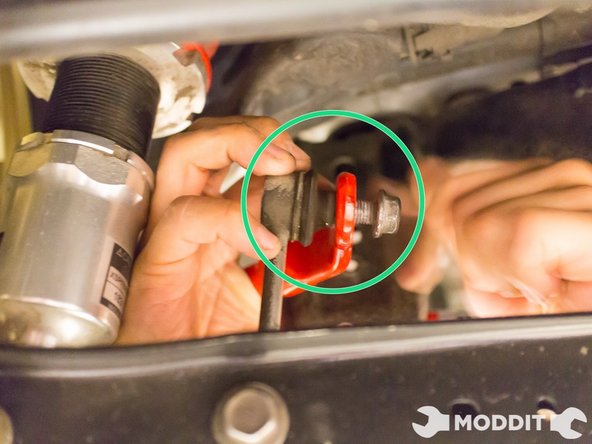
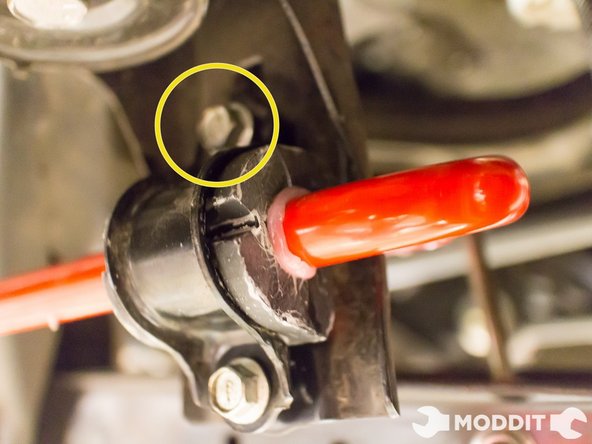
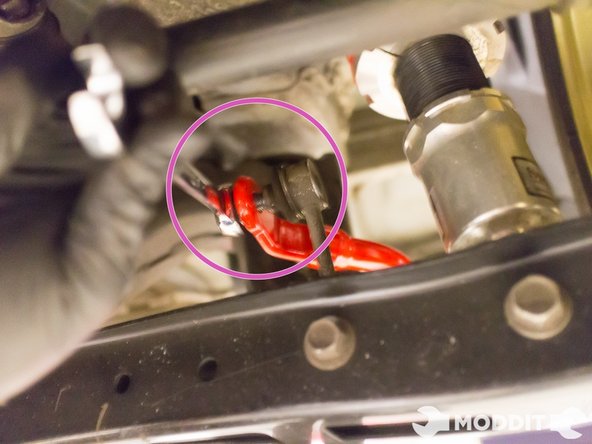
Our first step of the Tanabe sway bar install is to maneuver the bar around the exhaust and attach the end links.
-
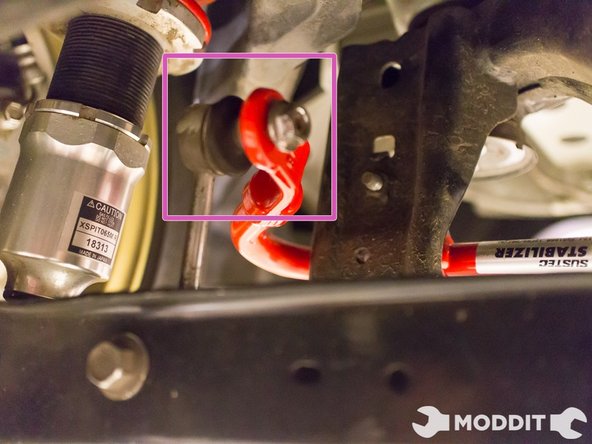
Secure but do not tighten the Tanabe sway bar to the end links. This will help keep the bar in place while you go prep the bushings.
-
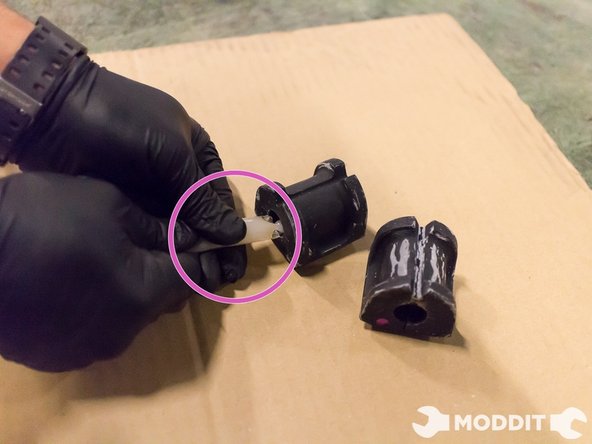
Unlike the front Tanabe Sway Bar install, with the rear bar we can secure the bar first and then follow up by lubing the sway bar bushings.
-