
-
-
To begin the removal of the Subaru BRZ Factory Exhaust you either need to get it off the ground on a lift or use jack stands to secure it above ground.
-
In the images we raised the car on a lift but one can easily secure the car on jack stands as well.
-
-
-
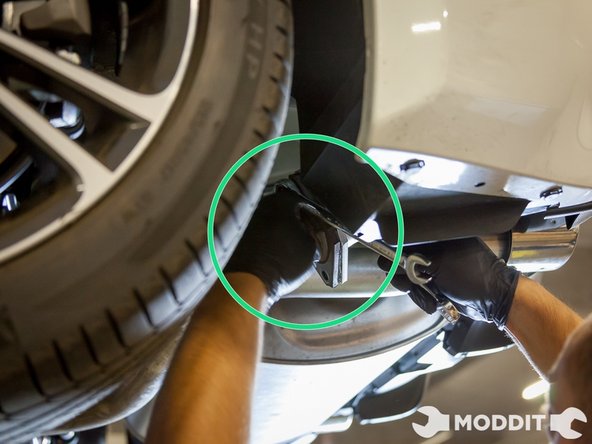
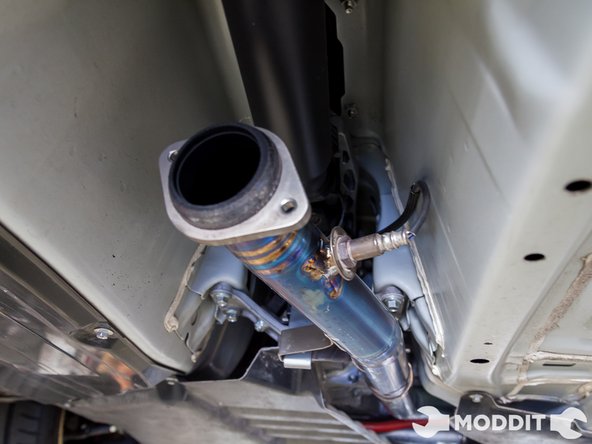
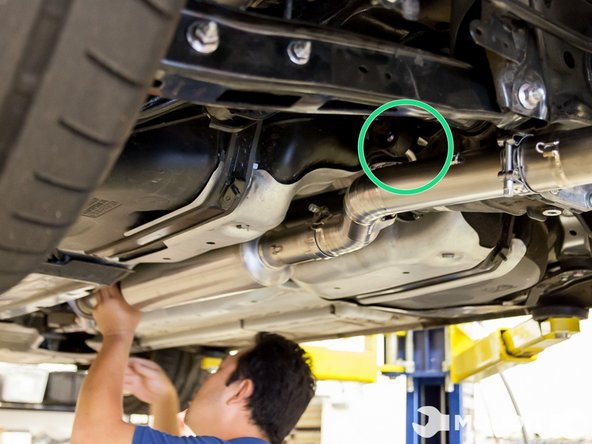
Start by removing the central OEM hardware first, shown here.
-
Our first step was to remove two bolts at the center of the center-most section (aka the Mid-Pipe) using one 14 mm wrench and one 12mm wrench.
-
The 14 mm was used toward the rear on the spring side of the nut while the 12 mm was poised towards the front of the car.
-
-
-
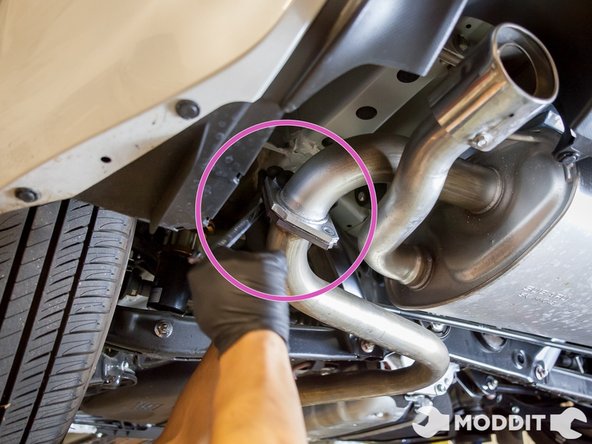
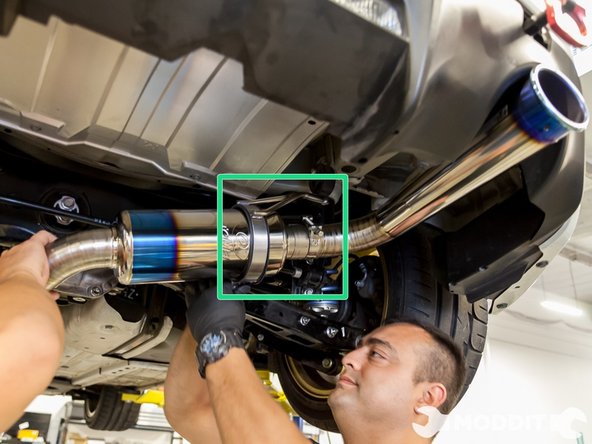
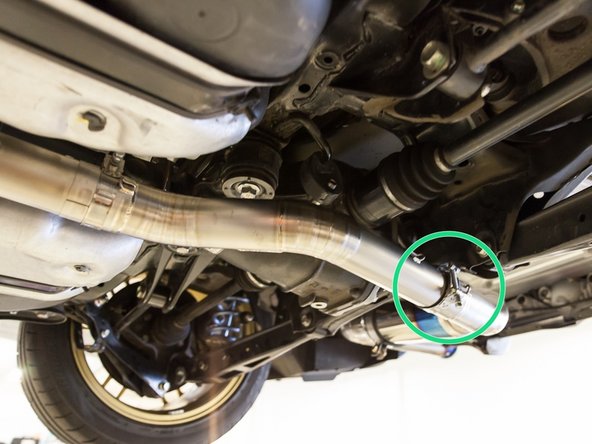
Go to the rear of the car behind the rear wheel to remove the bolts connecting the two sections of the exhaust (The Center/Mid-Pipe & Muffler Portion).
-
You will need to use one 14mm wrench and one 14mm rachet to remove the hardware from the center pipe to the muffler to disconnect it.
-
In some cases you will not need to reuse the rear hardware or exhaust gaskets, if your aftermarket exhaust does or does not come with one.
-
-
-
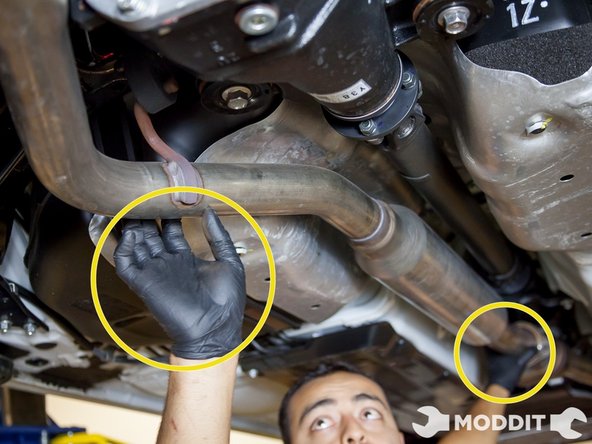
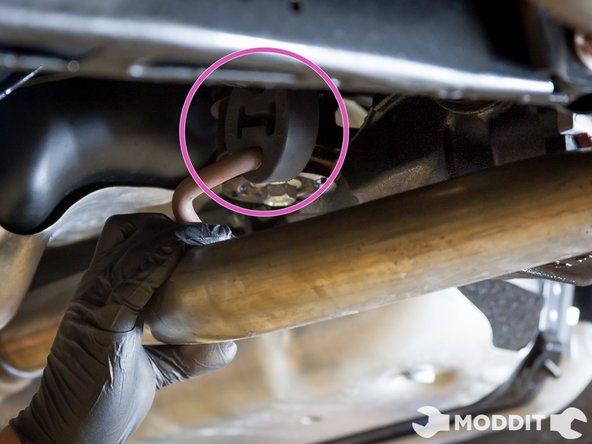
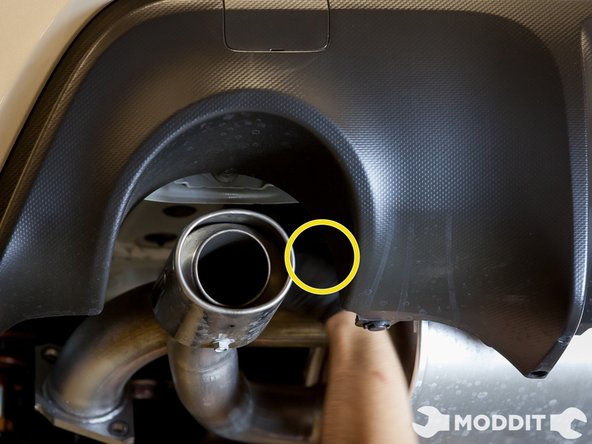
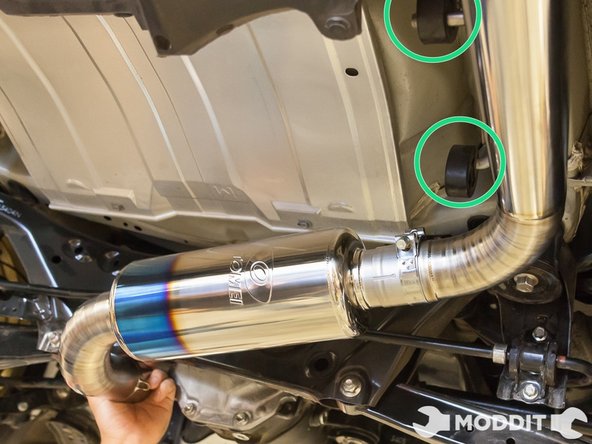
Remove the two exhaust bushings closest to the rear of the car first so that the exhaust tips do not swing up and hit your rear bumper.
-
Be sure to put some cardboard on the ground below your exhaust so you don't scratch the bottom of the exhaust muffler when it swings down.
-
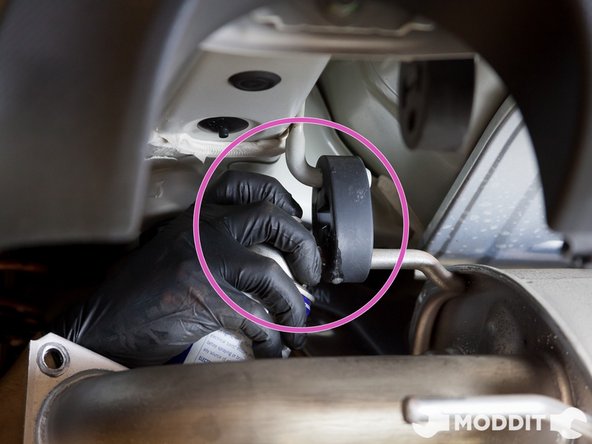
Lubricant spray will assist in separating the bushing from the support.
-
-
-
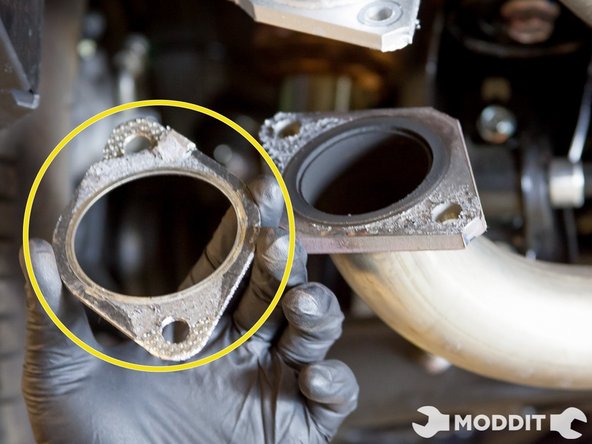
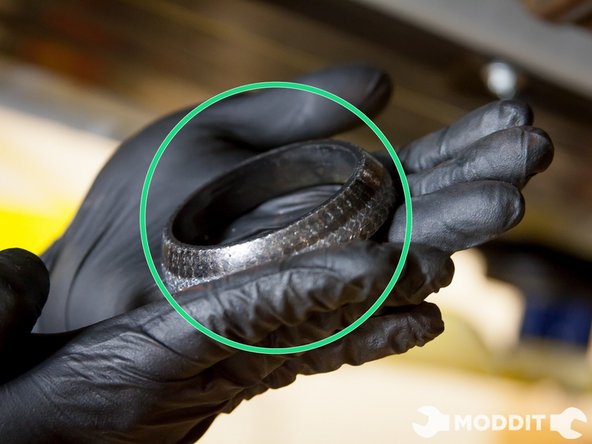
Before installation of your new exhaust, check the front exhaust pipe sealant bushings for damages as you will be reusing it.
-
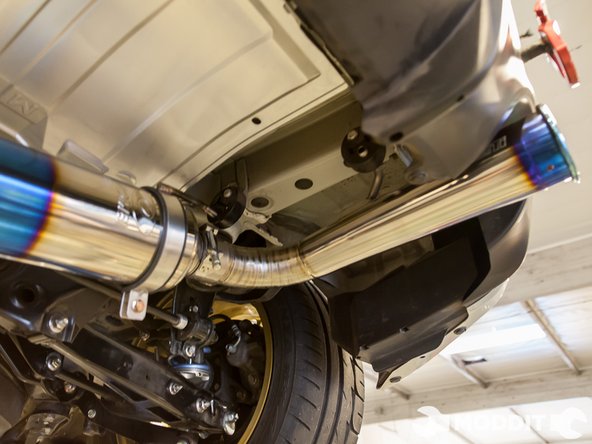
At this point your exhaust should be fully removed and you should be ready to install either a replacement or aftermarket exhaust.
-
The stock Subaru BRZ exhaust comes weighing in at a total combined weight of 38.30 pounds. This includes both the mid-pipe and the muffler portion of the exhaust.
-
-
-
After checking the donut gasket for any damages, you are ready for the installation of the Tomei exhaust system.
-
-
-
The initial step of installing the 60S would be to hang the axleback portion of the exhaust first.
-
Use some sort of WD-40 or PB Blaster to lube the hangers and then wrap the muffler itself with the provided hanger from Tomei.
-
Note: Do not tighten the hanger completely as you will want to make adjustments later on to line up the tip of the exhaust.
-
-
-
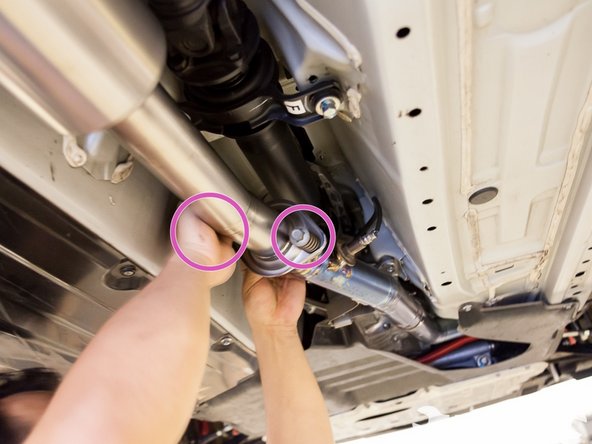
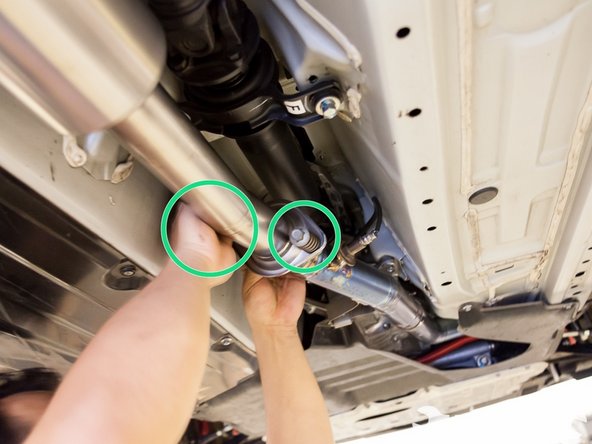
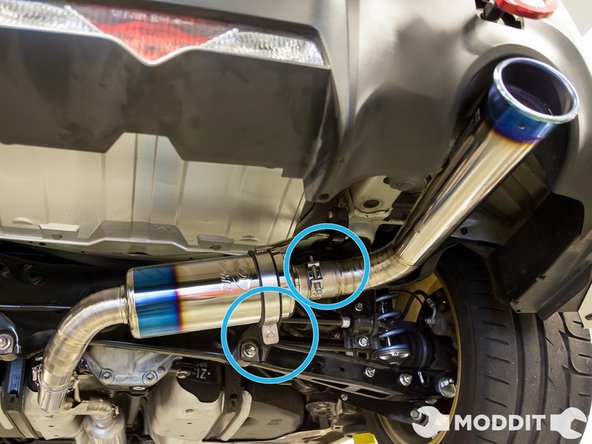
With everything lightly bolted, slide the midpipe into the axle back to make a good connection between the two.
-
After sliding it in, twist the clamp to the direction you would like for it to sit at and tighten it. Do not over torque as you may break or deform the piping.
-
The slip on style exhaust makes an easy seal between each other vs Flanged style exhausts.
-


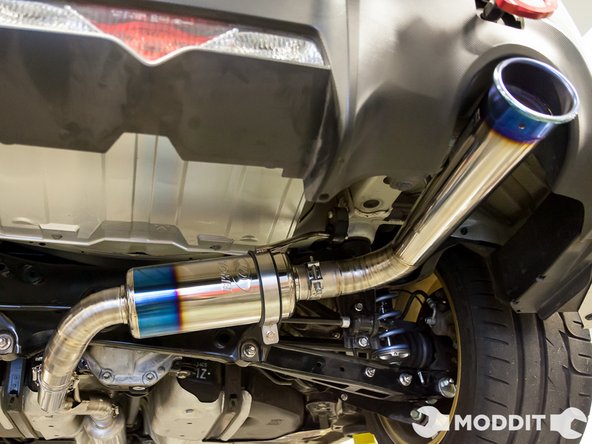
The Tomei Type 60S Titanium exhaust is a great replacement for the OEM System. The loudness of the exhaust can be heard so make sure to enjoy it loud and proud.
The Tomei Type 60S Titanium exhaust is a great replacement for the OEM System. The loudness of the exhaust can be heard so make sure to enjoy it loud and proud.
