Installing the Tanabe Rear Strut Bar for the Subaru BRZ is one of the easiest mods one can perform on their ZN6 Vehicle.
If you are concerned with the addition of weight to the car here is how much the item actually weighs, 3.30 lbs.
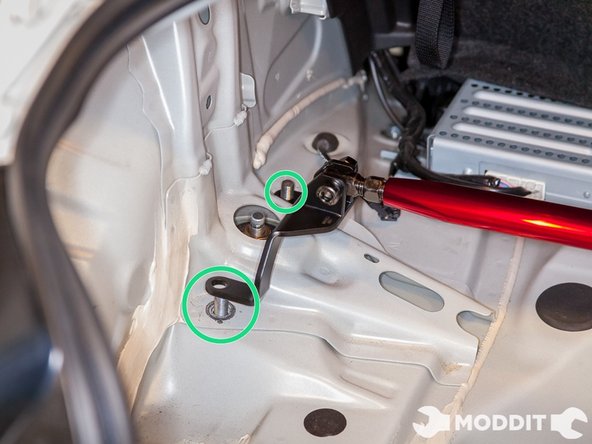
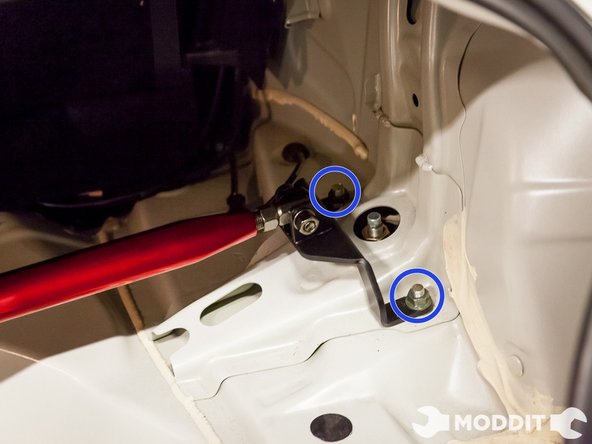
Next, we located the pair of bolts holding in place the rear struts and onto which the strut bar would go on.
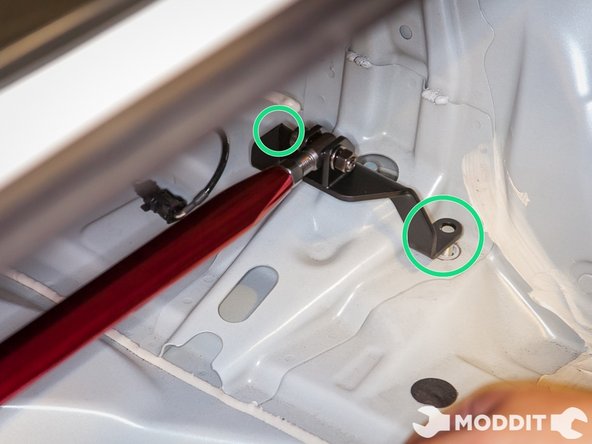
In these images we already had the bolts removed and were placing the strut bar ends onto the strut bolts.
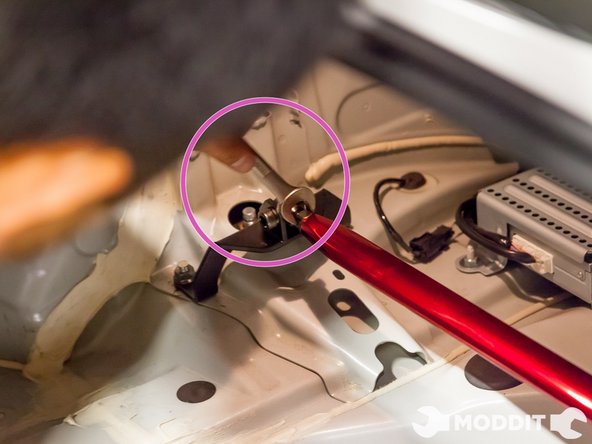
Because the strut bar may have been moved or its position changed we had to manipulate it into place and made sure that its geometry was straight.
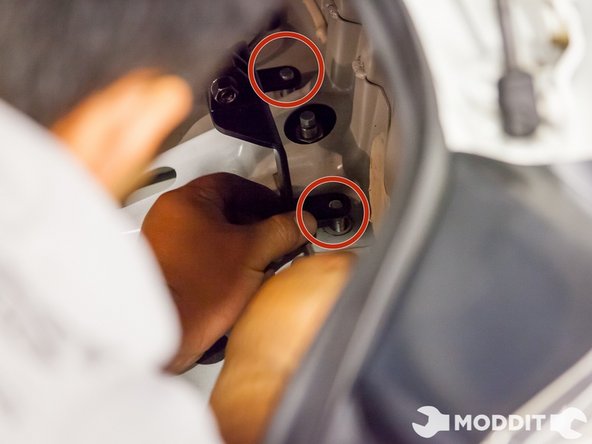
In these images we hand tightened down the bolts in order to allow us to adjust the center of the bar better.
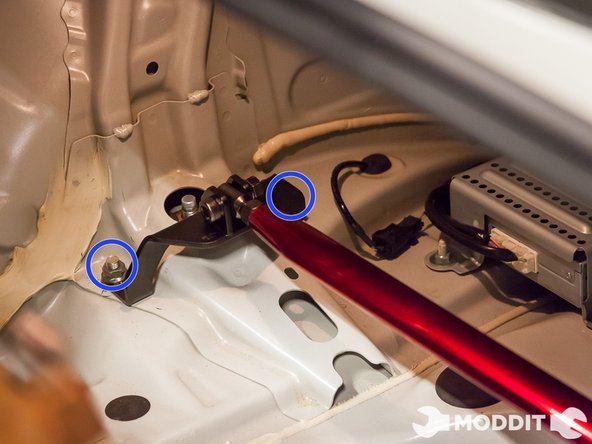
We then moved on to making sure that the center of the bar was equally set between the two Tanabe Strut Bar ends.
Using the appropriate wrench, we adjust the bolt shown and made sure the bar was in the center and that not one side had more tension then the other.
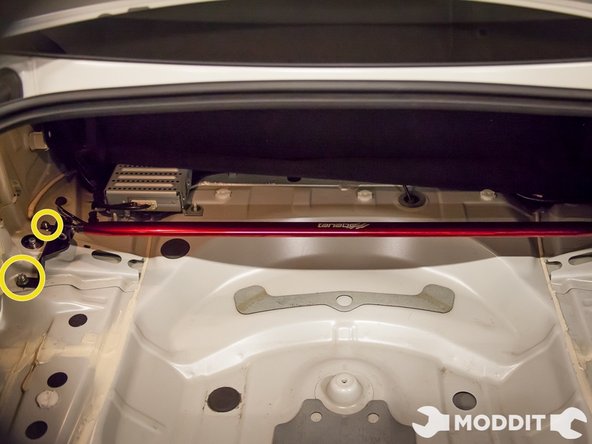
Finally once the center section was secure and equally distributed, we moved onto perform the final tightening.
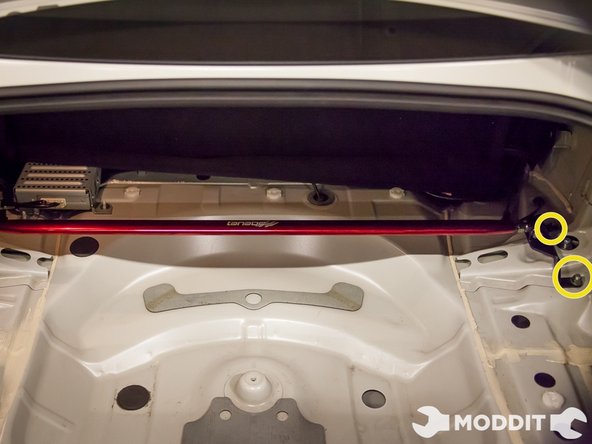
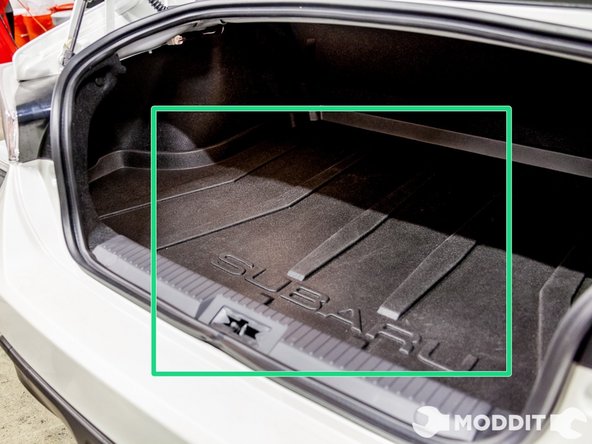
Once this step is complete your install is essentially finished. Put back all the liners that go in the trunk and you will have succeeded in performing this install.
Embed this guide
Choose a size and copy the code below to embed this guide as a small widget on your site / forum.
Single Step
Full Guide
Small - 600px
Medium - 800px
Large - 1200px
Preview