Introduction
Adding a strut bar to the Subaru BRZ enhances the car's already remarkable handling to another level. Since it did not come with one out of the factory we decided to create a write up of our latest suspension/bracing addition.
-
-
The process of installing the Tanabe Strut Bar is very simple. This modification is one of the easiest to perform and ultimately helps the road handling and feel of the Subaru BRZ.
-
In the image shown we can see that our new strut bar weighs in at 4.30 lbs. This is a marginal increase in weight compared to the benefits that we get out of having something brace the two shock towers.
-
-
-
The Tanabe bar is designed in a way that will bolt up to the designated location without removing the two Firewall-to-Strut Shock Tower bars that come with the Subaru BRZ
-
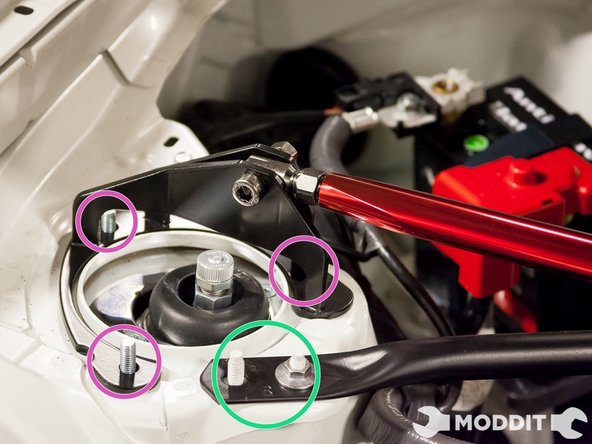
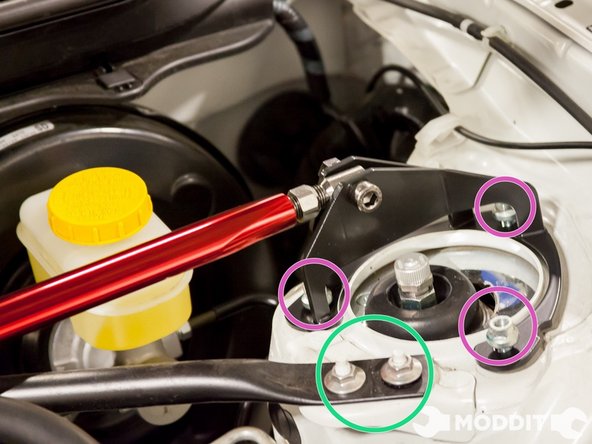
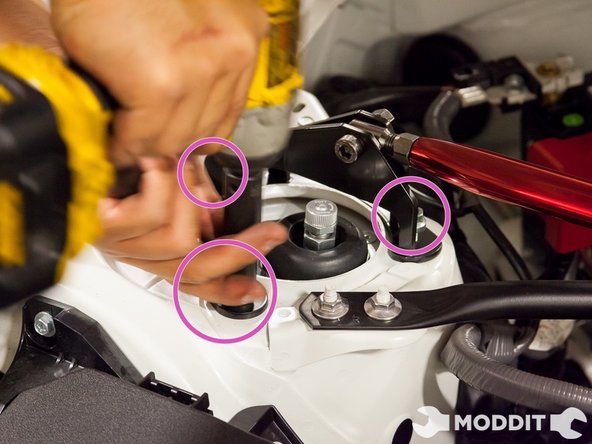
The strut bar also comes pre-assembled from Tanabe, so all you have to do initially is slip the holes over the corresponding strut bolts.
-
Leave a bolt or two halfway spun onto the bolts so that the bar doesn't move or fall off as you are dialing in all the settings and final positioning.
-
Once this is done we can move onto our next step.
-
-
-
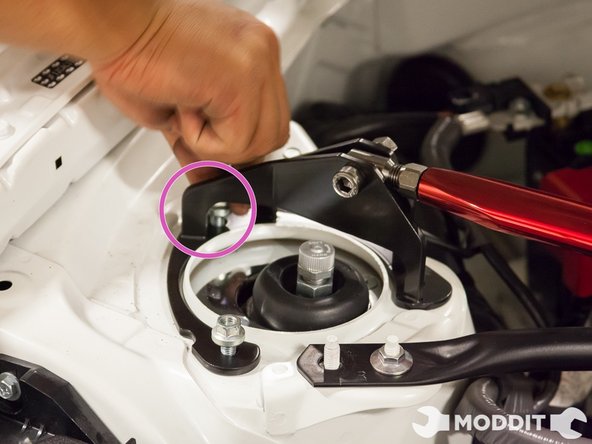
Now that you have a couple bolts somewhat holding the bar, go ahead and screw them on a bit tighter by hand so that you can better adjust the Tanabe Strut Bar.
-
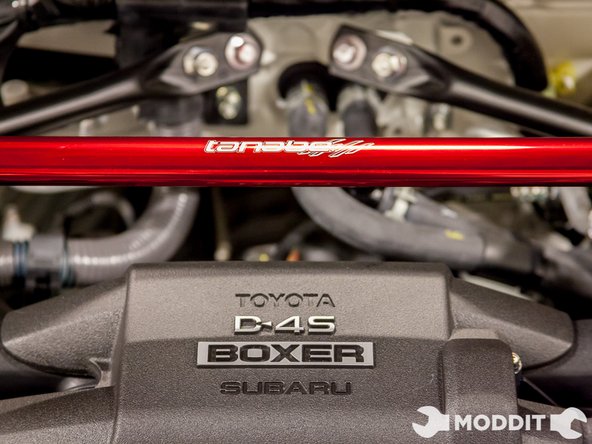
Rotate the center portion or body of the strut bar so that it becomes flat or parallel to the ground and you can clearly see the Tanabe logo facing the top.
-
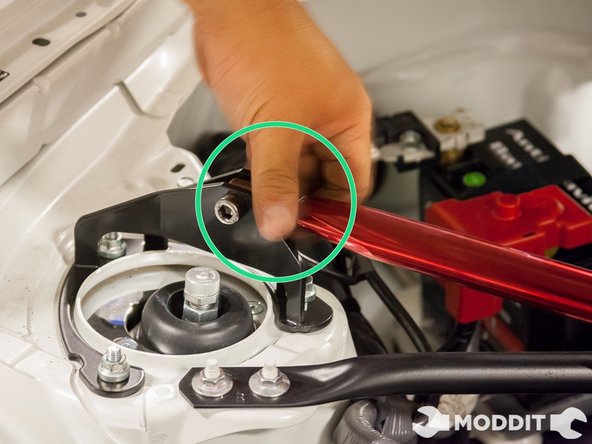
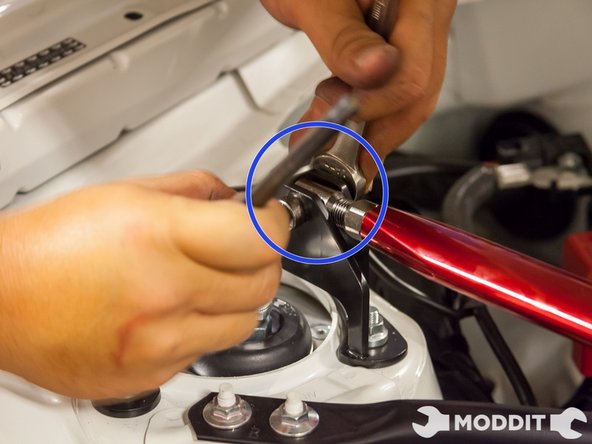
Once you feel every connection is properly lined up, continue to tighten the center section with the strutbar ends. Using the correct size Allen Key and Regular 14mm Wrench hand tighten the two pieces together.
-
-
-
After your Tanabe Strut bar is properly squared you are free to move on to the final tightening.
-
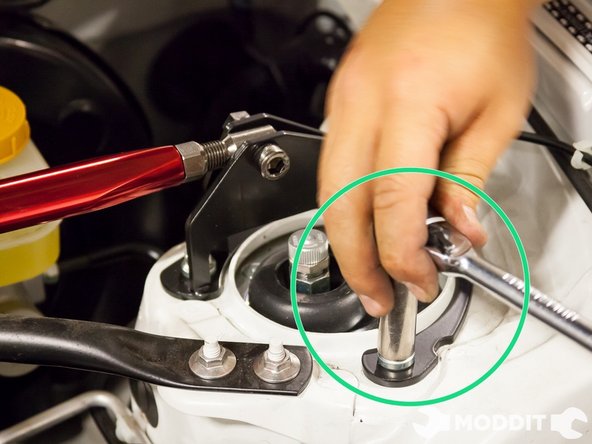
We began initially using a 12mm socket and ratchet simply to make sure we didn't thread any oof the bolts that hold our critical suspension hardware.
-
After all the bolts were tighten down with the ratchet tool, we proceeded to finally use the impact gun to finish the project.
-