
Introduction
The install of this fuel rail is fairly straight. It converts the injectors from Side feed injectors to top feed. This install will cover the removal and install of the OEM fuel rail, stock Injectors and will show the install of the Radium Fuel Rail and Top Feed Injectors.
Tools
No tools specified.
-
-
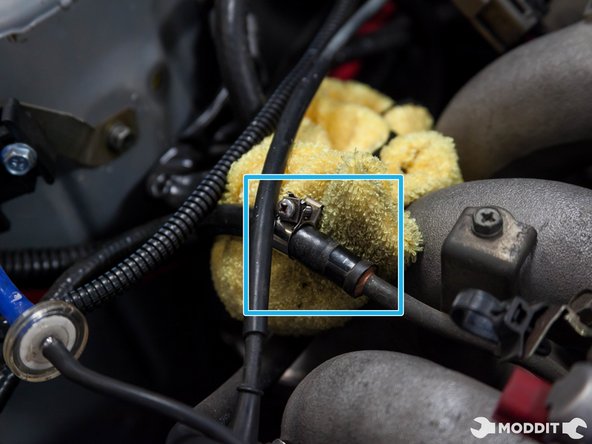
First step in removing the fuel Rail would be to depressurize the system. Remove the gas cap and pull the fuel pump fuse. Run the car til there is no more fuel in the lines and the car dies.
-
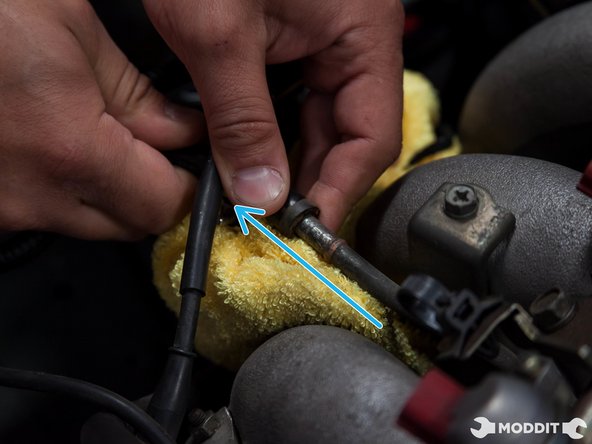
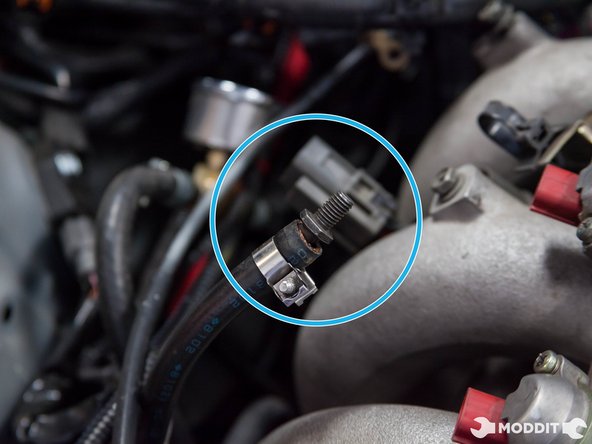
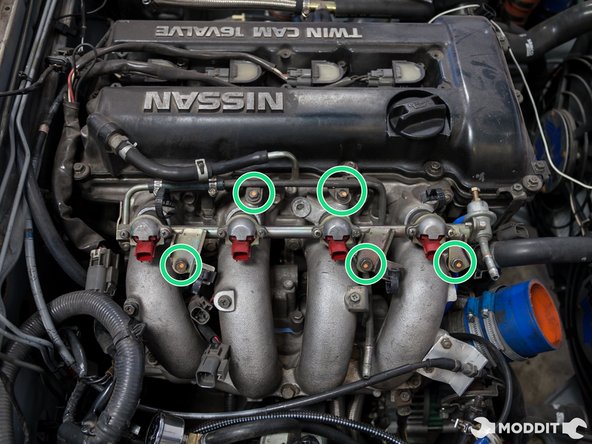
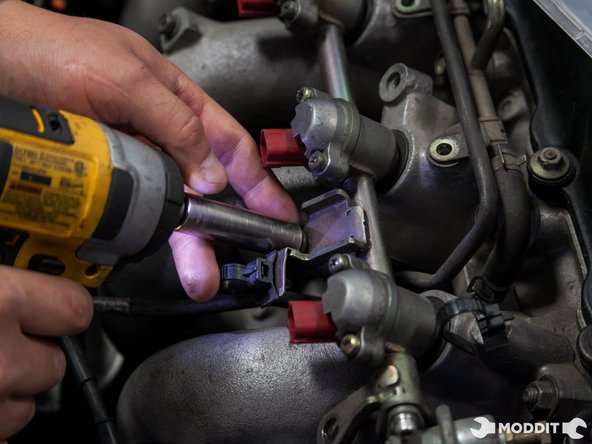
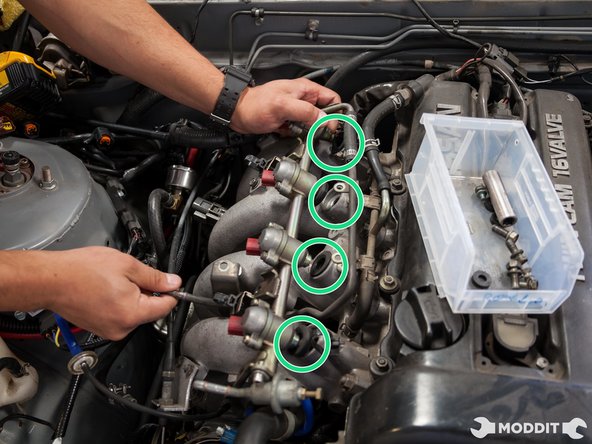
Then start by un-clipping the injectors from the harness.
-
-
-
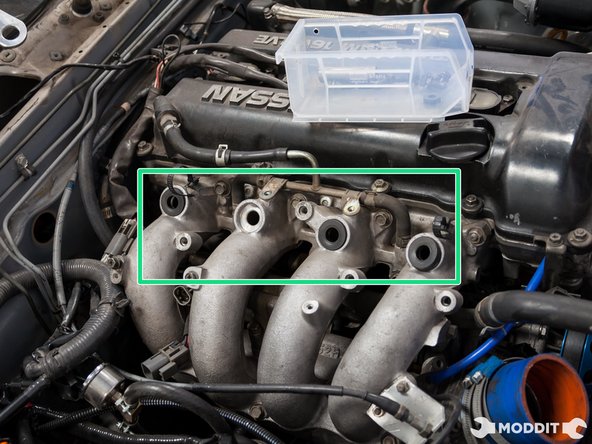
After the injector seats are inserted, the fuel rail is ready for the injectors.
-
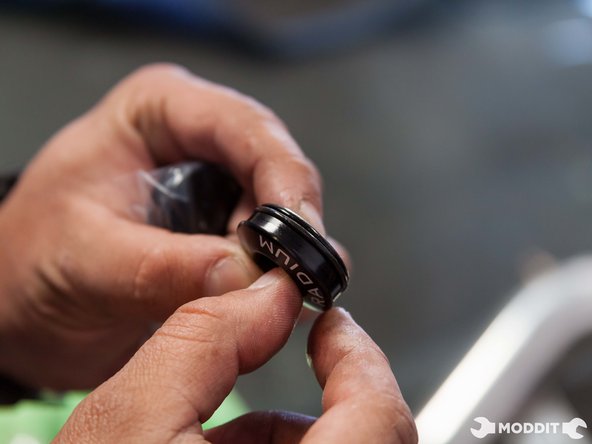
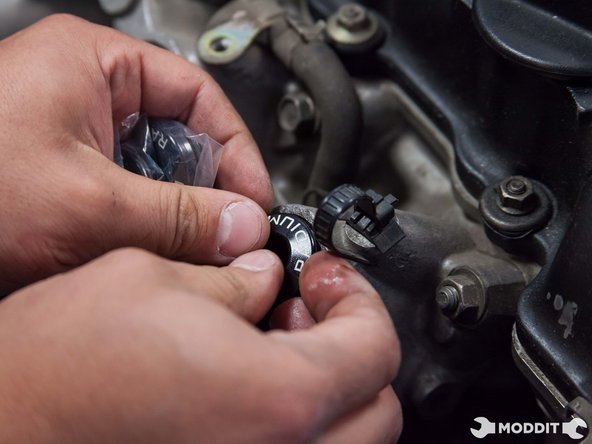
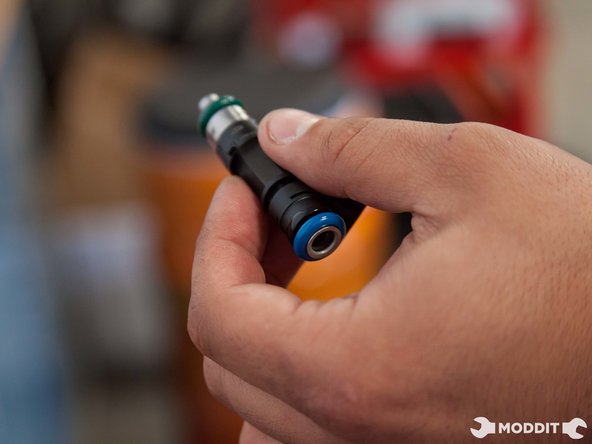
Dab the injector o-rings with oil or some sort of lubrication and carefully insert each one into the fuel rail.
-
Depending on your own preference, you can point the injectors upwards or downwards for their connectors.
-
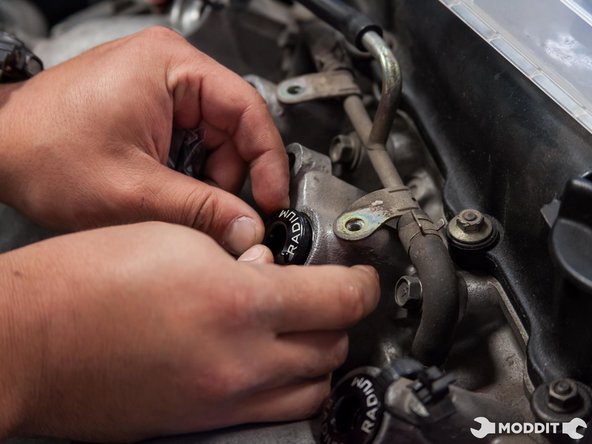
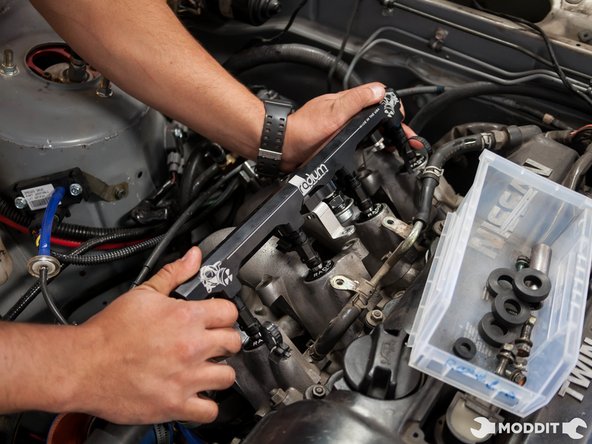
Then you are ready to insert the injectors into the intake manifold with the fuel rail.
-
-
-
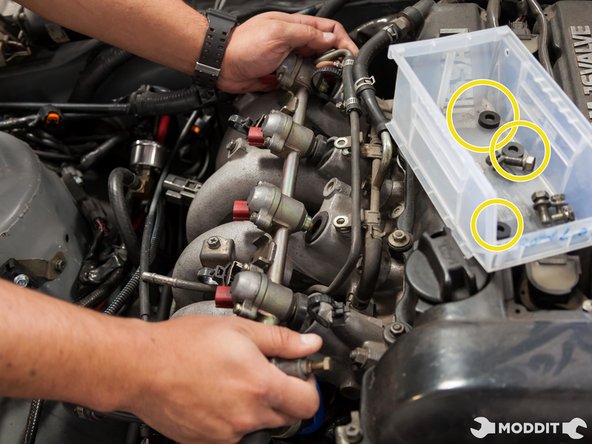
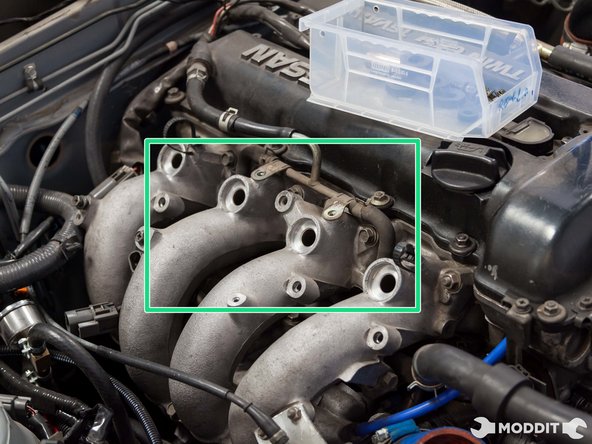
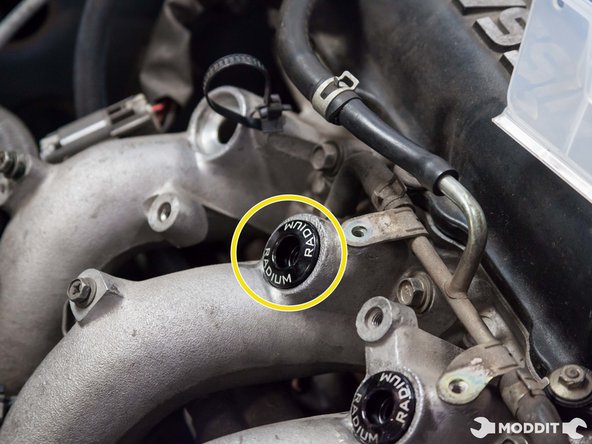
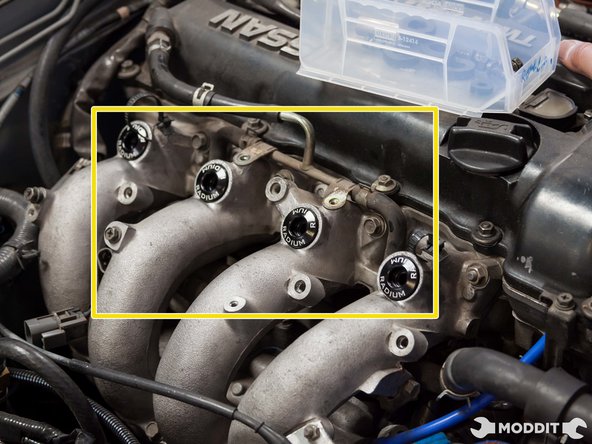
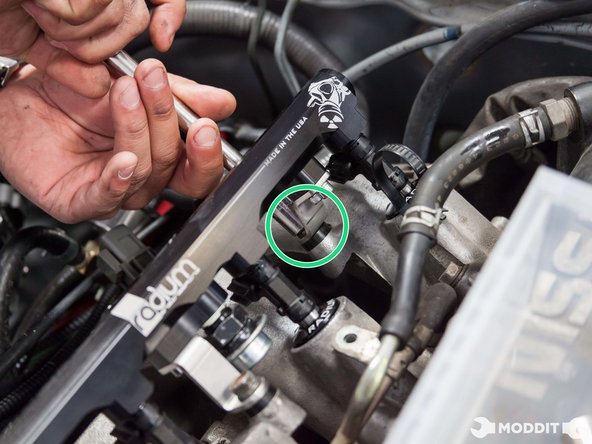
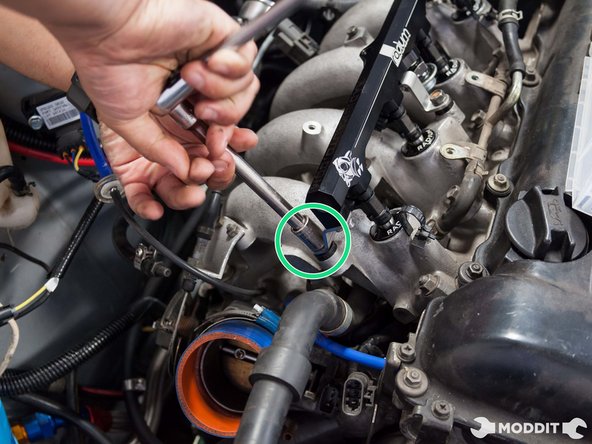
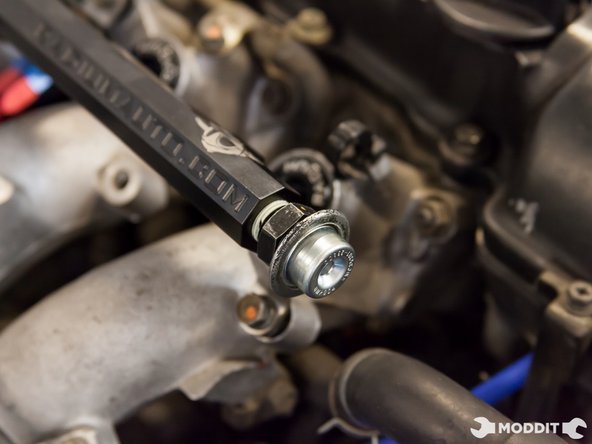
After all injectors are seated properly, its time to tighten down the fuel rail.
-
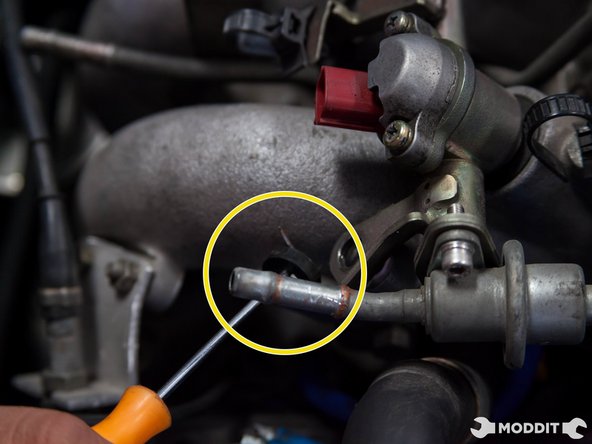
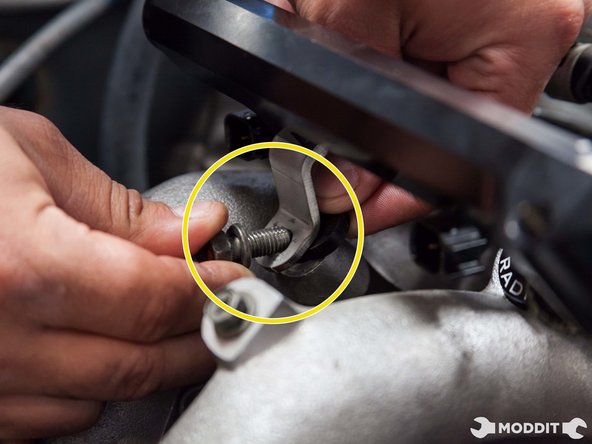
Before adding the screws, do not forget to put the fuel rail spacers in between the fuel rail and the intake manifold
-
These spacers will make sure that everything is lined up properly.
-
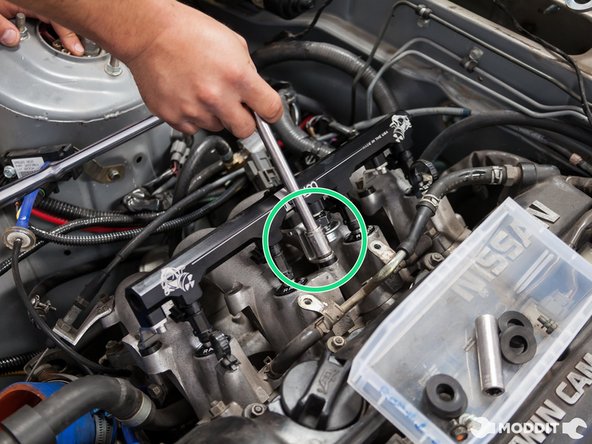
After the spacers are in an the rail is snugged up, its time to tighten it own.
-
-
-
During our install, we were not able to put the fuel pressure gauge on the rail as it was hitting our hood. So we opted to install a fuel pressure regulator on the vehicle.
-
The fuel pressure regulator contains the gauge and will need creative mounting to become usable.
-
We also mounted the fuel damper on the front of the rail as the rear of the rail goes to the fuel pressure regulator.
-


An upgraded fuel rail allows for better flow and better control over the fuel system's efficiency in your vehicle.
An upgraded fuel rail allows for better flow and better control over the fuel system's efficiency in your vehicle.
Cancel: I did not complete this guide.
One other person completed this guide.

2 Comments
What is the advantage of running the custom rail and top feed vs the standard/aftermarket side feeds?
davidsanegor - Resolved on Release Reply
Hi David,
The advantage is that we were able to use ID 1000's. I do not recall very many companies that make anything over 850cc for a side feed injector.