
Difficulty
Moderate
Steps
14
Time Required
01:00:00 - 01:30:00

User-Contributed Guide
This guide is not managed by the site's staff.
Quiz
0
Introduction
In this install, we show the difference between the stock OEM over pipe VS. the Perrin Over Pipe on a Subaru BRZ. We also show a quick how to on the install process as well.
-
-
Initially, before starting on any project on the front of the car, you would want to get it in the air. Supported by Jack stands.
-
There are various bolts on the back under tray that need to be taken off with a 10mm socket
-
There are 11 Bolts that have to be taken off to remove the black under tray.
-
-
-
After getting the rear under tray off, its time to move on to the front under tray.
-
Theres 7 black clips that require a flat head to pop out. Be careful not to break the head on these. Once they pop out, just pull them out of the hole.
-
After the Clips are out, go ahead and use the 10mm socket to get the bolts out. There should be (8) 10 mm head bolts holding up the under tray.
-
Once those bolts are taken out, the under tray will drop. Be careful not to damage the tray as it is a key item in the undercarriage of the vehicle.
-
-
-
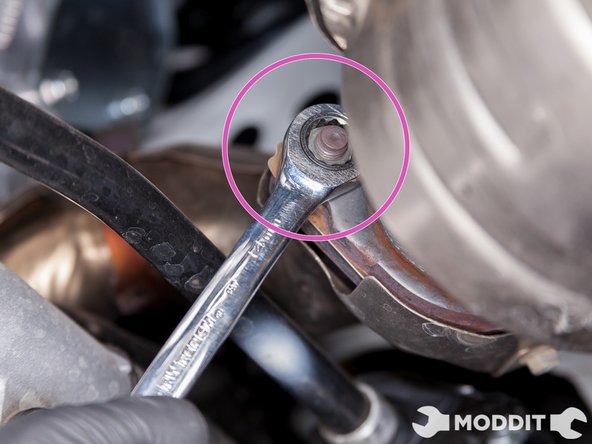
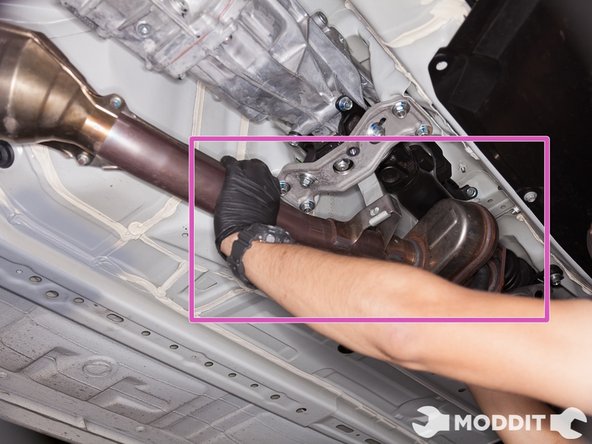
First step is to unbolt the nuts from the front pipe that connects to the cat back part of the exhaust. Keep these, as they will be reused later on.
-
-
-
Caution, depending on your region's weather condition, oxidation must make it difficult to remove nuts.
-
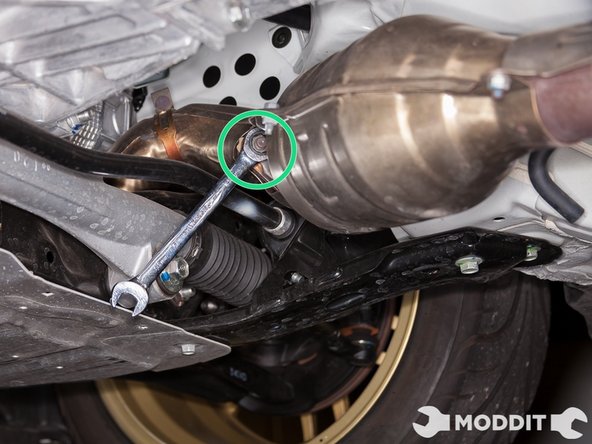
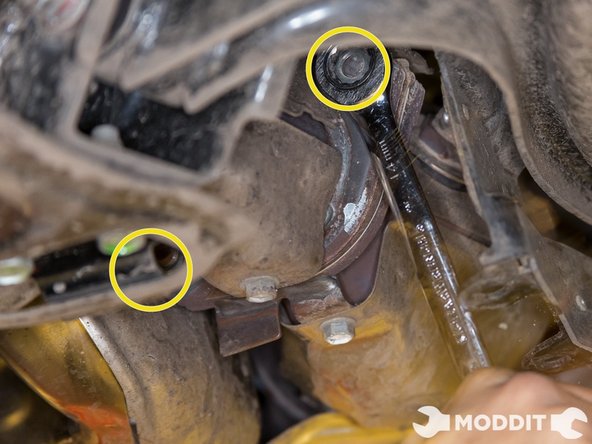
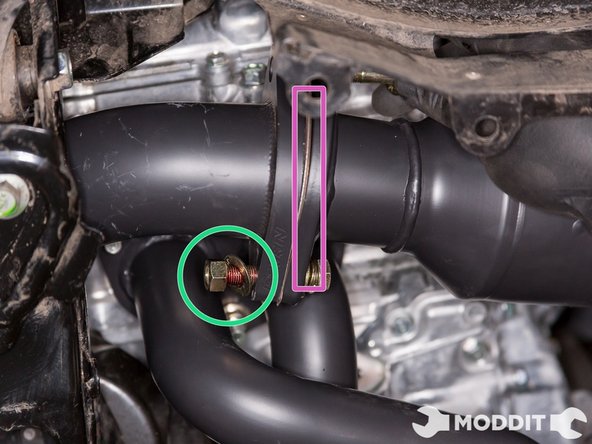
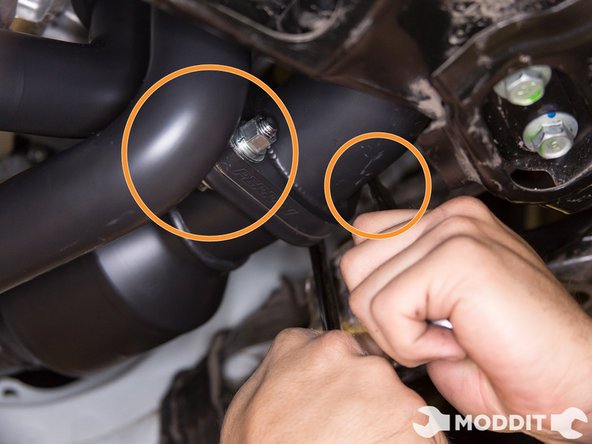
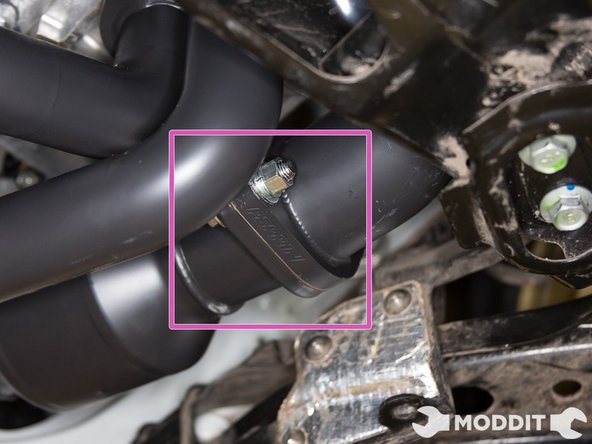
Using a 14mm wrench, remove the two nuts holding the frontpipe to the overpipe.
-
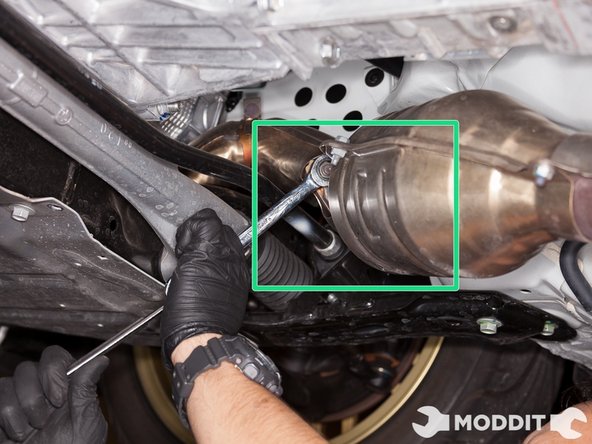
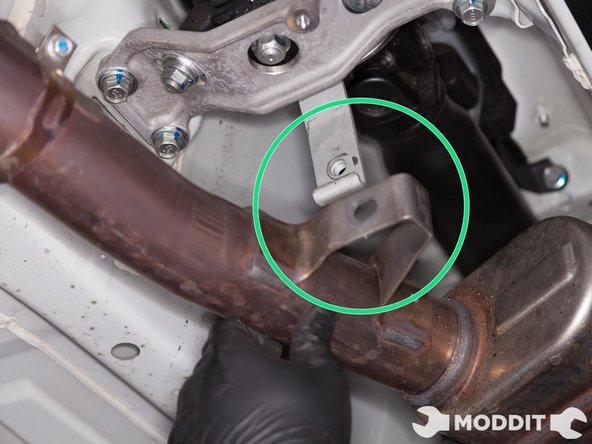
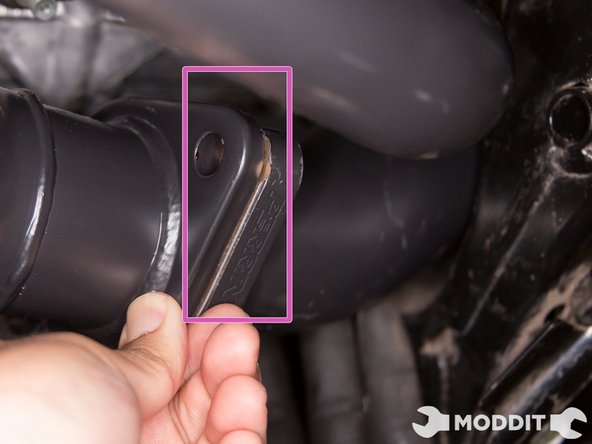
Utilizing a 14mm wrench, remove the bolt supporting the front pipe to the transmission mounting bracket.
-
-
-
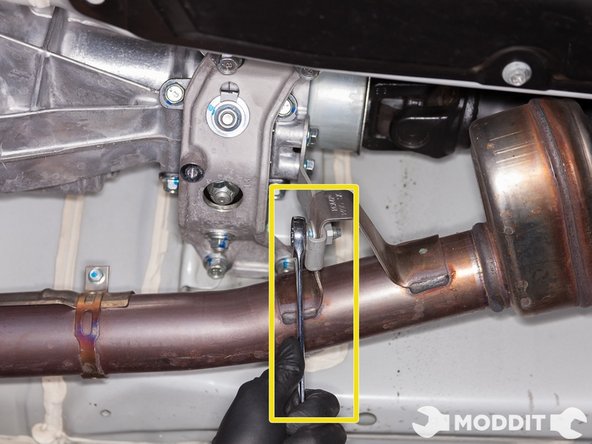
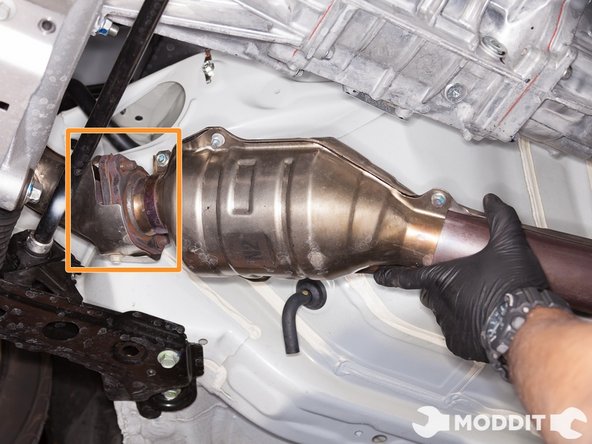
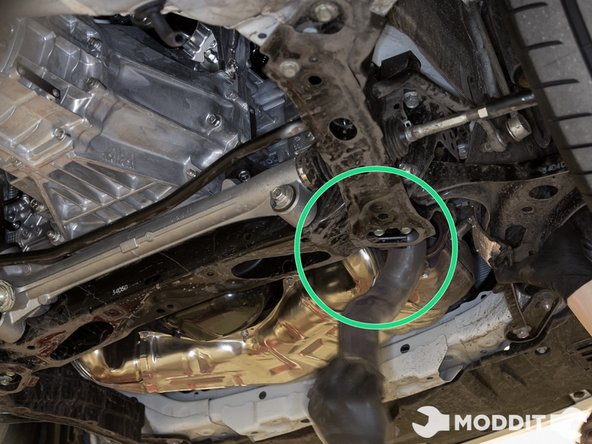
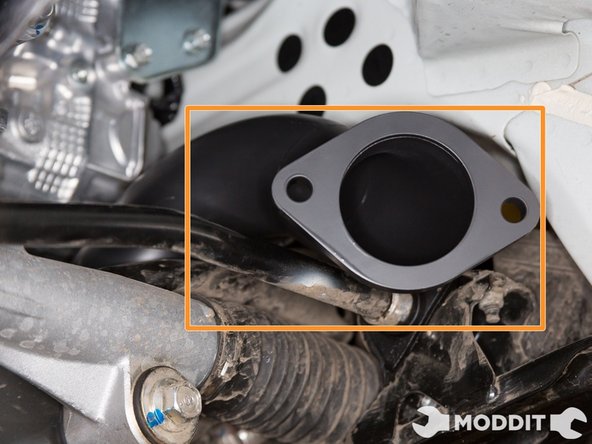
After the removal of the front pipe, you are now ready to move on to the over pipe.
-
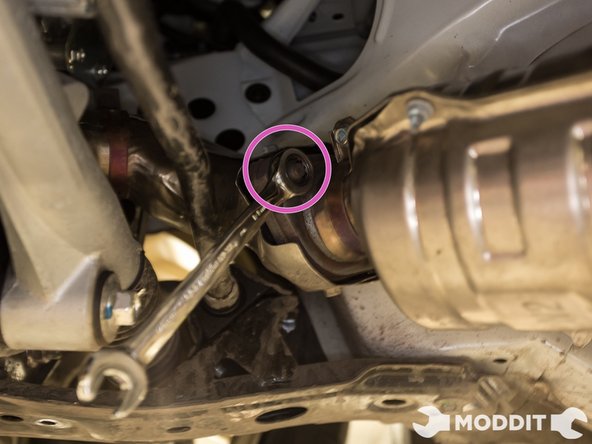
Remove the nuts securing the overpipe to the header. A 14mm gear wrench is suggested.
-
-
-
After you've gone through the removal of the under trays and splash guards, youre probably thinking to yourself, WHY AM I DOING THIS!!.....lol
-
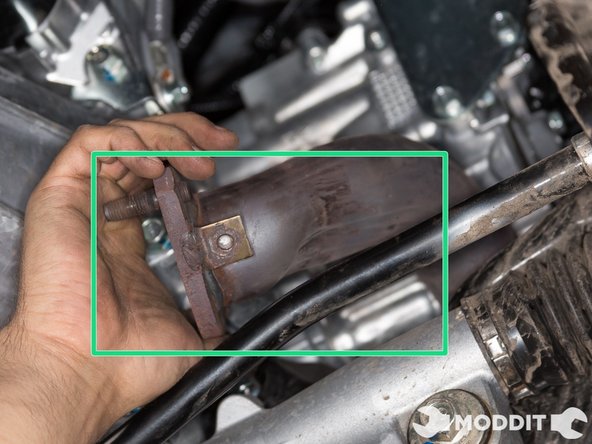
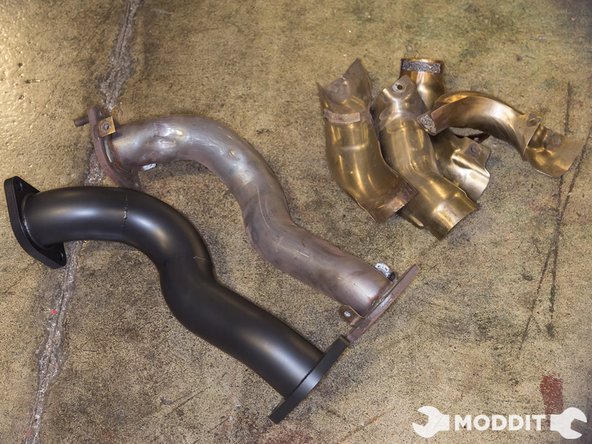
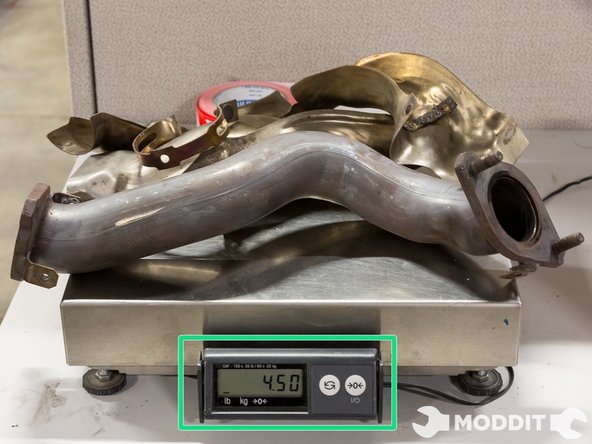
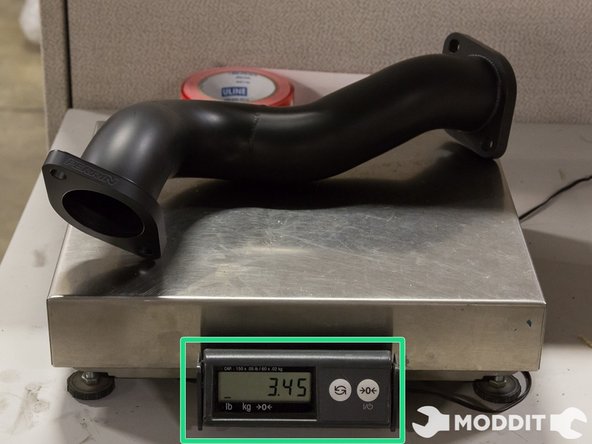
Just think about the stock over pipe vs the Perrin one and You will realize there's power that need to be released, along with sound and responsiveness.
-
Not Only is the perrin overpipe wider, its also a bit straighter and lighter. This increases engine response and relieves some tension from the restrictive stock exhaust.
-
-
-
So once you've let out the frustration from the removal of the stock overpipe, its time to install the new aftermarket one.
-
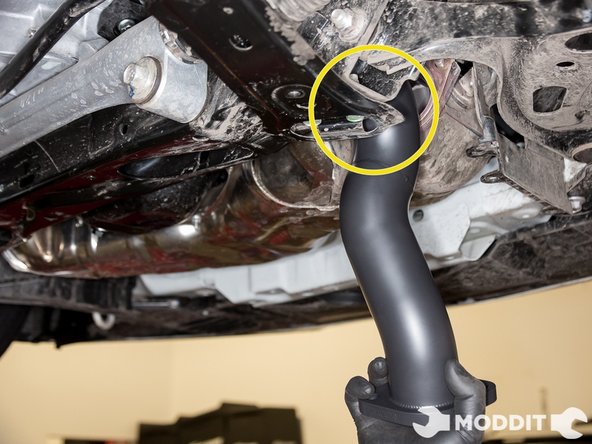
We start out by maneuvering the over pipe over above the sub frame and steering rack.
-
Twist in a counter clock wise motion until the two flanges meet their matches on the front and rear of the pipe.
-
-
-
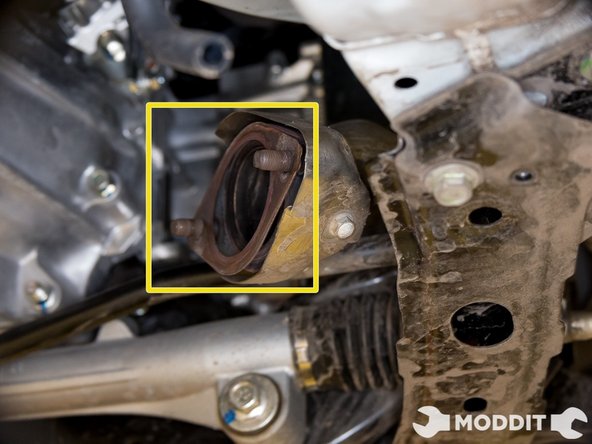
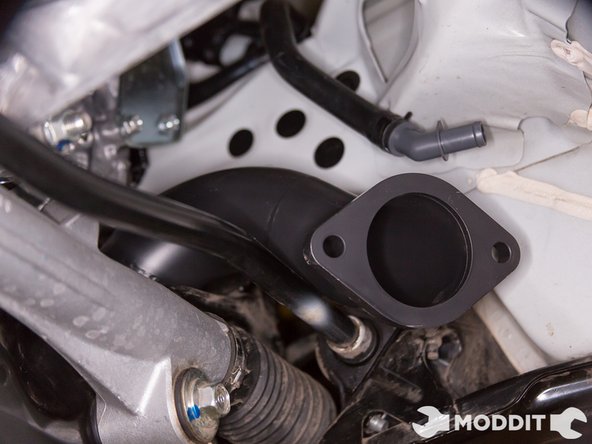
Before the excitement kicks in and starting to bolt everything in, make sure you have the gaskets in place on the ends of the pipes.
-
These gaskets make sure that you have a good seal within the exhaust and it also keeps the fumes out from being vacuumed into the car during a leak.
-
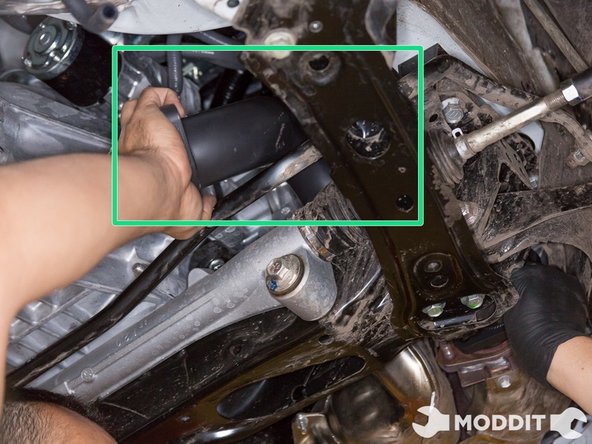
After you have the gaskets in place, pull the over pipe to the header, then start bolting it down.
-
-
-
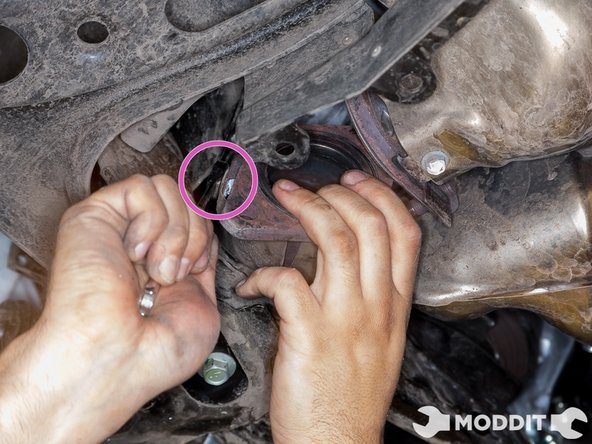
Once the over pipe is loosely connected to the header, go ahead and connect the down pipe on the back of the over pipe.
-
Do not forget about the gasket again as you would want the exhaust to seal perfectly.
-
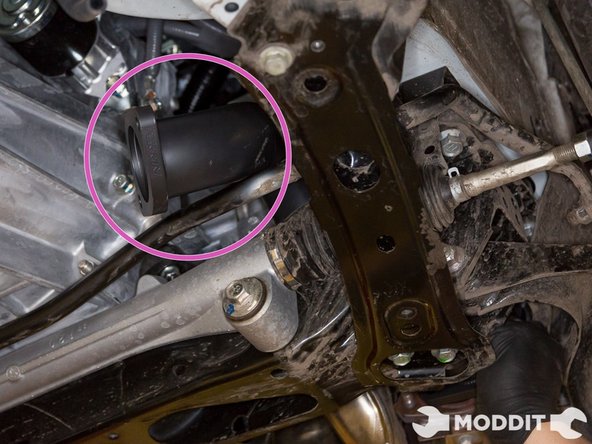
Wiggle the over pipe into place to match up the holes with the down pipe. Then start bolting the two together as well.
-
-
-
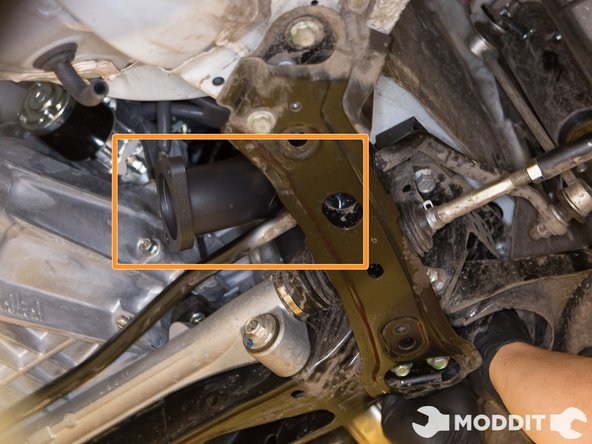
Once all 4 bolts and 2 gaskets are in place, you can start bolting and tightening everything together.
-
After all bolts are tight, make turn on the car and make sure there are no leaks in the system.
-
After making sure there's no leaks, go ahead and start putting everything back in place. Including the splash shield and undertray.
-
When you're completely and absolutely finnished, go for a drive to your local supermarket, pick up something to drink and enjoy that new fancy sounding boxer motor of yours.
-


With the lighter exhaust, and the opened up flow, the car should feel a lot more responsive. The perrin over pipe is a great addition to a full exhaust system.
With the lighter exhaust, and the opened up flow, the car should feel a lot more responsive. The perrin over pipe is a great addition to a full exhaust system.
Cancel: I did not complete this guide.
One other person completed this guide.
