
-
-
Before proceeding to the next step, make sure the car is on the ground and the parking brake is up.
-
Start by removing all of the trunk liners and carpet. Since our BRZ did not come with factory strut bars, all we had to do was remove the linings.
-
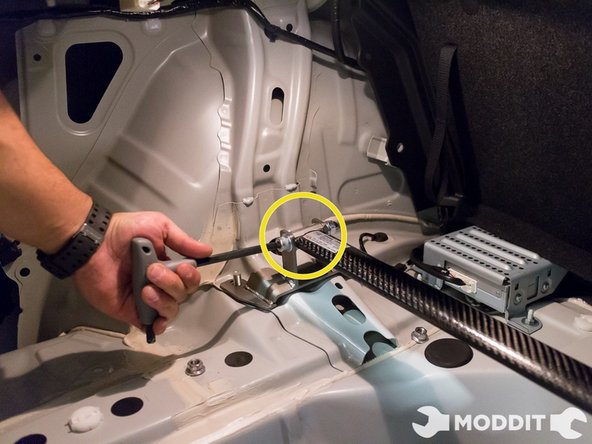
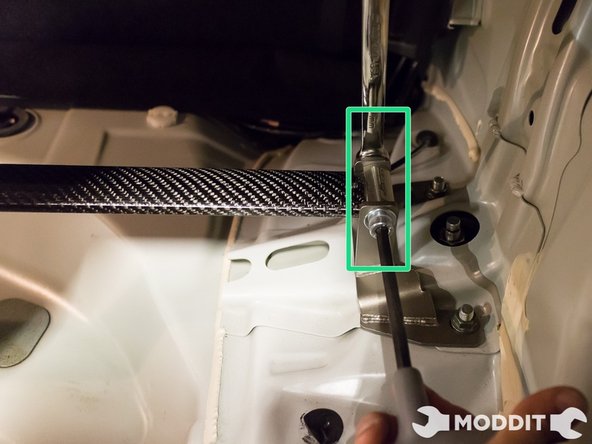
After removing all of the liners, go ahead and remove the factory strut bolts.
-
-
-
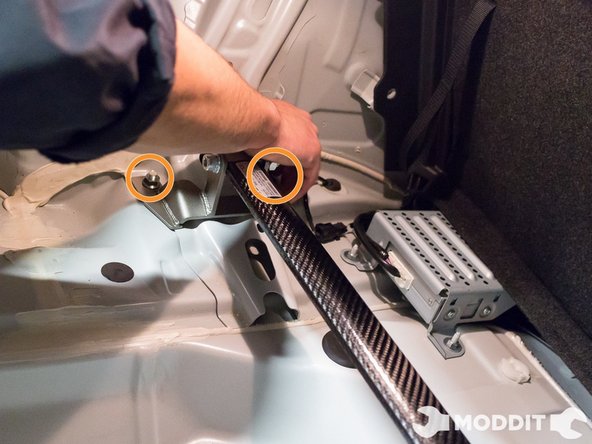
After taking the stock nuts off, carefully place the strut bar in the trunk, with the holes lining up on the mounts of the strut bar.
-
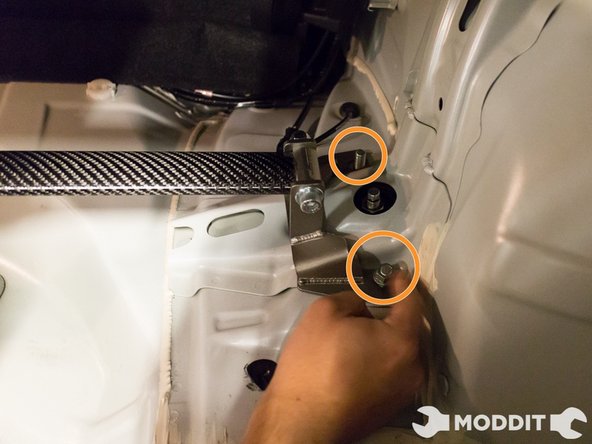
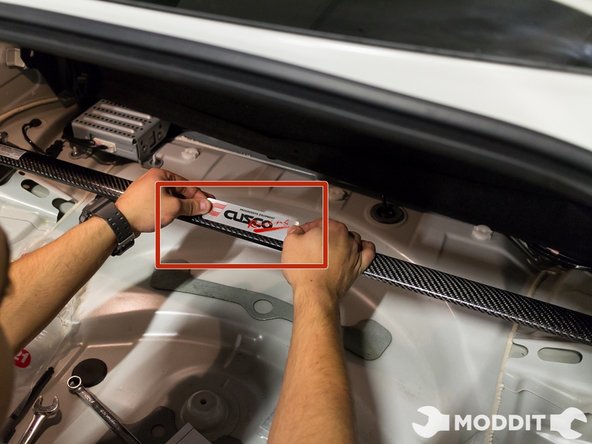
Since the this Cusco strut bar came with replacement nuts, you have a choice of staying with OEM or using the Cusco Ones.
-
We chose to use the Cusco nuts just because it came with the kit and also it matches the bar accents.
-


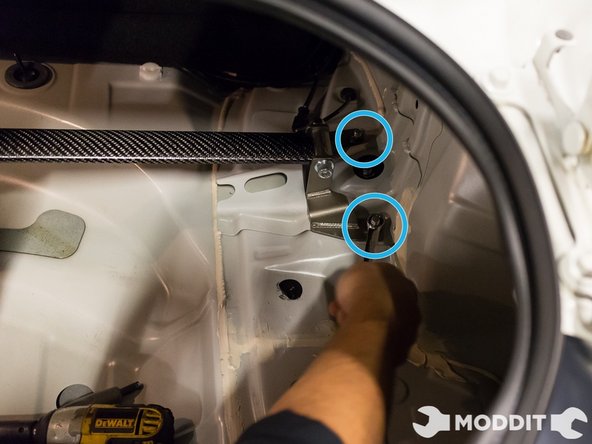

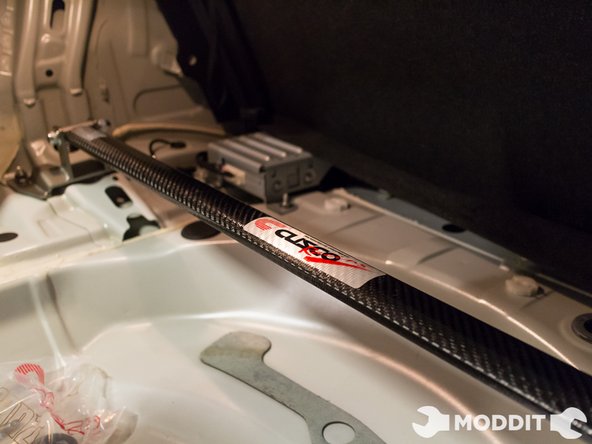
Almost done!
Finish Line
