Tools
Parts
No parts specified.
-
-
The process of installing the carbon fiber Cusco front strut bar is fairly simple. A few nuts and bolts and the car is suddenly stiffer on the front end.
-
With having a brace between the two strut towers, the flex during turn in will dissipate, Thus resulting in greater turn in response and feel. A definite upgrade for a mere few pounds.
-
-
-
While the car is on the ground, start by removing the nuts that hold the strut on the tower.
-
A 12 mm socket or wrench will do the job just fine. If its a ratchet, even better.
-
Along with the strut nuts, also remove the outer nut that is holding down the brace that is going into the firewall. The Cusco strut mount uses that stud and nut as an extra reinforcement point.
-
-
-
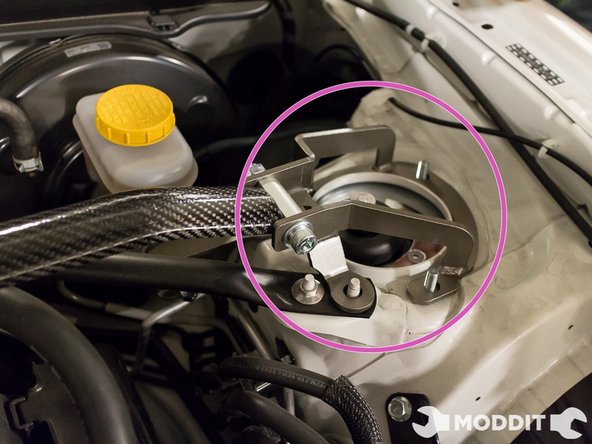
After removing all the necessary nuts, go ahead and place the strut bar on the towers. Aligning the holes on the strut bar with the stud on the towers.
-
-
-
After placing the strut bar at the correct position, carefully and loosely finger thread the nuts on the stud. Make sure that they do not cross thread, or you will have a bad time.
-
-
-
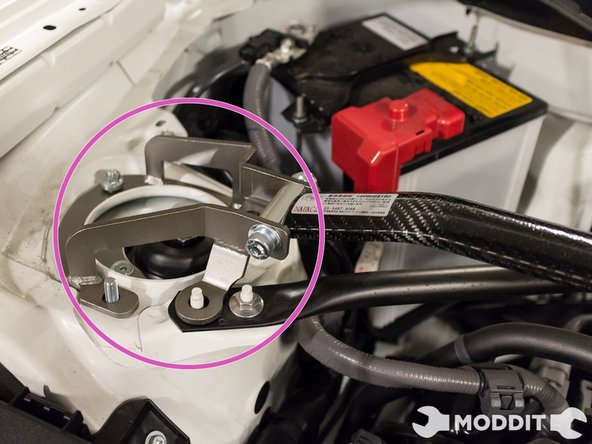
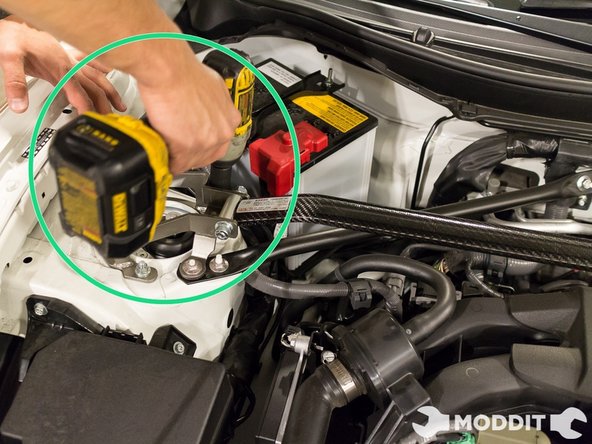
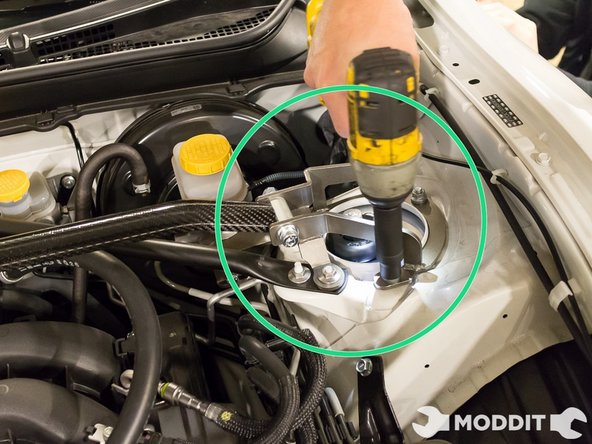
Once you're done threading on all of the nuts, go ahead and tighten them down. Whether its a ratchet, impact gun or a wrench, make sure those nuts are nice and tight.
-
Once the nuts are tight, go ahead and refer to your Factory Service Manual for the correct torque specs.
-
-
-
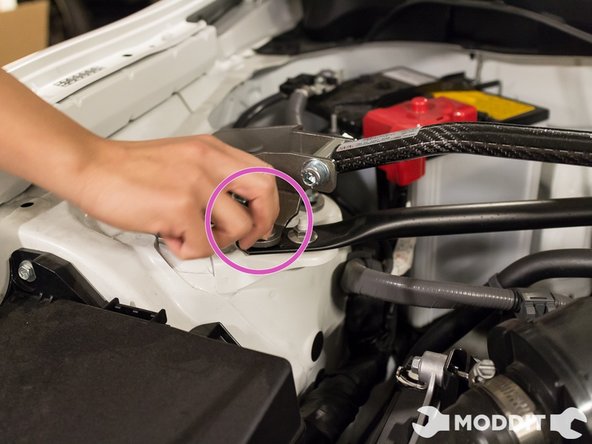
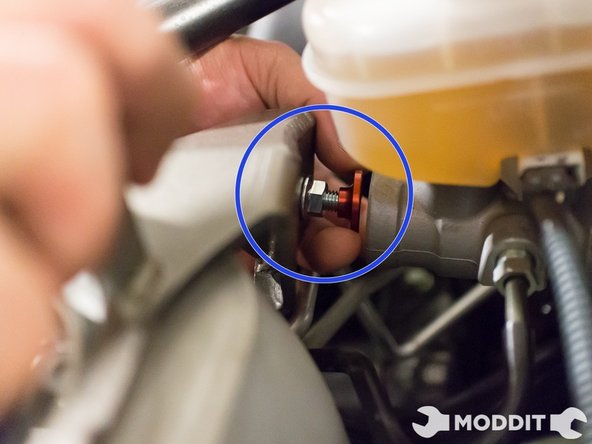
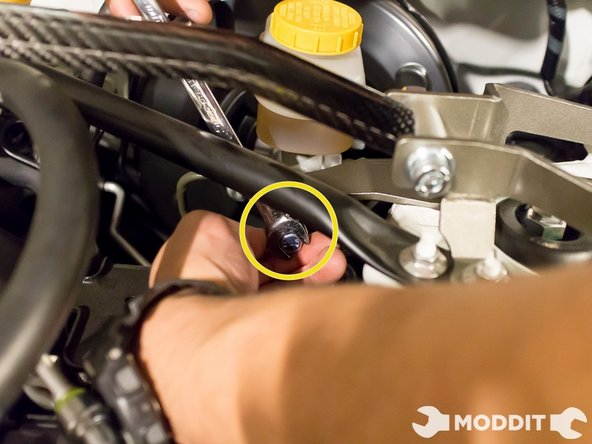
Once the bar is nice and tight, the brake master cylinder brace attachment is to be installed.
-
Caution: The tab that goes into the BMC is not threaded. Be very careful when putting it on because it CAN fall into the engine bay. It fell when we were doing the install, which caused us some extra time.
-
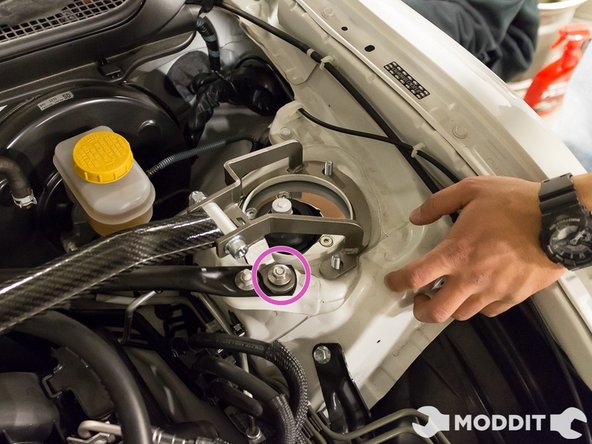
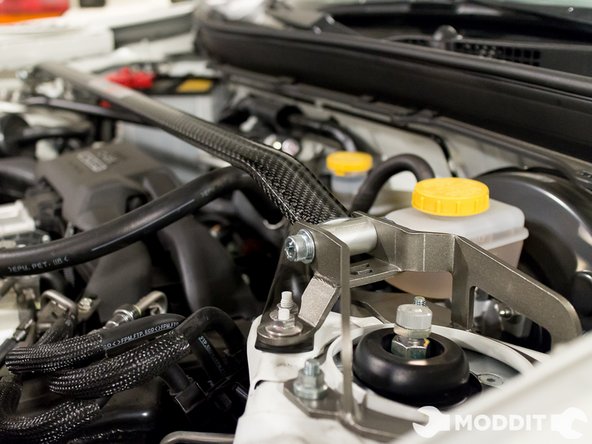
After its lightly screwed onto the bar, go ahead and tighten the stopper to where it touches the brake master cylinder. You would want them to touch, that way the BMC brace will actually do what it is designed to do.
-
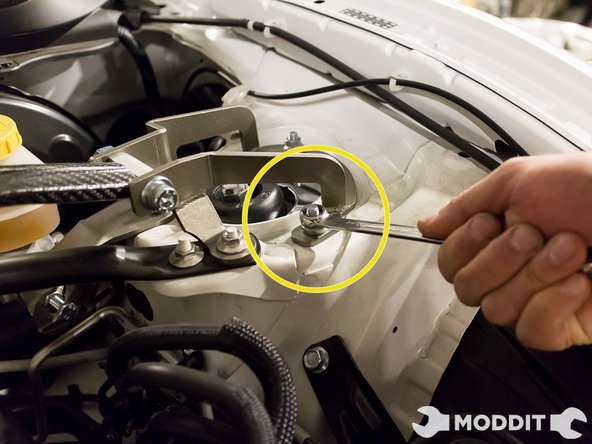
Once the BMC brace is tightened, go ahead and give all the bolts that were touched a once over with a wrench just to make sure its tight.
-
-
-
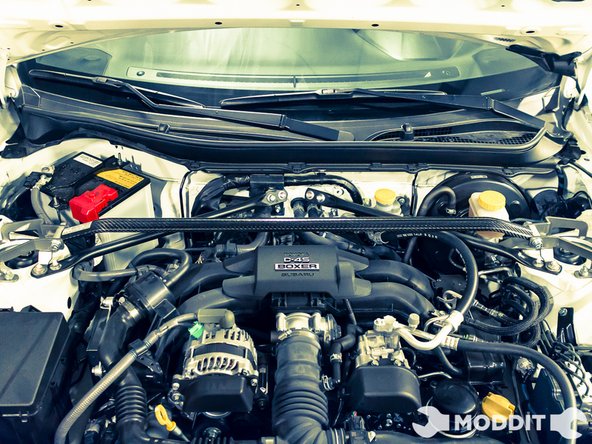
Once all of the bolts are tightened to spec. Stand back and enjoy your newly added bling to the engine bay.
-