Introduction
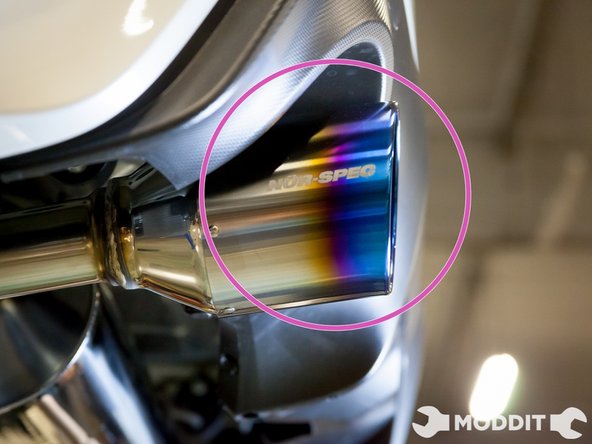
We will recount how to remove the factory and restrictive oem exhaust and how to install the brand new Blitz Nur Spec C-Ti exhaust. It's a pretty straightforward mod that extremely enhances the exterior looks of your car as well as exhaust flow.
-
-
Raise car and secure with jackstands.
-
Lay out your exhaust and identify all the parts needed for the install.
-
-
-
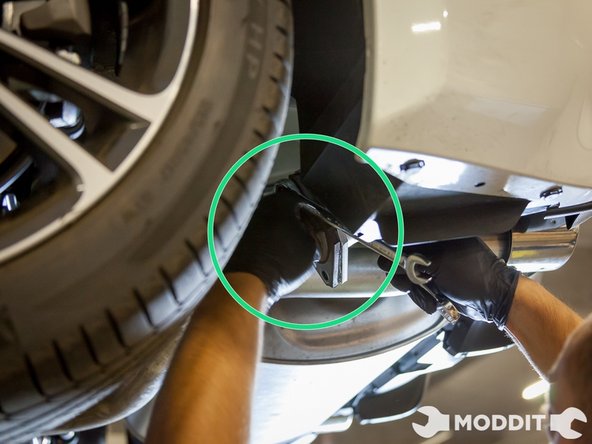
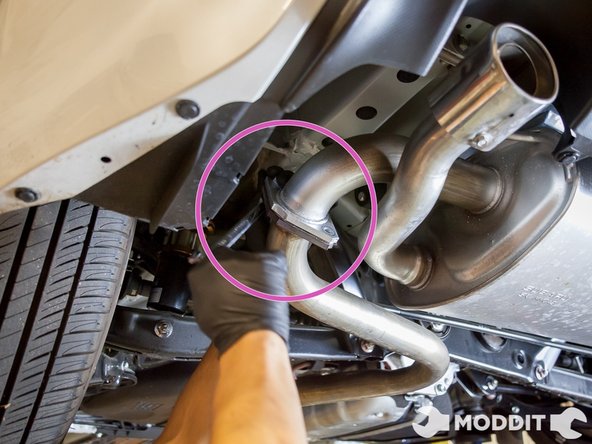
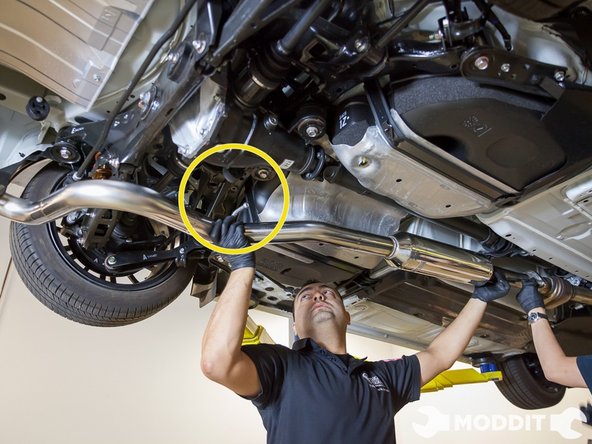
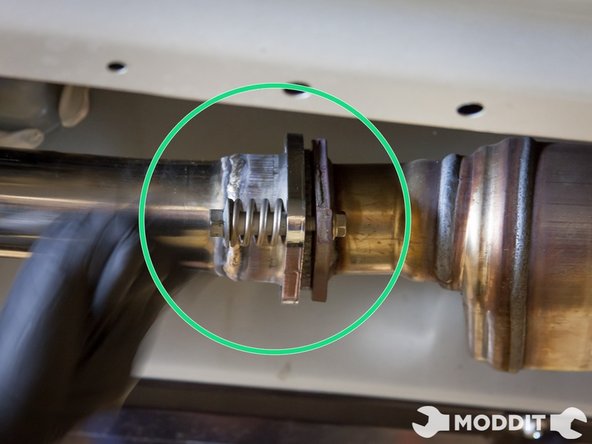
Go to the rear of the car behind the rear wheel to remove the bolts connecting the two sections of the exhaust.
-
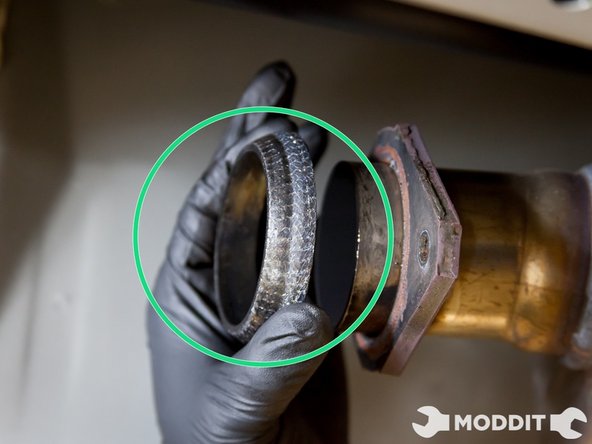
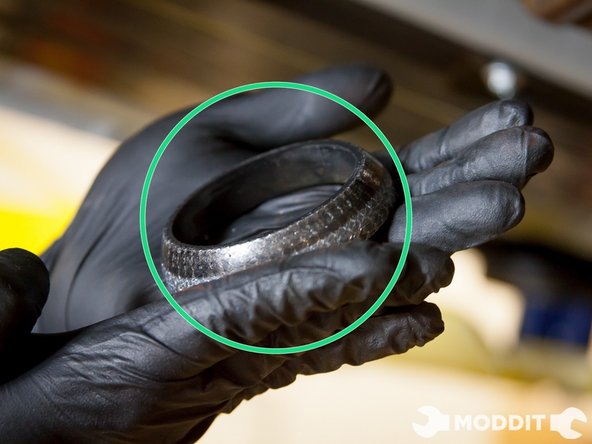
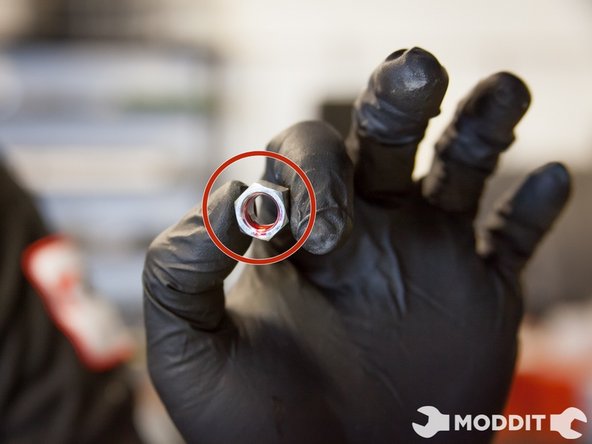
You will need to use one 14mm wrench and one 14mm rachet to remove the hardware from the center pipe to the muffler to disconnect it.
-
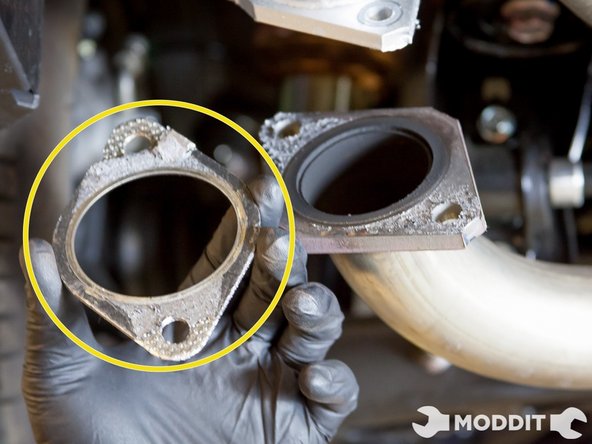
You will not need to reuse the rear hardware or exhaust with the Blitz exhaust
-
-
-
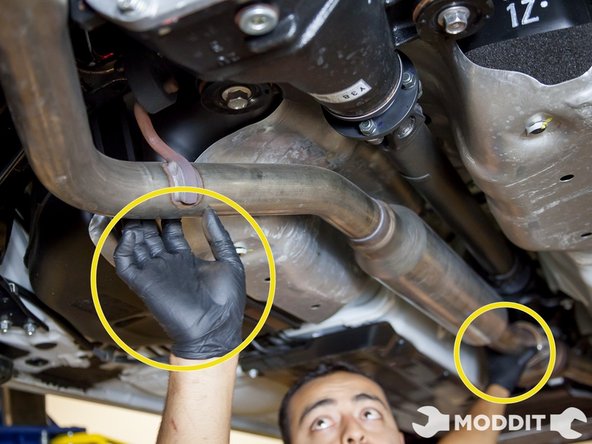
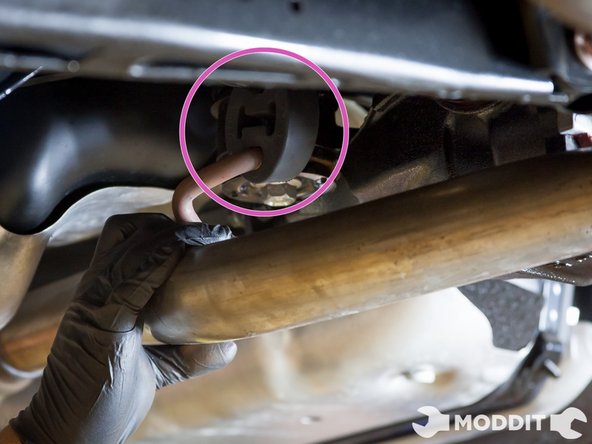
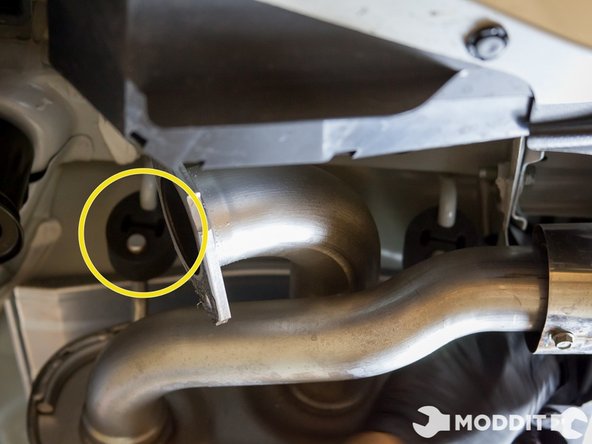
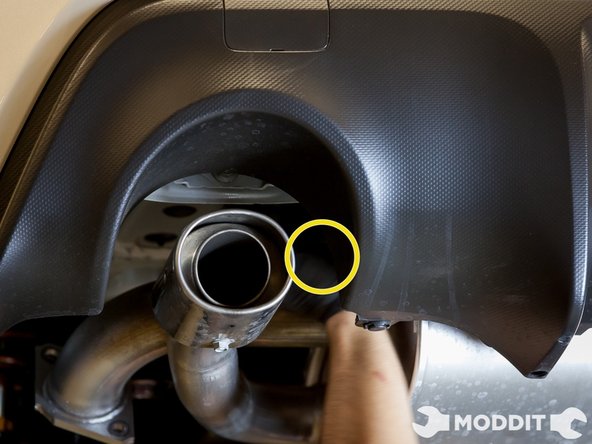
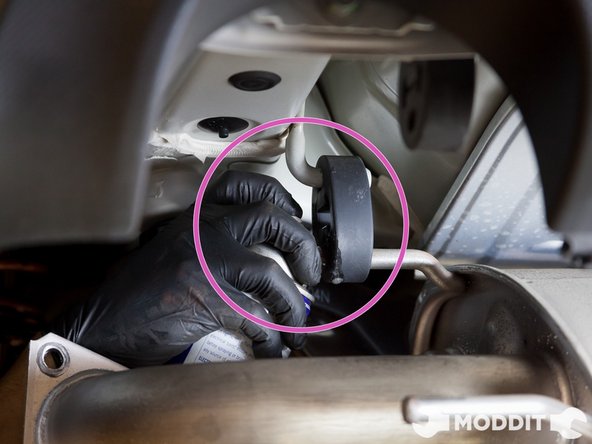
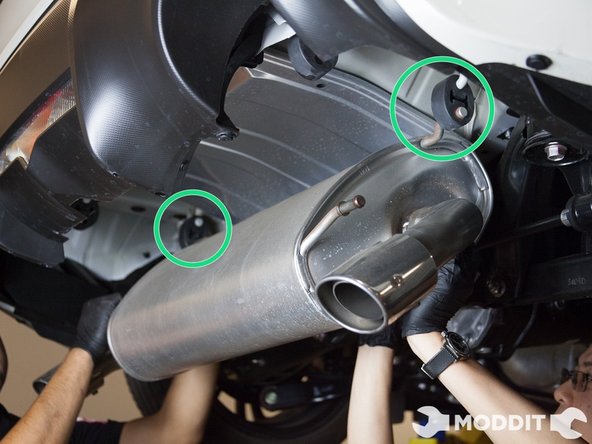
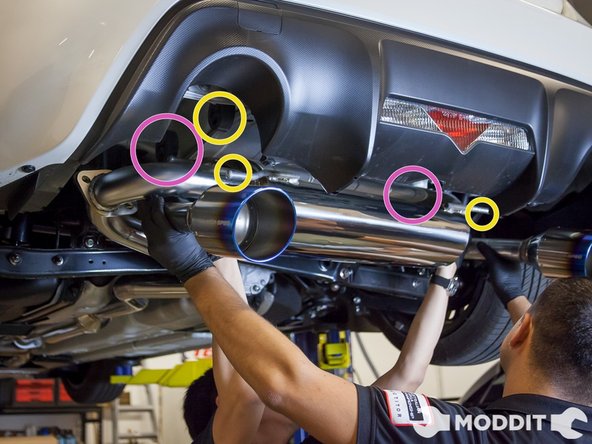
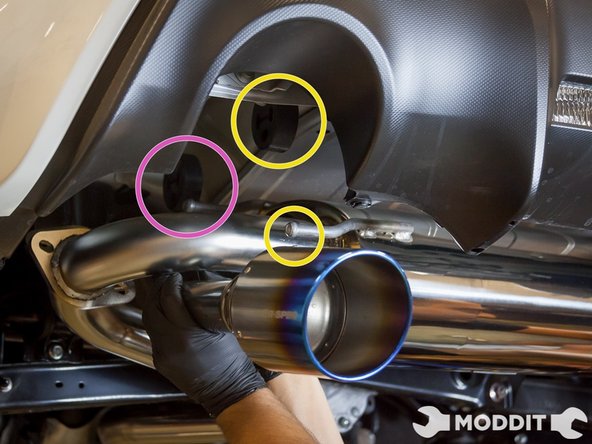
Remove the two exhaust bushing closest to the rear of the car first so the exhaust tips do not swing up and hit your bumper.
-
Be sure to put some cardboard on the ground below your exhaust so you don't scratch the exhaust when it swings down.
-
Lubricant spray will assist in separating the bushing from the support.
-