Introduction
The KA vs SR saga is something going on for many years. So what is with this growth in sales of parts for KA’s? Is it the .4 liters that people seem to want over the SR? ? Cam-over instead of rocker arm? The turbo Friendly KA Compression?? Well whatever the reason, it’s nice to see a company like Tomei accommodating the requests of performance enthusiast on both sides. It doesn’t matter if it’s turbos or titanium exhaust, they have something for you. It’s so exciting to know that the same guys that are building Super GT engines are also hard at work designing parts for cars like the ones we have here in the US. With that FR Sport is happy to inform you Tomei USA has now released “PON” cams for your TURBO KA. They are that perfect choice for the builder who really wants to maximize street power but be capable of track endeavors with success.
WARNING: When installing, this will more than likely not be a one day job. Shimming will be required. NA motors will need cam gears to Advance cams. Cams were originally designed as drop in for turbo application. Treat as PROCAM for NA. FR Sport will do their best to stock these parts in order to provide you with a faster solution to complete your project.
Tools
-
-
It is highly recommended that an oil and filter change be done before installing new cams. After warming up the engine, Drain the oil in order to help release the pressure on the factory chain tensioner. We allowed the oil to drain for about half before beginning our work.
-
Remove the Spark plug wires, and valve cover from the engine. Use caution not to drop anything into the engine.
-
Valve cover bolts should be all 10mm hex bolts if they are OEM.
-
-
-
Be sure to have your vehicle in Neutral as well as having the parking brake engaged.
-
Remove the Spark Plugs to eliminate resistance from the pressure being build up as you turn the engine.
-
Rotate the crankshaft with a 27mm socket and ratchet. TDC will be indicated when the Timing locating pin is aligned with the 2nd marking from the left on the crank pulley.
-
The first and second lobe on the cams will both be facing outward from the center.
-
-
-
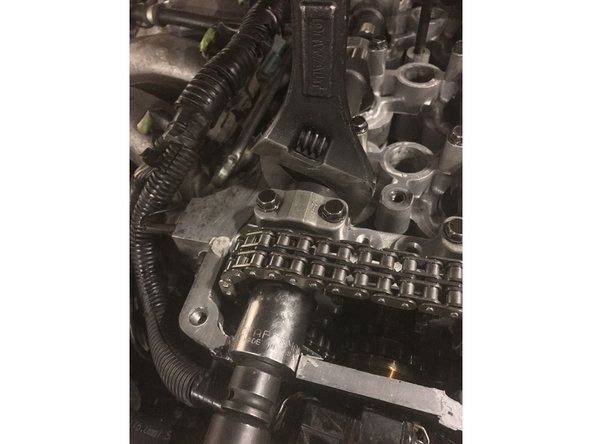
Place the 1" wrench on the camshaft and loosen the cam gear with a 24mm socket.
-
If you do not have a 1" wrench, a cresent wrench may be used.
-
LOOSEN BUT DO NOT REMOVE!!!
-
-
-
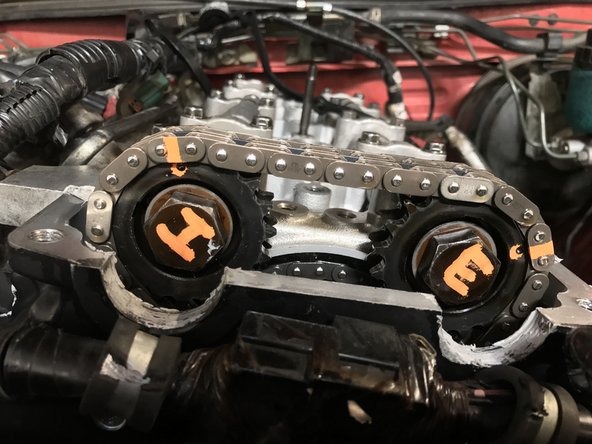
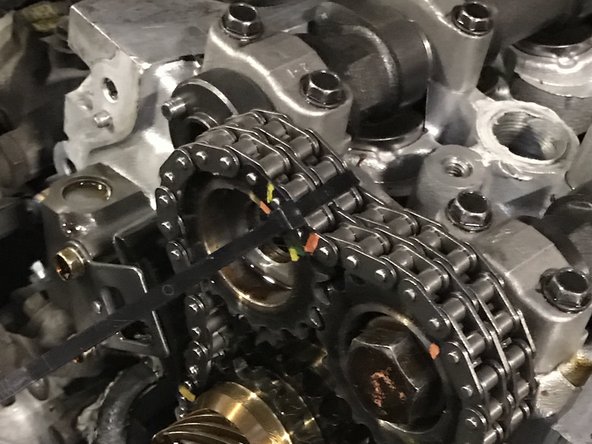
There will be small indentations / dimples on the chain to indicate the chains orientation. If you cannot see the dimples due to the use of an aftermarket chain kit, then mark the location of the dowel pins to the links.
-
-
-
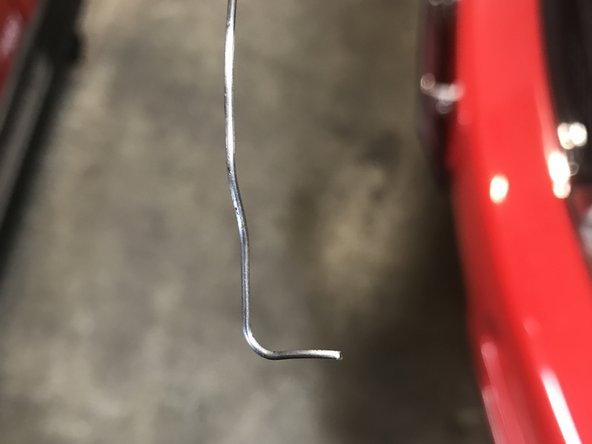
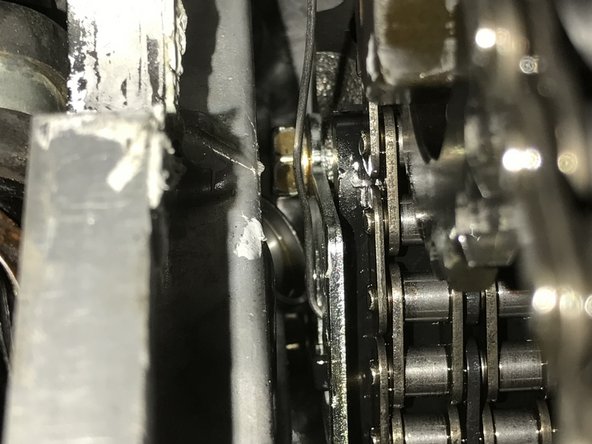
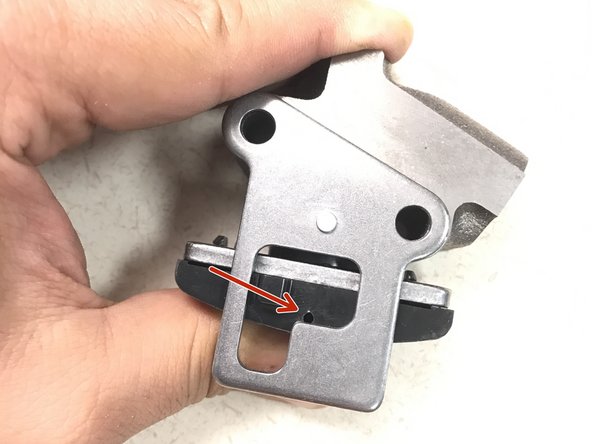
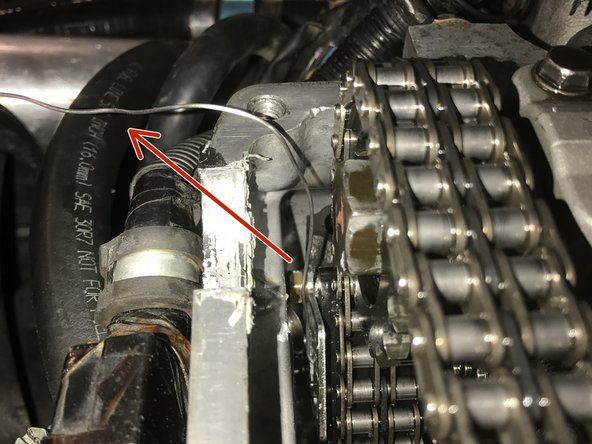
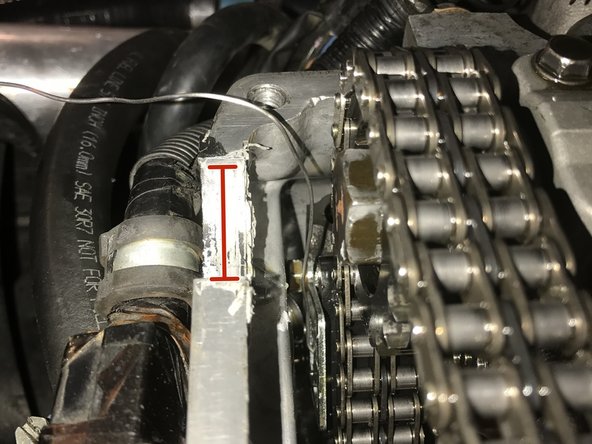
There are 2 types of tentioners. Newer shoe retainer and the older unit that will need safety wire to lock it in place. Compress The tensioner and Secure it in place.
-
If you tensioner does not compress, you may need to remove the front cover and the tensioner. Once removed, the tensioner can be slowly compressed in a vice with the proper soft jaw to not damage the guide surface.
-
-
-
Some engines have an upper chain guide held on my 2 bolts. This may not we removed. Our specific build did not have them.
-
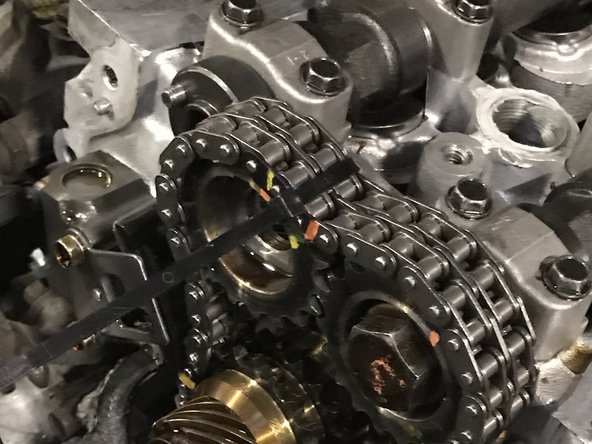
removing the cam sprocket bolt and pull away from the cams. We personally zip tied the chain to the cam gear to hold its location. We used 2 per cam just to make sure the chain did not jump a tooth.
-
-
-
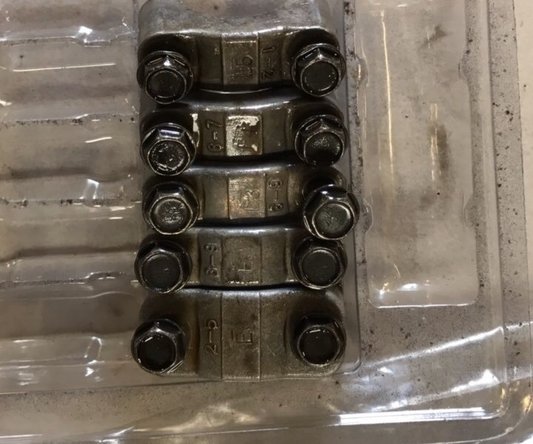
With the sprockets removed or pulled to the side, Begin to mark the cam caps. Many times they will already be marked with and “I” or an “E” followed by a number to indicate their location. We like to add that extra bit of insurance by actually marking them or at least removing and placing them in a container that will display their placement.
-
Me sure to loosen each bolt about one turn at a time to ensure there is not extra load on one specific part of the camshaft causing it to fracture.
-
Each cam cap is machined to its corresponding location. They must go back in the exact as they came out.
-
-
-
There may be extensive load on rear causing bind in the front section of the cams. You may need to press lightly on the rear of the cam and use your 1” or crescent wrench to slowly rotate the cam out of it location.
-
-
-
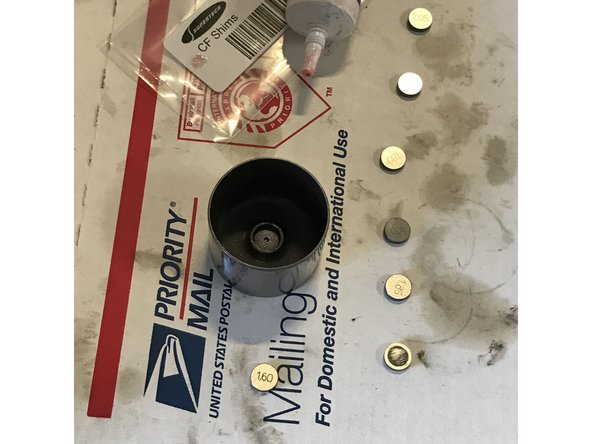
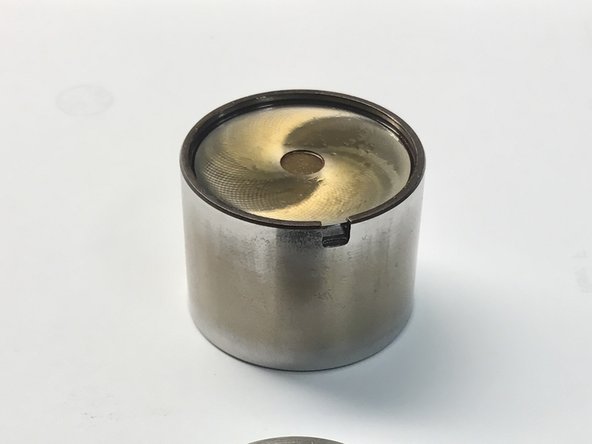
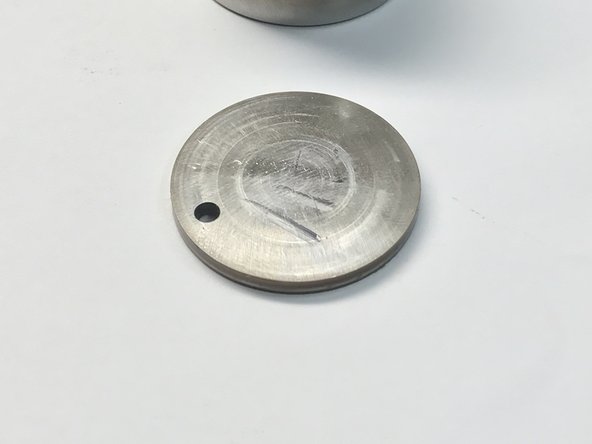
Each cam lobe has a bucket and shim above the valve. Remove each shim thickness individually and record your findings. Place shim back in its original location. These numbers will be important.
-
We have Supertech Cam Followers so the shims are located under the bucket itself. The OEM will be larger units and easier to remove from the top.
-
-
-
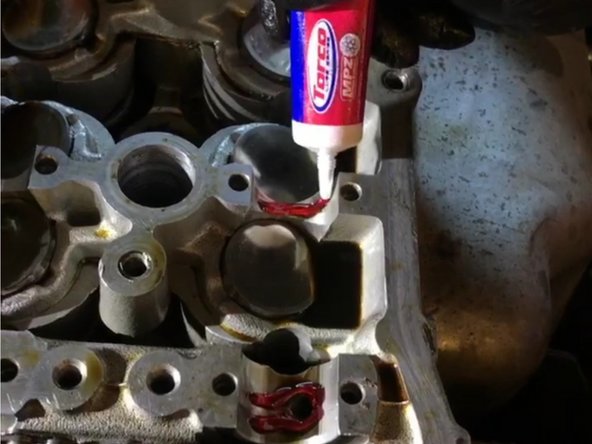
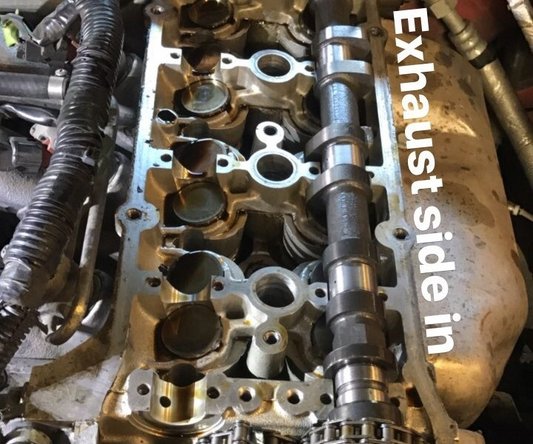
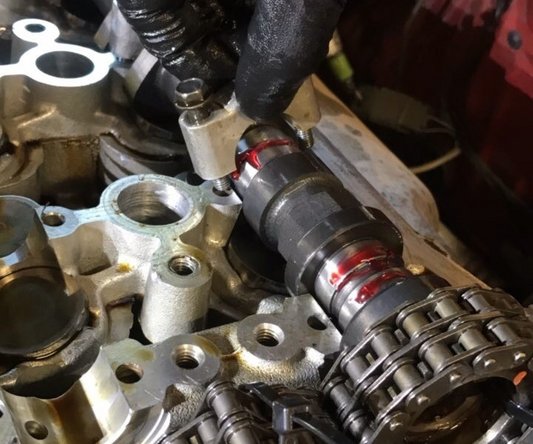
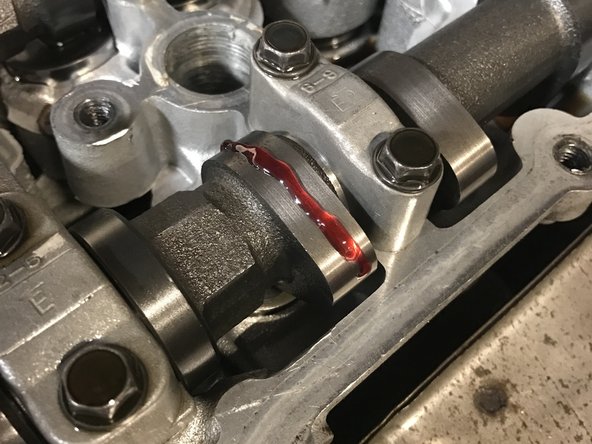
11) Installing the cam. Inspect cams to be clean and clear of all debris and burs. One will be labeled “IN” and the other will be labeled “EX” so be sure to note which is which. Lubricate the cam carriages where the cams sits with assembly lube. We used Torco MPZ Engine Assembly Lube. A 0.5oz will be more than enough.
-
-
-
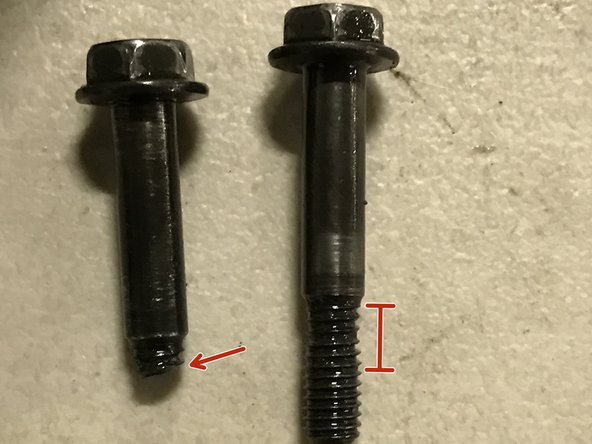
Inspect factory camshaft cap bolt. Many times these have stretched and need to be replaced. We normally like to see them new as time has taken its toll on them.
-
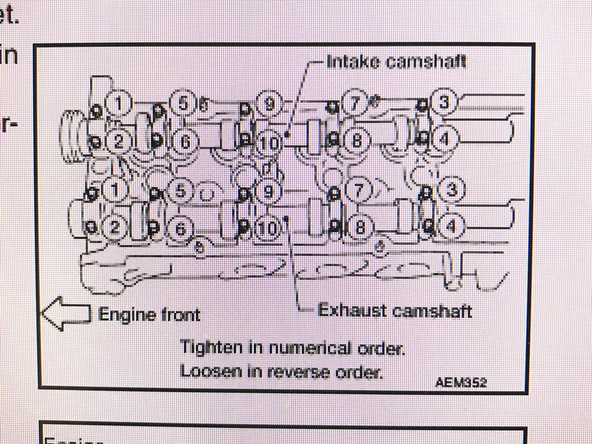
Evenly tighten 1/2 turn at a time on each bolt until all of the caps are snug. First at 1.4 ft-lb and then again to 4.3 ft-lb. Then finally torque the bolts from the outside inward as shown in the diagram to 6.7 to 8.7 ft-lb.
-
-
-
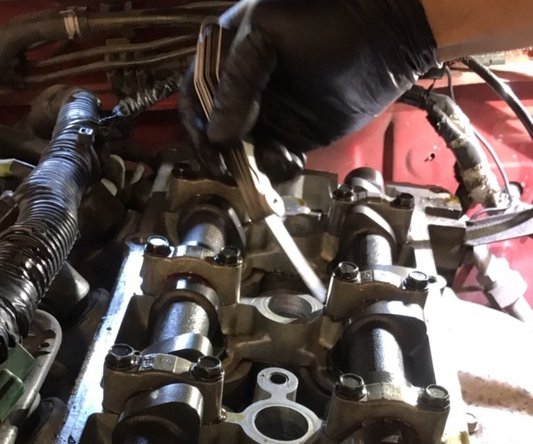
You will need a feeler gauge to measure each gap between the short part of the came lob to the cam bucket/cam follower. The measurement should be approximately .010” to .012” cold.
-
You will more than likely need to make some changes. You already have the values from the measurements you did previously so you will just have to punch in some numbers in order to get you to where you need to be.
-
Shims are available through FRSPORT.COM so give them a call to order. WARNING – Do not be shocked if you find the shim to not be enough even after you have calculated the thickness of the new shims. There are sometimes factors that you cannot see and you may need to go through the ordering process for a couple more shims.
-
-
-
Initially install the gears to the cam and tighten by hand. You will have to rotate the cam slightly with a wrench to line up the dowel pin. Once aligned and fitted, check to see that the sprocket is fully seated against the cam before torquing the bolt to spec.
-
Always use a 26 m.m. or 1” wrench on the cam hex to hold it in place as you torque the cam sprocket bolts to 123 to 130 ft-lb. You chain links should still be aligned with your original makings on the links. The 2 front lobes should also be facing away from each other. As they were with the factory set.
-
-
-
Reinstall the factory upper chain guide if you choose to do so. It is not necessary per the manufacture but it’s up to you. You may now also remove the locking pin holding your tensioner open.
-
Be sure to have a bit of assembly lube on each lobe for initial start up.
-
-
-
Before installing the valve cover, you may want to place a bit of gasket maker on to the half moon cut outs on the front and the back of the motor. This ensures that it does not leak through any small crevasse there might be. If the gasket is stretched out from age and removal, please replace. Gaskets are available through FRSPORT.COM.
-
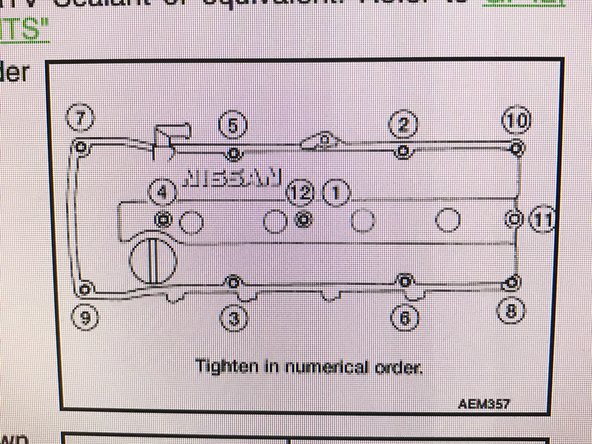
Torque specs for the bolts are first at 3 ft-lbs and then 6-7ft-lbs to finish off. Sequence is in the picture.
-
-
-
Make sure to fill you top off your oil. Spark plugs should be installed as well along with the the wires.
-
We then recommend you run the vehicle for about 15 minutes at around 1500 – 2000 RPMs. Following that procedure you can then drive the vehicle at a range of RPM’s at a range no more than about 4000RPMs.
-
Tuning is recommended in order take advantage of the full potential of the cams.
-


