
Introduction
We will recount how to remove the factory, restrictive and heavy oem exhaust and how to install the brand new Tomei Expreme Ti-60R. It's a pretty straightforward mod that extremely enhances the exterior looks of your car as well as exhaust flow.
The weight loss from the stock exhaust is also very significant. A small pep to the motor will be noticeable and enjoyable.
-
-
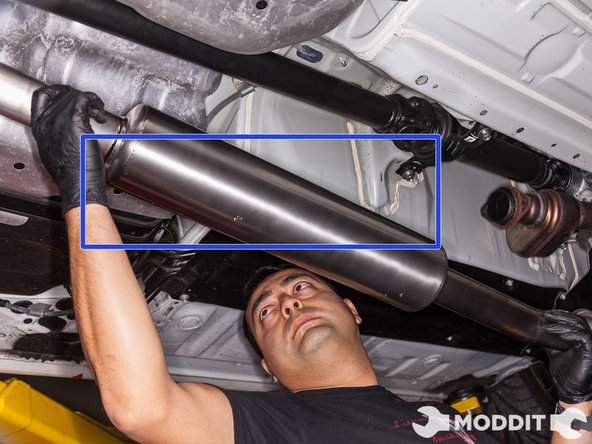
To begin the removal of the Subaru BRZ Factory Exhaust you either need to get it off the ground on a lift or use jack stands to secure it above ground.
-
In the images we raised the car on a lift but one can easily secure the car on jack stands as well.
-
-
-
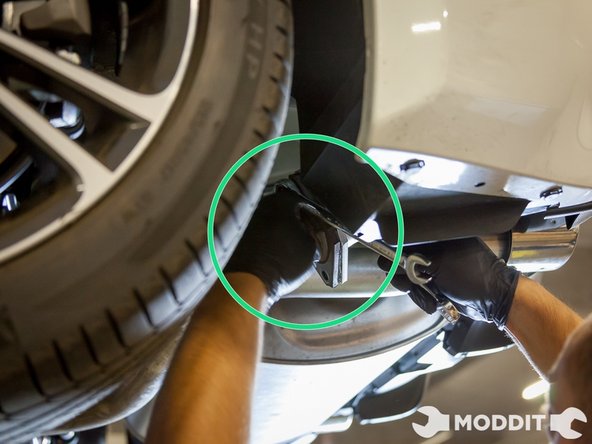
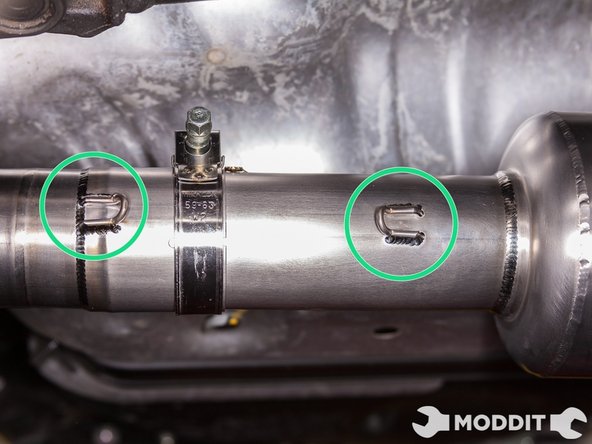
Start by removing the central OEM hardware first, shown here.
-
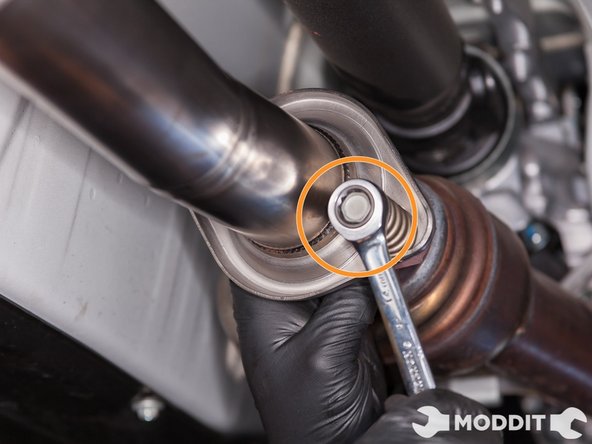
Our first step was to remove two bolts at the center of the center-most section (aka the Mid-Pipe) using one 14 mm wrench and one 12mm wrench.
-
The 14 mm was used toward the rear on the spring side of the nut while the 12 mm was poised towards the front of the car.
-
-
-
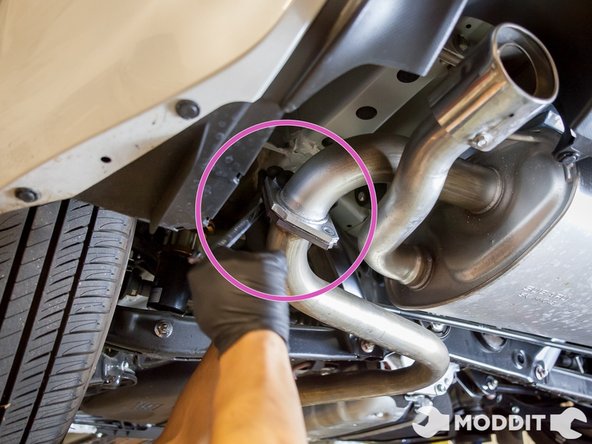
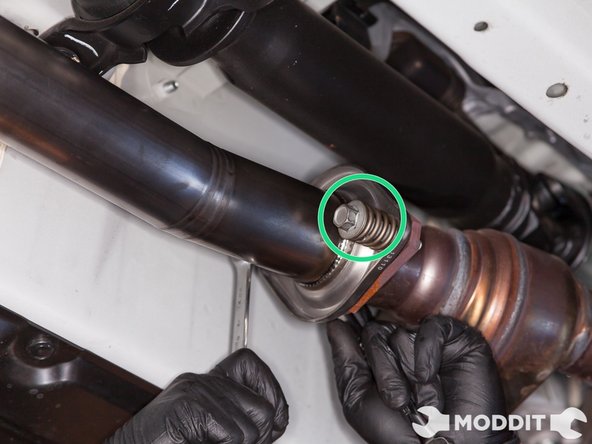
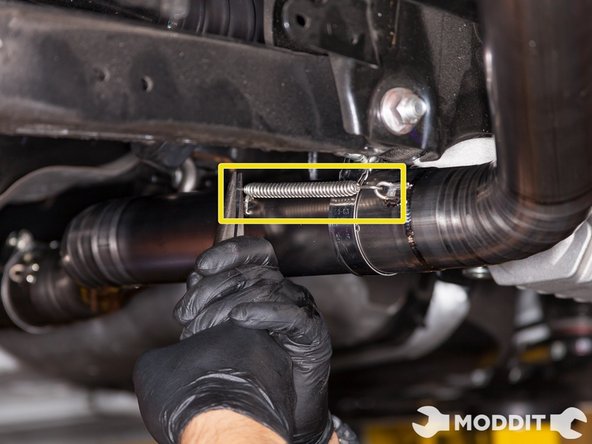
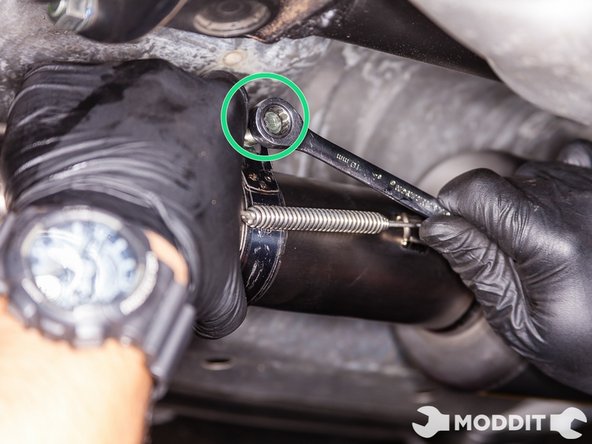
Go to the rear of the car behind the rear wheel to remove the bolts connecting the two sections of the exhaust (The Center/Mid-Pipe & Muffler Portion).
-
You will need to use one 14mm wrench and one 14mm rachet to remove the hardware from the center pipe to the muffler to disconnect it.
-
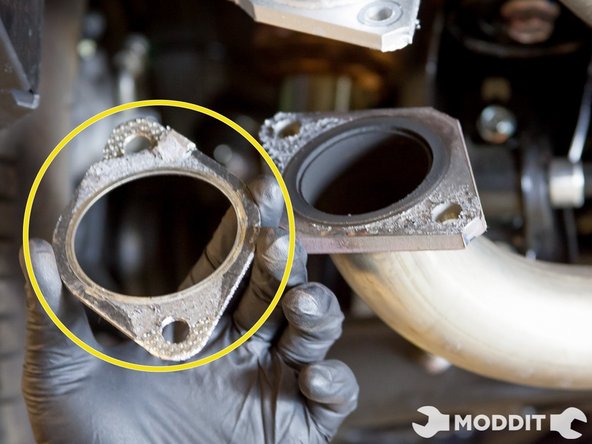
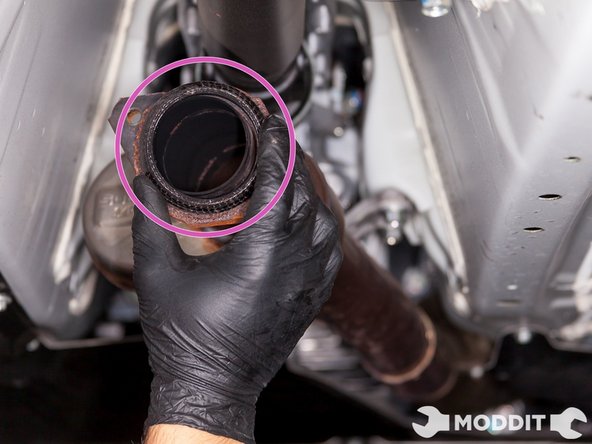
In some cases you will not need to reuse the rear hardware or exhaust gaskets, if your aftermarket exhaust does or does not come with one.
-
-
-
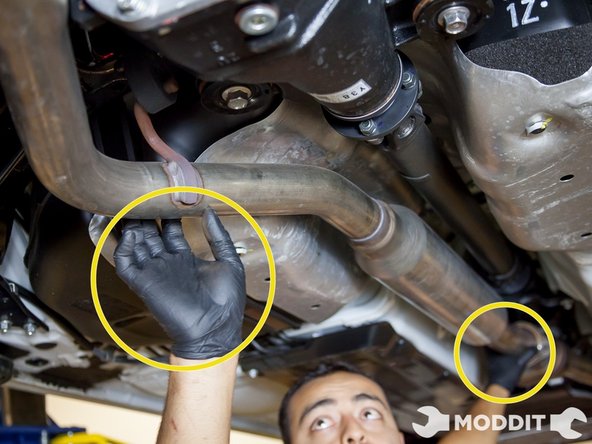
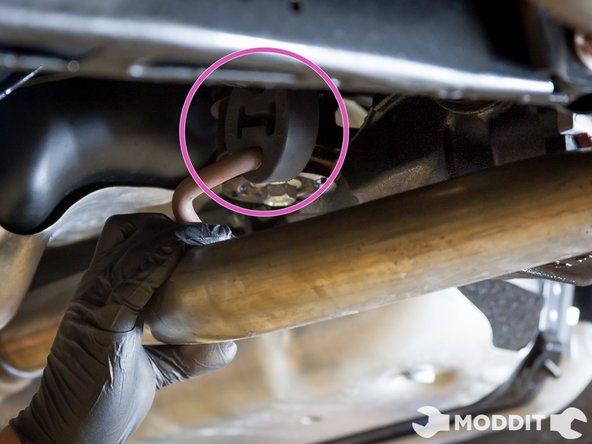
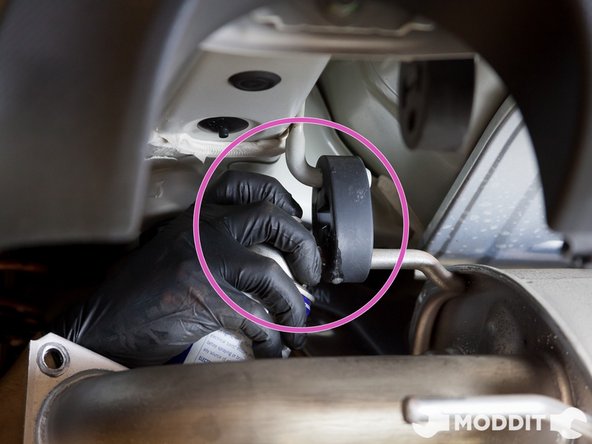
Remove the two exhaust bushings closest to the rear of the car first so that the exhaust tips do not swing up and hit your rear bumper.
-
Be sure to put some cardboard on the ground below your exhaust so you don't scratch the bottom of the exhaust muffler when it swings down.
-
Lubricant spray will assist in separating the bushing from the support.
-
-
-
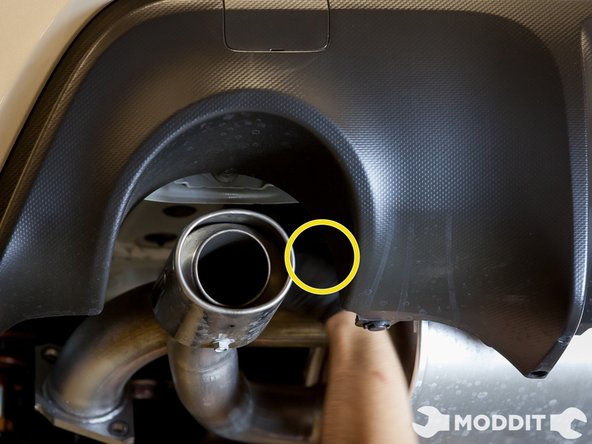
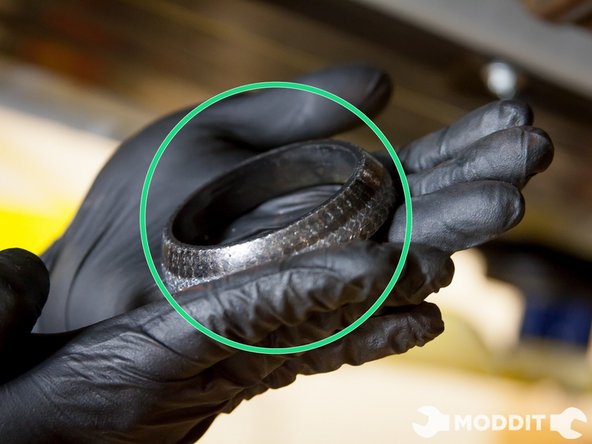
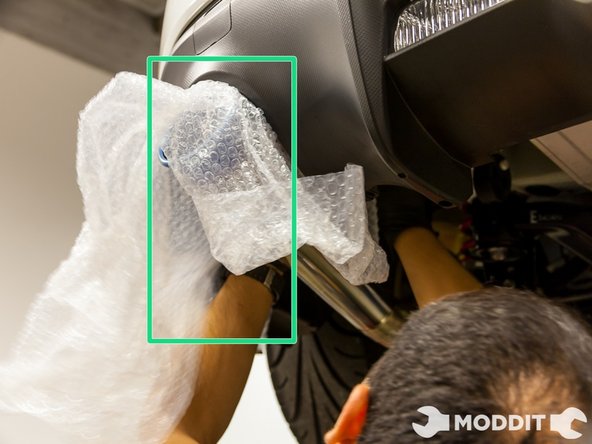
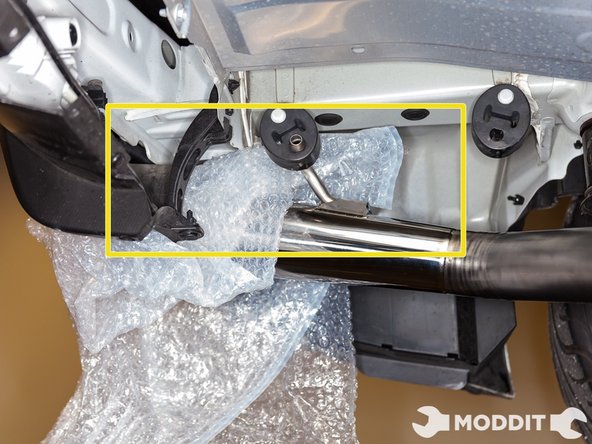
Before installation of your new exhaust, check the front exhaust pipe sealant bushings for damages as you will be reusing it.
-
At this point your exhaust should be fully removed and you should be ready to install either a replacement or aftermarket exhaust.
-
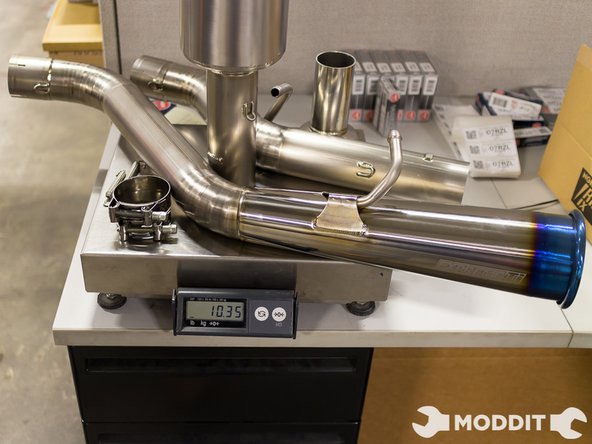
The stock Subaru BRZ exhaust comes weighing in at a total combined weight of 38.30 pounds. This includes both the mid-pipe and the muffler portion of the exhaust.
-
-
-
Before starting the installation, unwrap all of the exhaust components and hardware. This ensures that you have everything you need to install the exhaust and it can go as smoothly as possible.
-
Begin the installation of the exhaust at the most rear part of the exhaust. Hang the Tomei megaphone tip of the exhaust first using slight lubrication on the exhaust hanger.
-
You will be using the rear left most hanger only. The other three hangers can come off and put aside.
-
Be sure to keep the hangers in a safe place, as you do not want to lose them just in case you want to go back to stock exhaust.
-
-
-
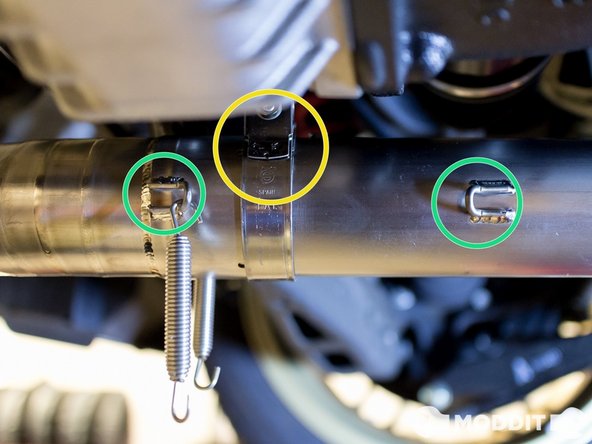
After hanging the axleback, its time to Install the T-Clamp with the threaded portion on top. Make sure the nut is facing the driver side of the car.
-
While installing, always try to line up the spring hooks to keep the adjustments minimal later on.
-
Once the axle back megaphone is complete, Install next section and slip the hanger on the hanger bushings. Slight lubrication is always advised.
-
Do not tighten until the end. This will allow you to adjust it later when you're done.
-
-
-
Once the middle pipe is installed, its time to Install the 2nd T-Clamp again on the exhaust. Make sure the nut is facing the passenger side.
-
Then carefully slide the pipe with the resonator on. Its always a good idea to have an extra hand if needed.
-
Then once again, line up the spring hooks.
-
-
-
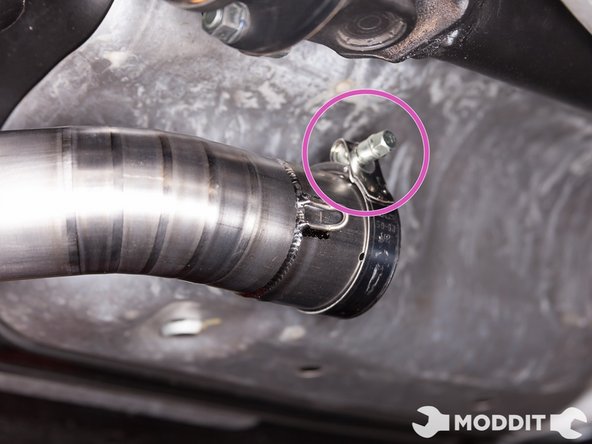
After making sure all the spring hooks line up, go ahead and install the springs. Make sure you're wearing eye protection. Use a needle nose plier or dikes to help you.
-
Once all the springs are installed, its time to tighten the T-Bolt clamps.
-
Be careful not to over tighten the clamps. Usually the torque spec is very low, so use your own judgement on the tightness you want for the clamp. They seal up quite nicely, so the clamp doesn't have to be extremely tight.
-
-
-
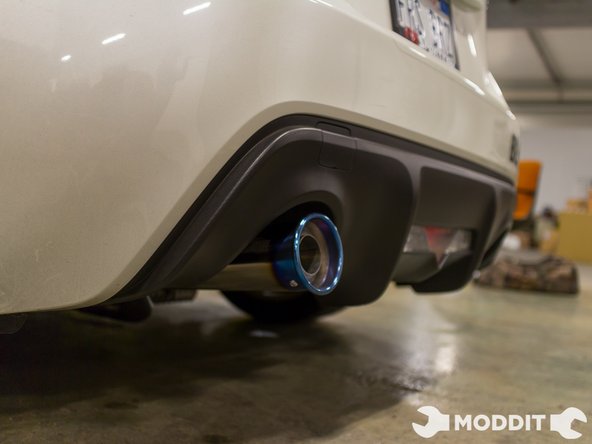
After the exhaust is tight, wipe off any excess oils or lubrication off of the exhaust, to give it a cleaner look.
-
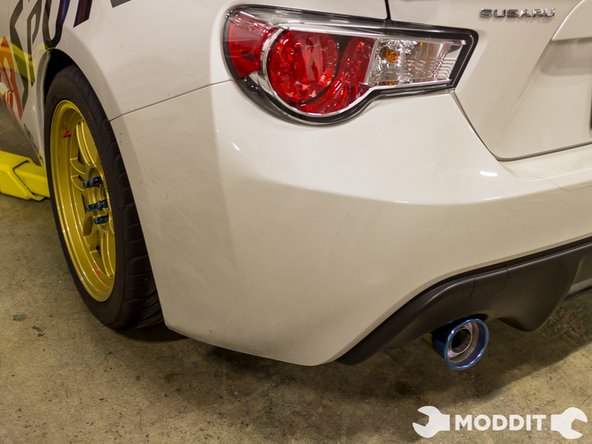
Get the car back on the ground, grab your favorite drink and admire the pretty rolled tip of the Tomei 60R exhaust.
-
Beware as if the exhaust may be too loud for local enforcement, the silencer is always an option.
-


This exhaust will benefit the motor and a noticeable power gain will be had. Enjoy the sounds and excitement the exhaust will give you once you step on that gas pedal.
This exhaust will benefit the motor and a noticeable power gain will be had. Enjoy the sounds and excitement the exhaust will give you once you step on that gas pedal.
