Introduction
Built for the driving enthusiast, the Tanabe Sustec Stabilizer eliminates excessive roll for exceptional stability and maximum tire contact patch and grip.
Unique to the Sustec Stabilizer is it's FULL CHROMEMOLY steel alloy construction. Chromemoly's strength is such that a small diameter chromemoly anti-sway bar is significantly stronger than the standard steel anti-sway bars that are larger in diameter.
Chromemoly anti-swaybars, which have typically only been readily available to race users, are now available to all motorsport enthusiasts for a reasonable price!
In this write up we will show you how to install one on the Subaru BRZ.
-
-
Your first step for this write up is to safely get the vehicle up in the air. Either by a floor jack and jack stands or a lift.
-
-
-
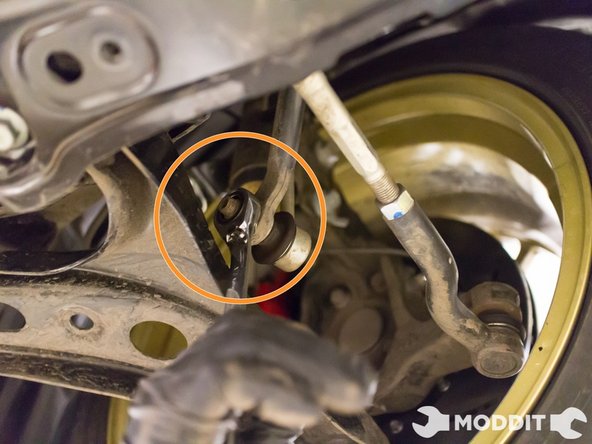
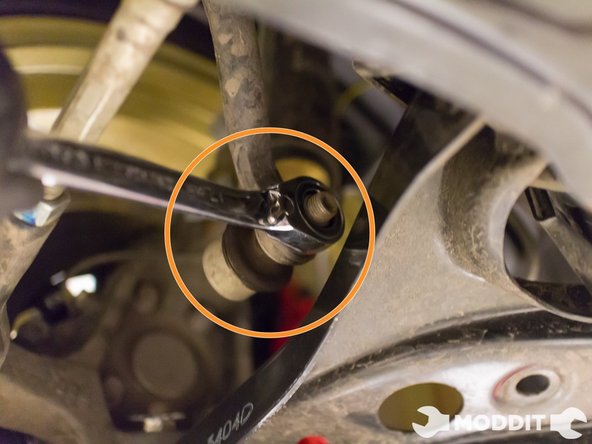
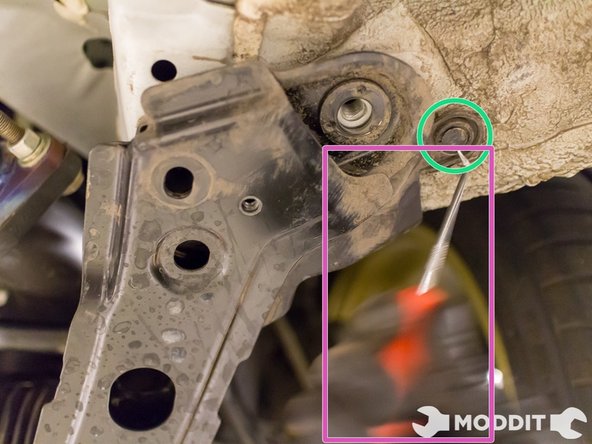
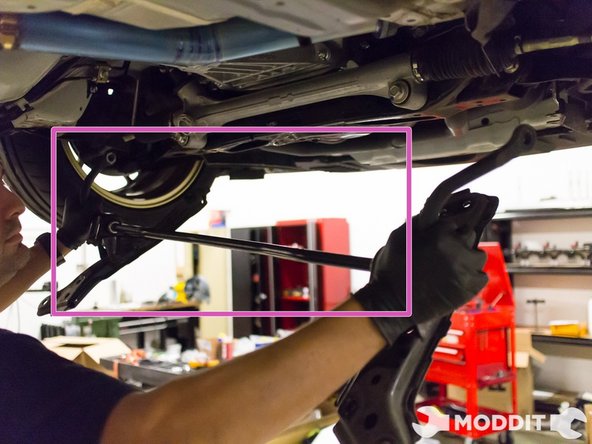
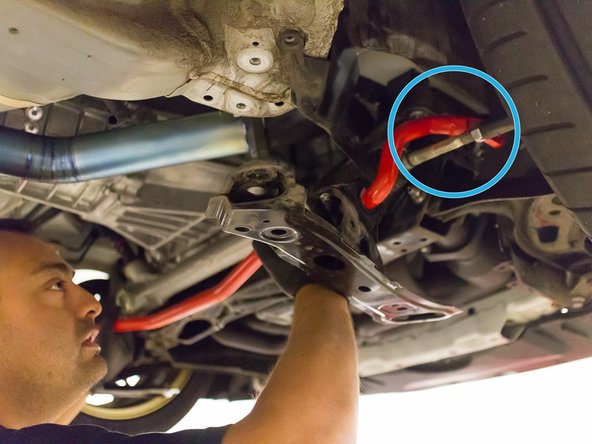
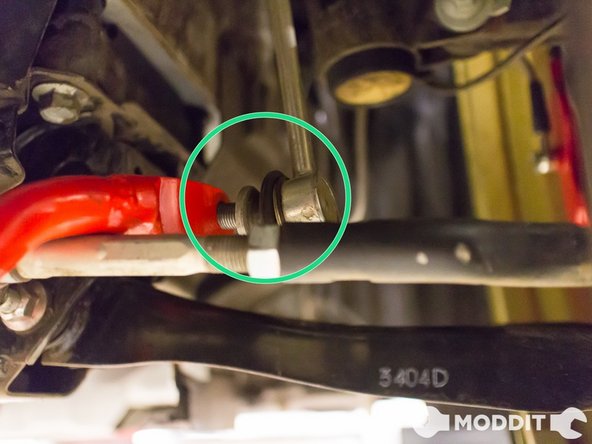
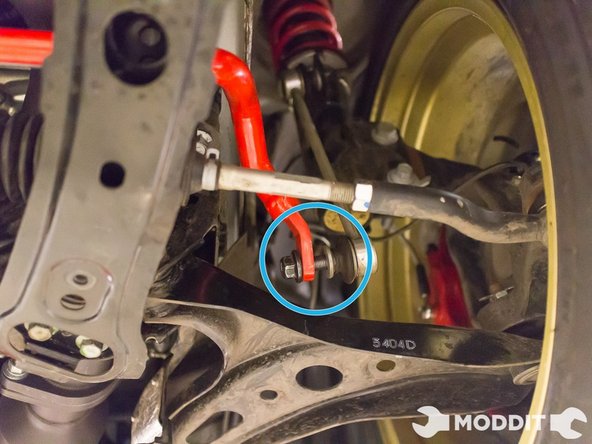
Once under trays are removed, disconnect the end links from the sway bar using a 17mm wrench.
-
If the end links are seized on the sway bar, you can use a mallet to tap on the head of the end link to get it out of the sway bar.
-
CAUTION: Do not use a metal hammer, as you DO NOT want to mushroom the head of the end link.
-
-
-
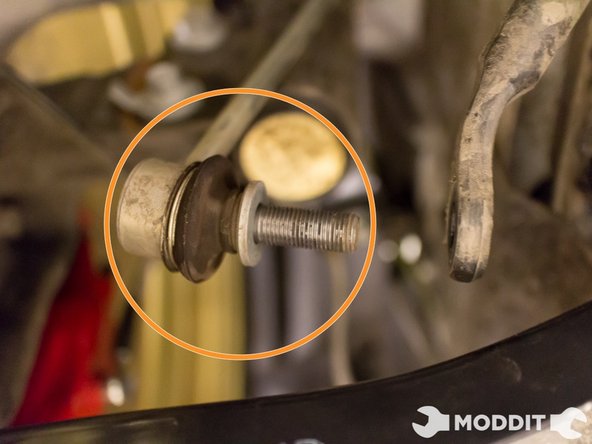
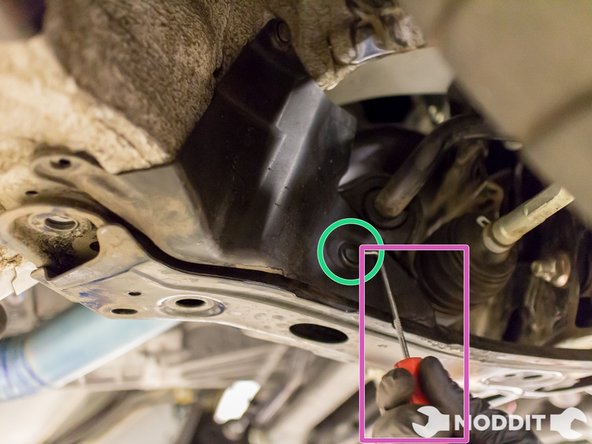
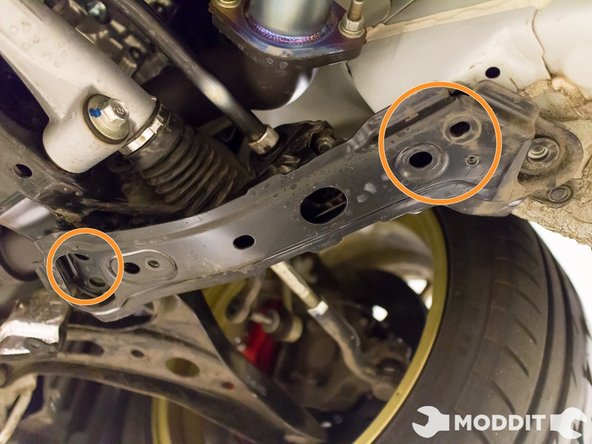
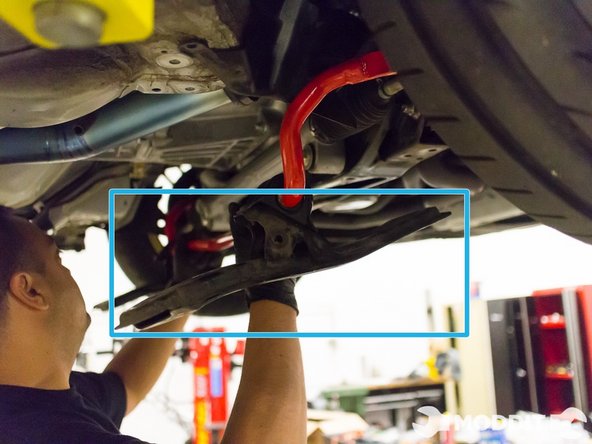
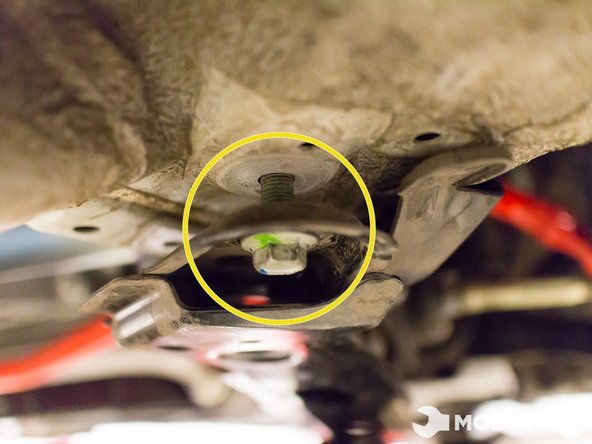
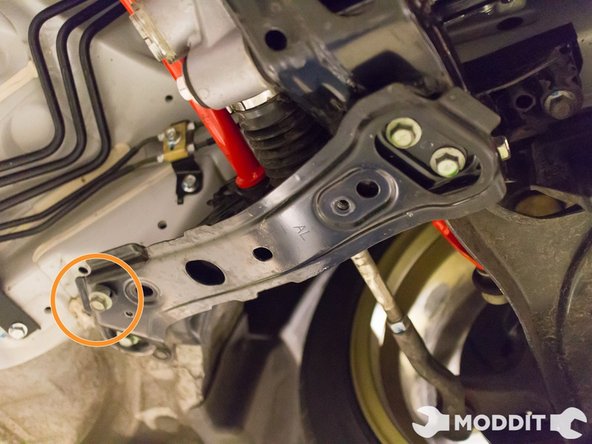
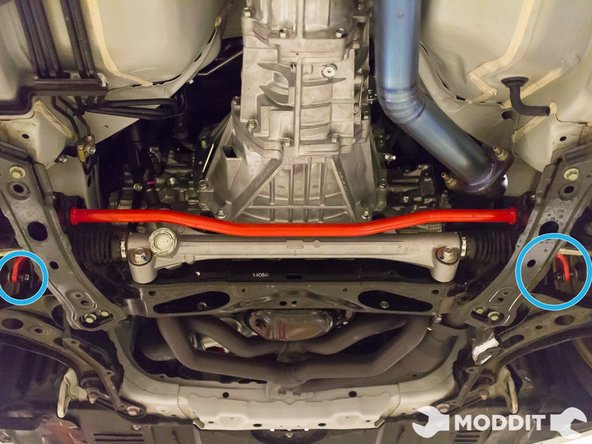
After the lower most bolts are removed from the Sway Bar supporting brackets, one can easily pull the sway bar assembly out.
-
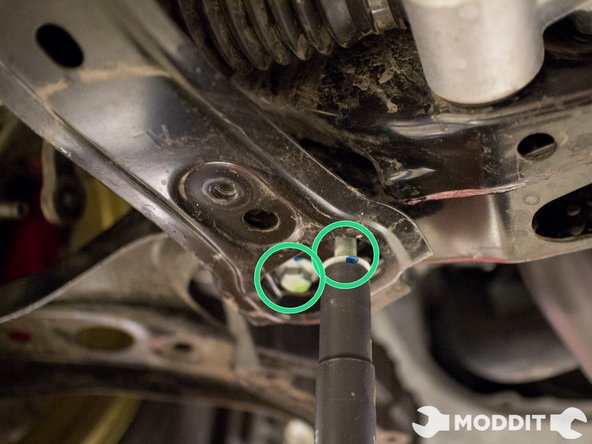
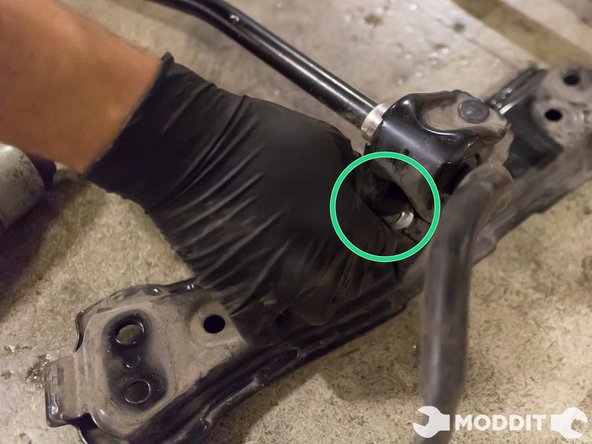
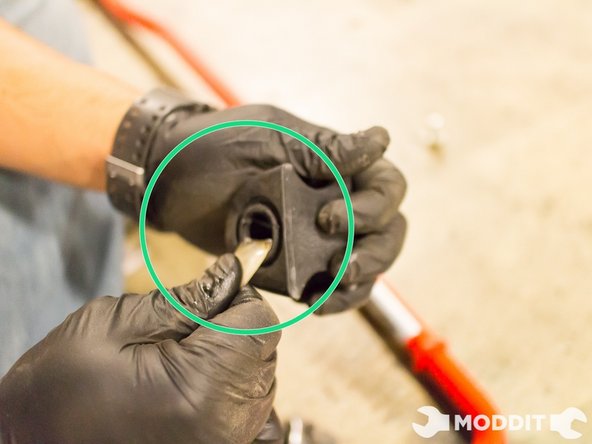
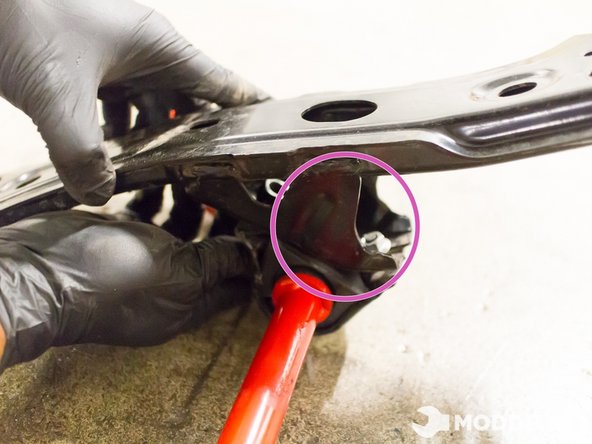
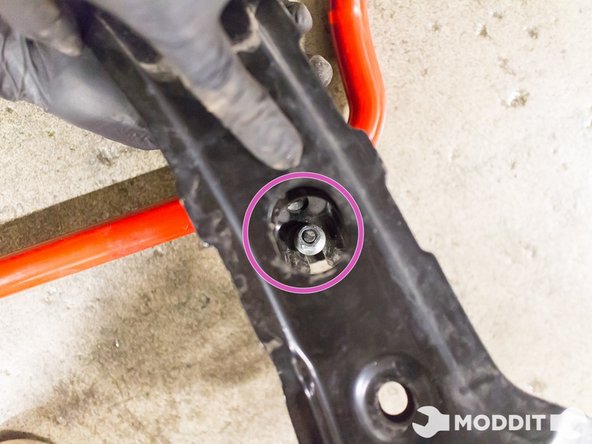
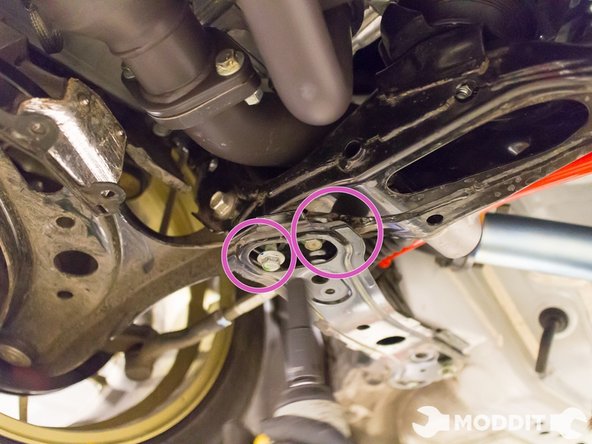
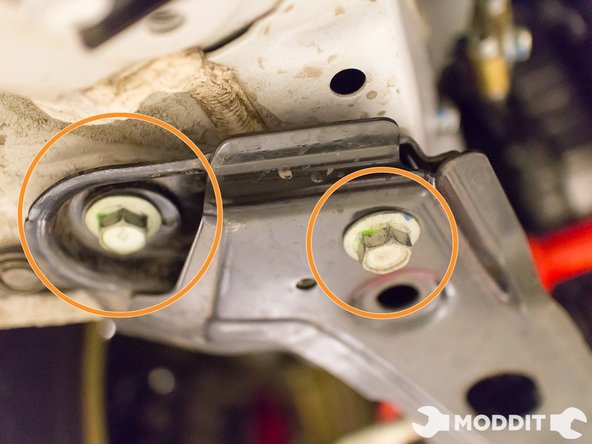
Once out, you can place the sway bar assembly on the ground. Using a 14 mm socket, remove the top-side bolt found in the pair of brackets securing the u-shaped bracket to the sway bar.
-
Using a 12 mm socket, remove the nut found on the bottom-side of the u-shaped bracket, also securing the sway bar to the Chassis/Sway Bar support bracket
-
-
-
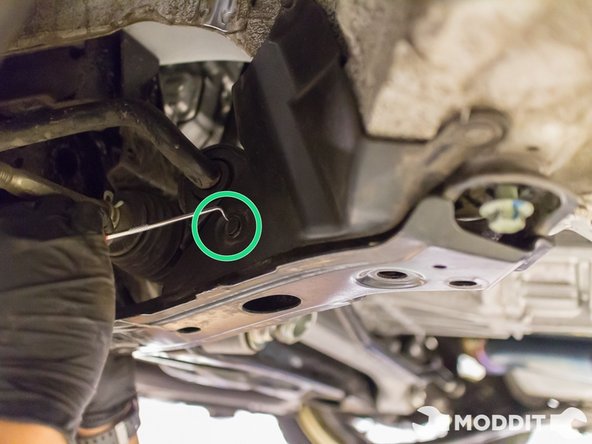
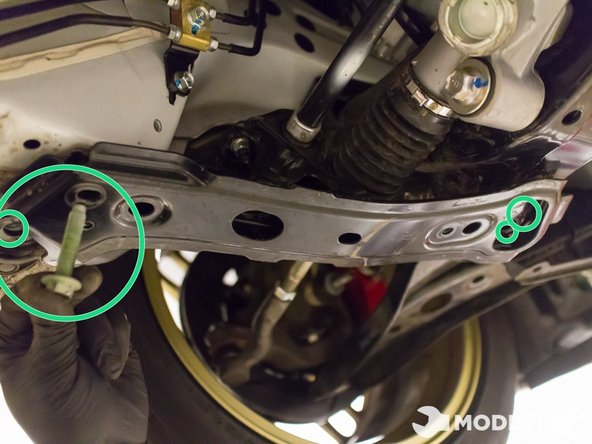
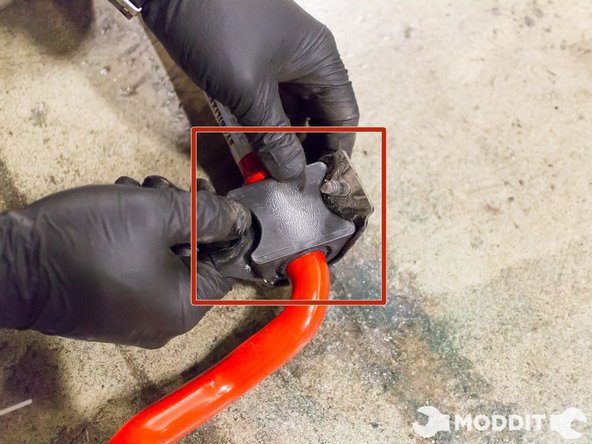
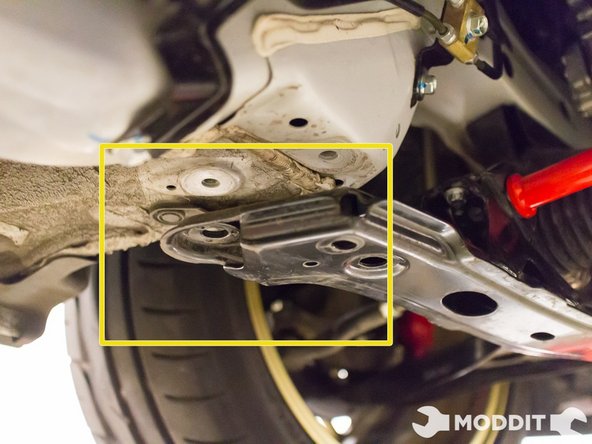
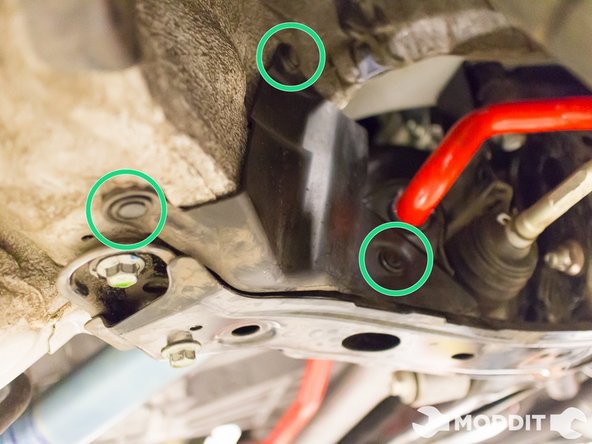
Once the two bolts and nuts are removed from the support brackets, you will have succeeded in removing the Factory Front Sway Bars on the Subaru BRZ
-
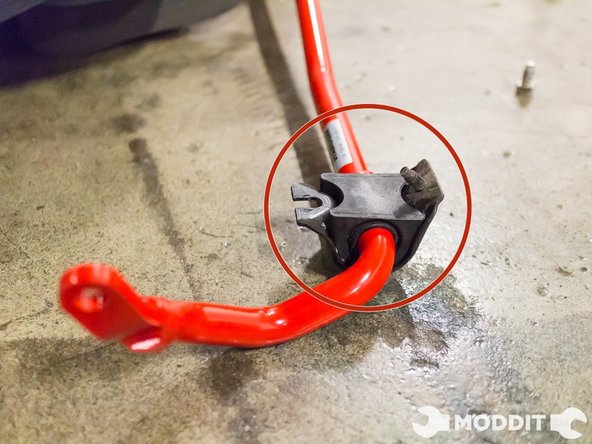
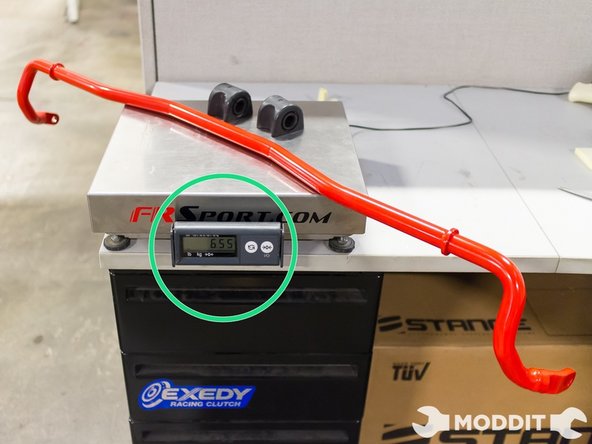
The image here shows just how much the bar weighs. You can use this measurement to evaluate future bars you might like to swap in or out. The total weight for the factory bar is 6.10 lbs.
-
-
-
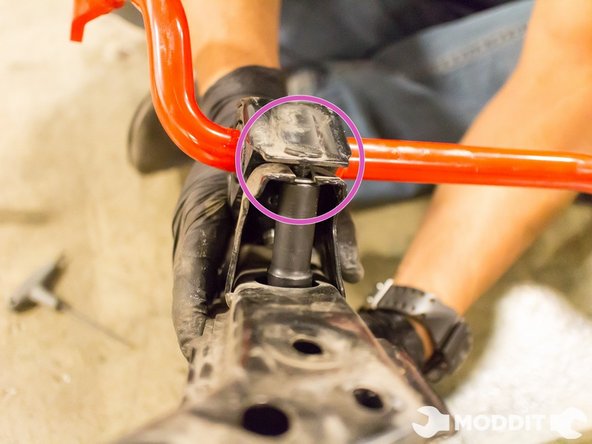
After once has removed the stock Front Sway Bar, our first step is to lubricate the included bushings with appropriate grease.
-
After a healthy lubrication, install the bushings on the bar.
-
then place the brackets on the sway bar D-bushings as such
-
-
-
After the sub-frame mounts are bolted up, bring up the sway bar up to the mounting point in the car.
-
When installing the sway bar, hook the sway bar ends over the tie rods and attach the end link to hold the bar.
-
It might be a good idea to have a person help you hold up the bar while you bolt on the next items.
-
-
-
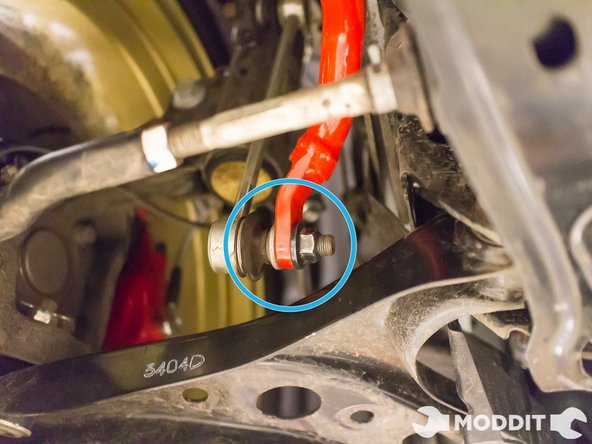
Hook the end links back onto the control arm. Torque the nuts down to spec, but make sure the stud does not spin while turning the nut.
-
Once the end links are torqued, go ahead and start installing the undertray.
-
Please refer to the start of the guide to install the under tray or simply for more information.
-