
Difficulty
Difficult
Steps
8
Time Required
06:00:00 - 10:00:00

User-Contributed Guide
This guide is not managed by the site's staff.
Quiz
0
Introduction
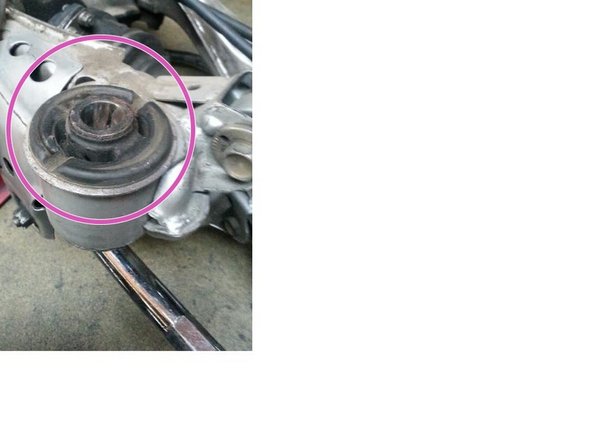
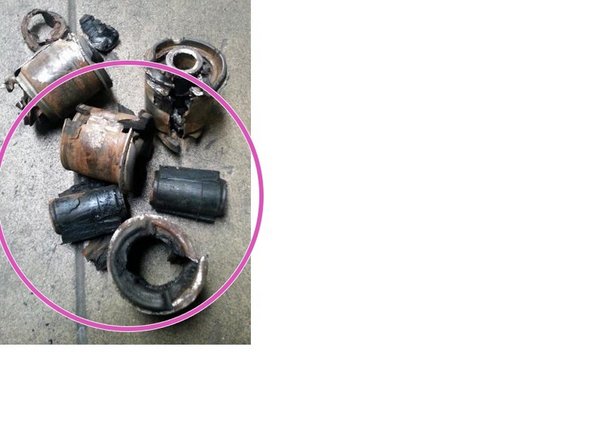
The rear subframe of any S13 or S14 will eventually have worn-out rubber bushings which causes incorrect suspension alignment resulting in unpredictable handling.
By replacing the worn bushings, wheel alignment is corrected and maintained especially for the rear suspension. Unpredictable handling is now predictable, inspiring driver confidence.
Tools
Parts
-
-
Raise rear end of car using floor jack.
-
Once rear end is raised, find hardened chassis points (located near rear end part of frame rails) or use rearmost part of the frame rail and lower car onto jack stands.
-
Remove Rear Wheels
-
-
-
Remove rear brake calipers, brake pads, and brake discs/rotors. DO NOT remove brake lines from calipers; tie-up and hang calipers using zipties or wire hangers.
-
Unhook rear e-brake cables from center connection point underneath car.
-
Unbolt rear driveshaft from rear differential coupler.
-
Remove rear coilover and/or shock & spring assemblies
-
-
-
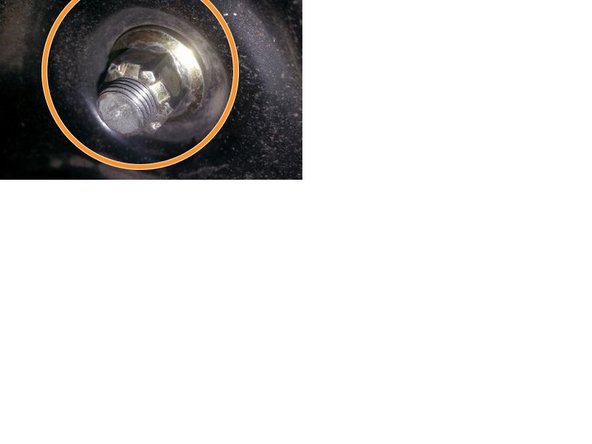
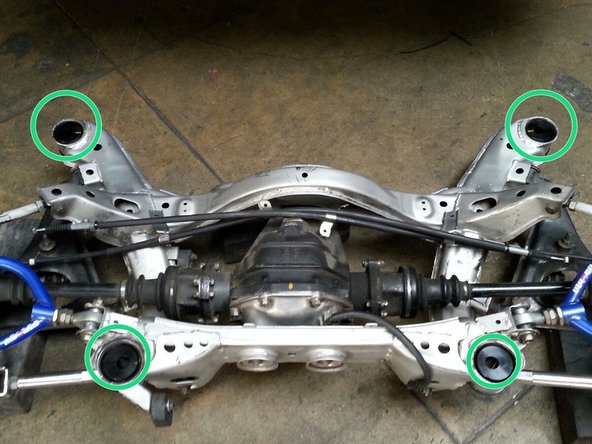
Unbolt rear subframe by using a 1/2" drive ratchet (preferable) with 17mm deep socket to loosen the 4 nuts that hold the subframe in place (the use of air tools is allowable but not recommended).
-
Support rear subframe with 2 floor jacks mounted underneath both sides of the subframe. Once rear nuts are removed, pry and lower subframe down to the ground slowly.
-
-
-
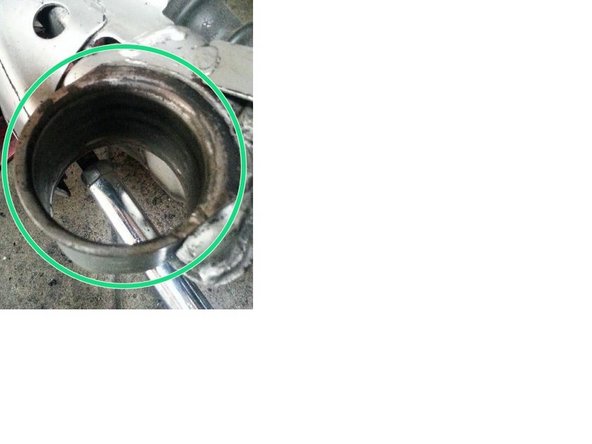
Using the bushing press kit, press each new solid subfame bushing into their respective hole.
-
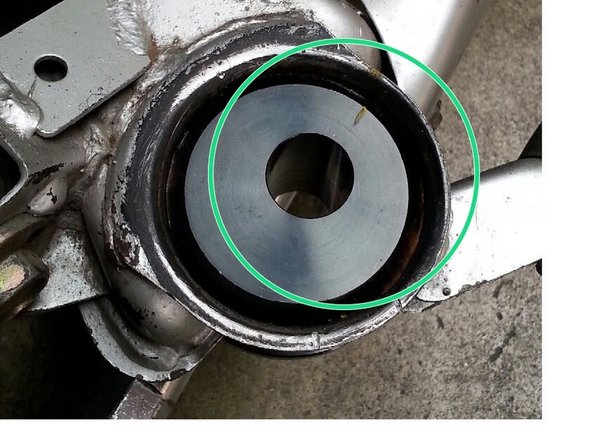
*IMPORTANT*: Make sure position and orientation of the hole on bushing matches up with the mounting stud on the chassis BEFORE pressing bushing in.
-
Pressed bushing should be flush in the hole and look like what is pictured to the left.
-


Cancel: I did not complete this guide.
2 other people completed this guide.
One Comment
Hi, i just read your installation guide. I don't know how old this is or if you can read my question anymore. But I've just done the same mod on my s13 with s15 subframe and conversion solid bushings.
I have put in the bushings the opposite way right now, to make space between the top of the subframe and the bottom of the chassis.
But when i do that, the subframe can fall off.
Is there enough space from the subframe and up to the chassis, if i press the bushings in from the other side (the same as your picture) or do you have some collar or something in between?
Thank you
Best regards Rasmus
Rasmus Jensen - Resolved on Release Reply