
Introduction
When the car's braking starts to fade when on stock pads, it's time to step up your game and get something with a bit more bite for your needs. We spoke to the people at Winmax and decided to go with the W3. This brake pad install will cover all the bases for changing the front brake pads on the vehicle.
-
-
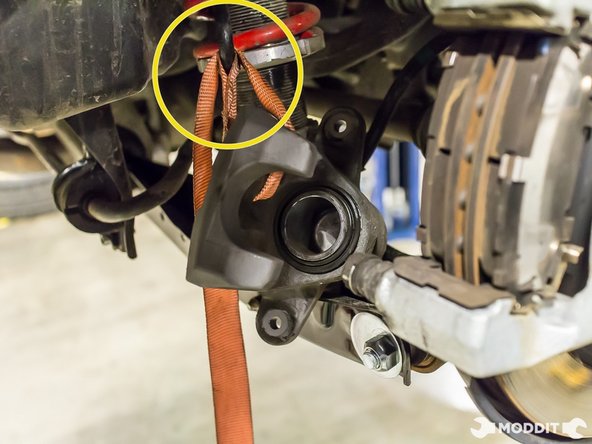
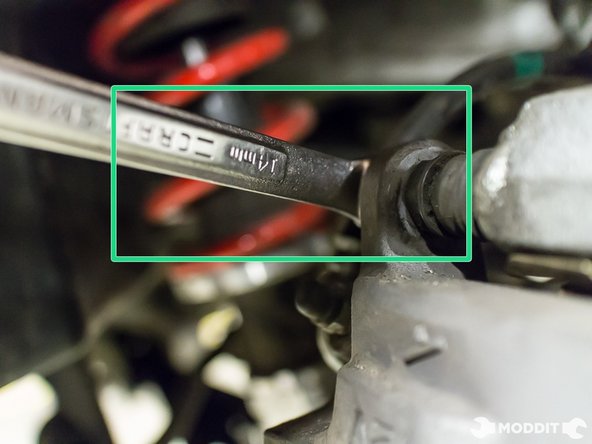
The First steps to changing the brake pads would be to get the 2 wheels in the air and take the wheels off of the car.
-


Changing your brake pads to a stronger compound will absolutely benefit the braking of your vehicle. Just be sure to follow manufacturer's break in procedures for the compound.
Changing your brake pads to a stronger compound will absolutely benefit the braking of your vehicle. Just be sure to follow manufacturer's break in procedures for the compound.
Cancel: I did not complete this guide.
One other person completed this guide.
