
Difficulty
Difficult
Steps
16
Time Required
01:00:00 - 01:30:00

User-Contributed Guide
This guide is not managed by the site's staff.
Quiz
0
Introduction
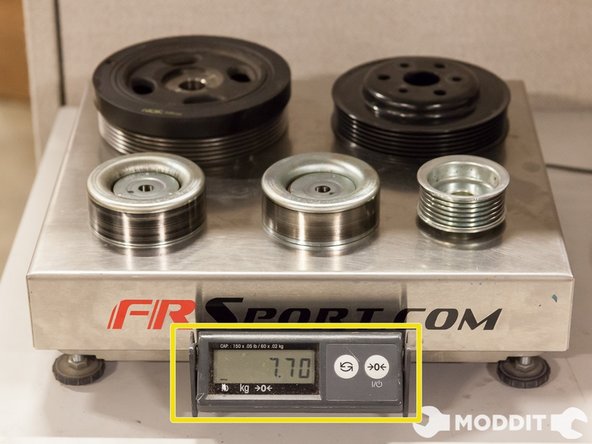
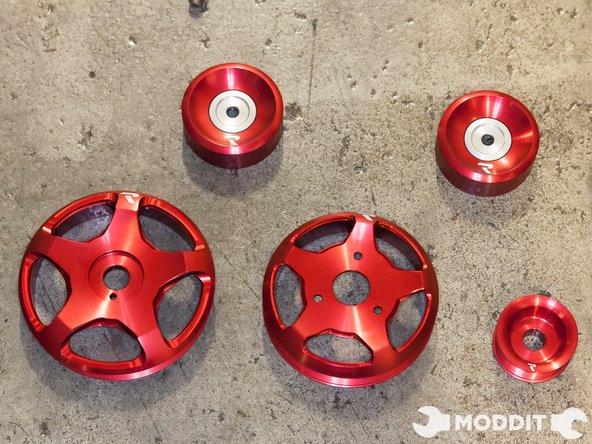
This write up will be a guide to the brave ones who decide they want to remove and install pulleys on their Subaru BRZ or Scion FR-S. The un-sprung difference in weight of the pulleys make a noticeable difference for the engine's responsiveness. It is definitely an affordable and fun mod.
Note: Since we are installing the S2 kit, we had to remove the two idlers. IF you are installing the S1 kit, you DO NOT need to remove the two idlers as they do not come in the kit.
Tools
Parts
No parts specified.
-
-
Place the transmission gear into the 6th gear position and apply the e-brake. If it's an automatic, please check the factory service manual for the proper locking procedures.
-
Refer to our BRZ Intake Removal Guide to remove the intake for an easier install.
-
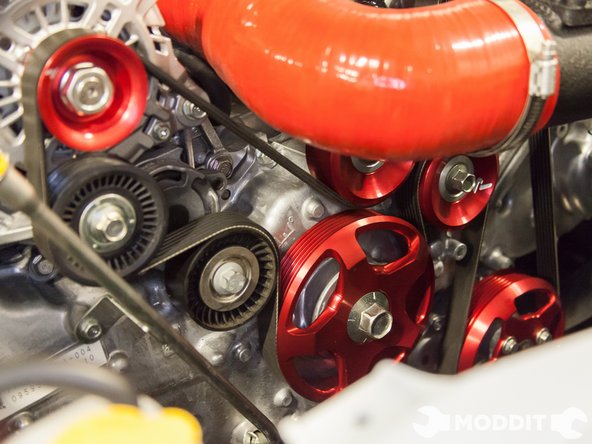
Also, before taking any pulley's off, do not forget to take a picture or draw out the orientation of the belts, so they can be re installed properly.
-
-
-
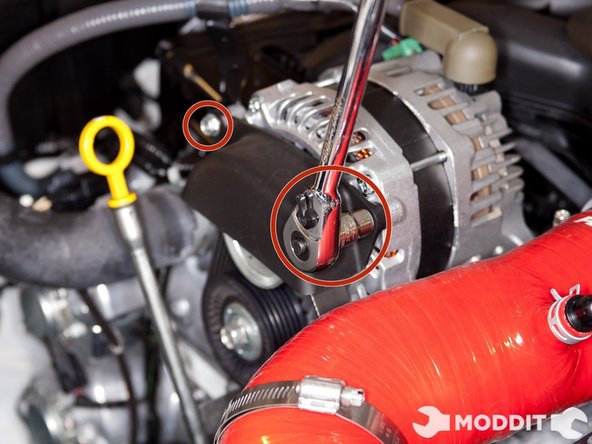
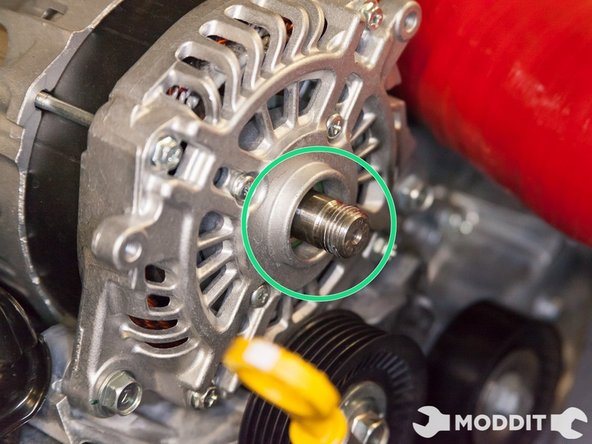
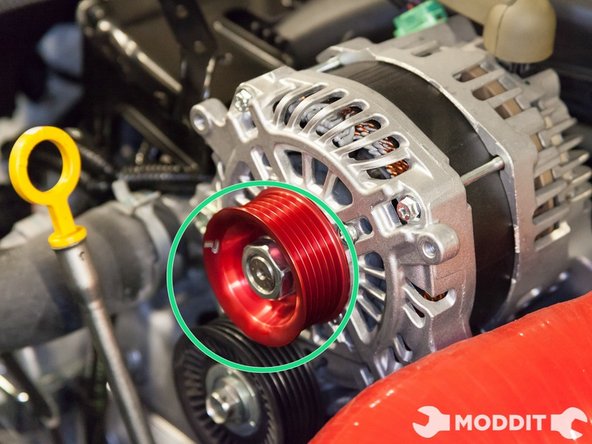
With a 10mm socket or wrench, remove the alternator cover before attempting to remove the alternator pulley bolt.
-
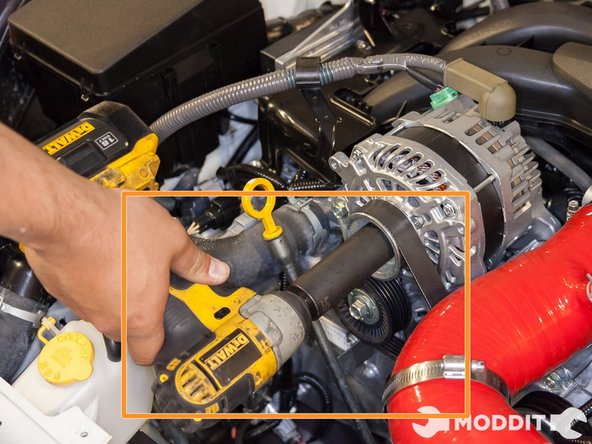
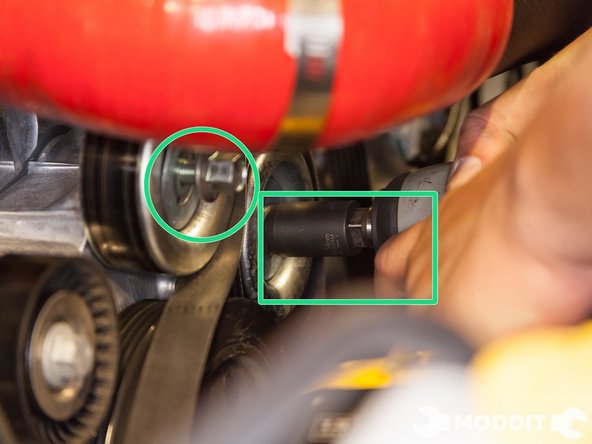
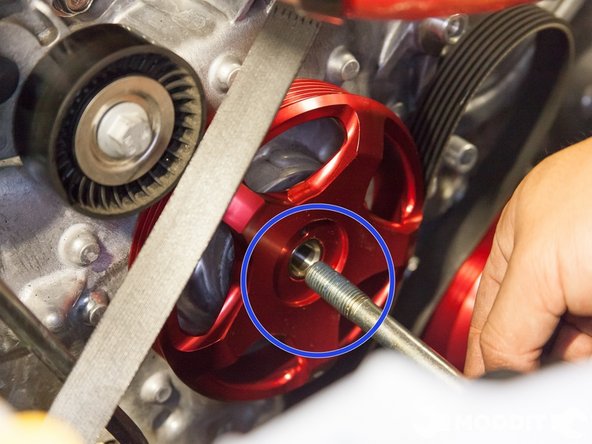
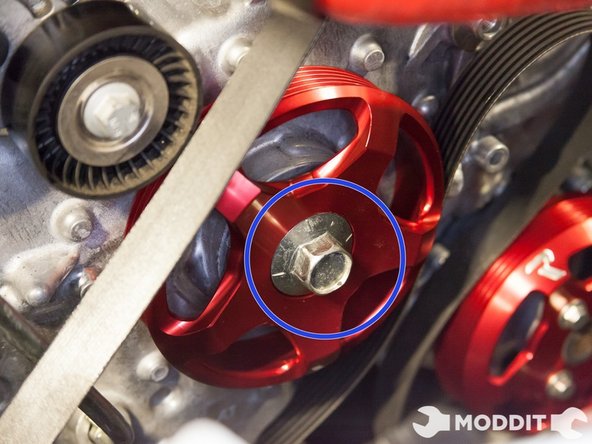
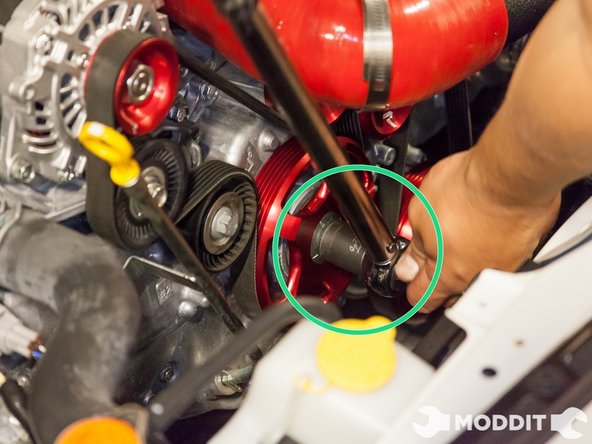
Once removed, use a 24mm socket and impact gun to now remove the loosen the alternator pulley bolt.
-
It is advised to use an Impact Gun for the alternator pulley removal because there is no other way to hold the pulley from spinning. The torque from the impact gun will remove the nut from the alternator without spinning it.
-
-
-
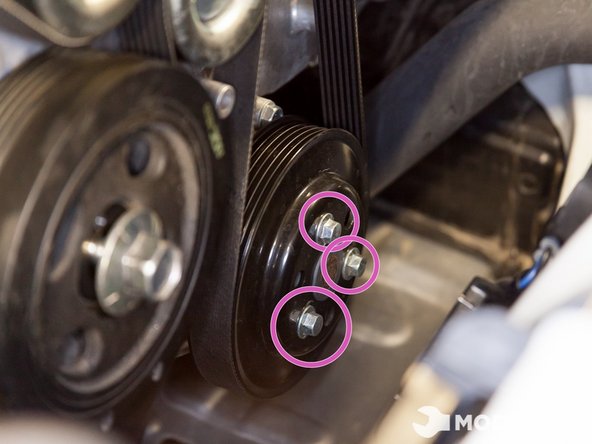
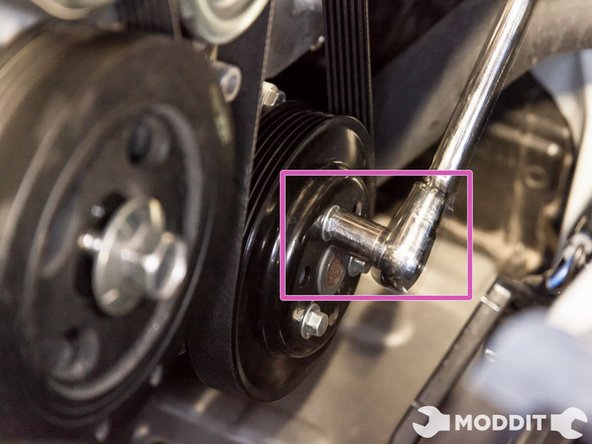
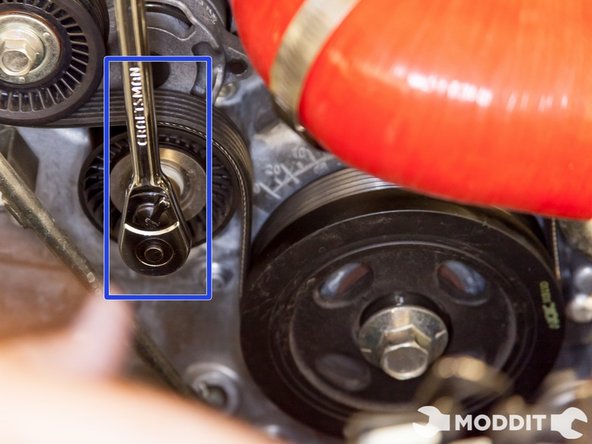
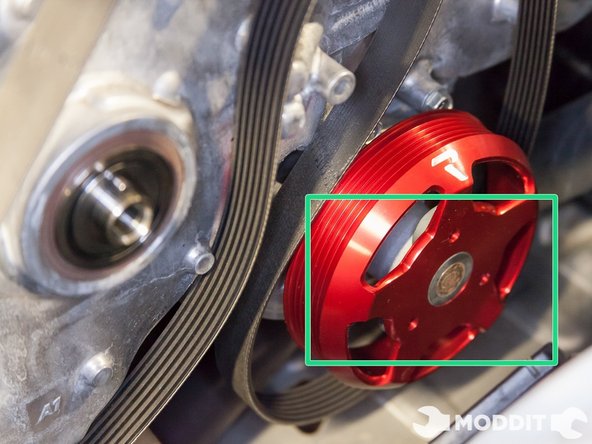
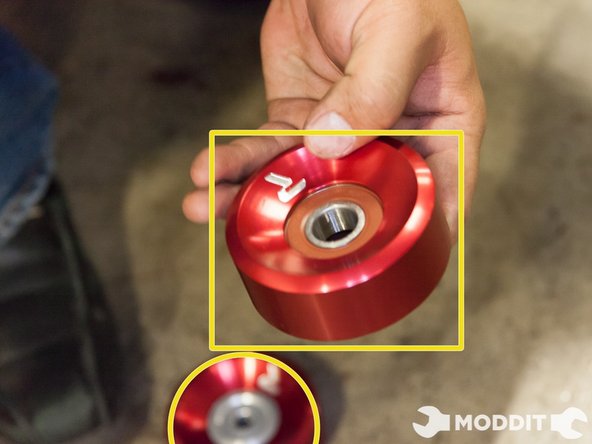
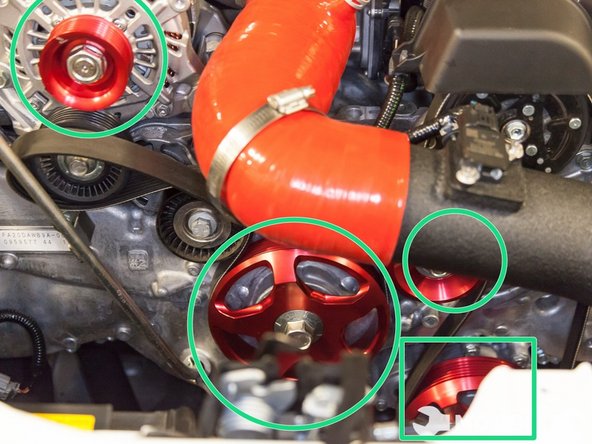
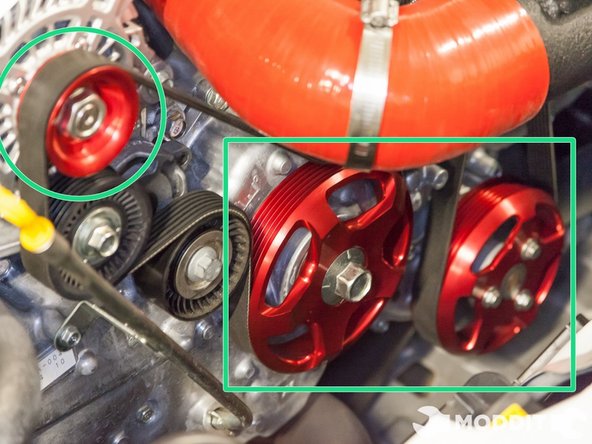
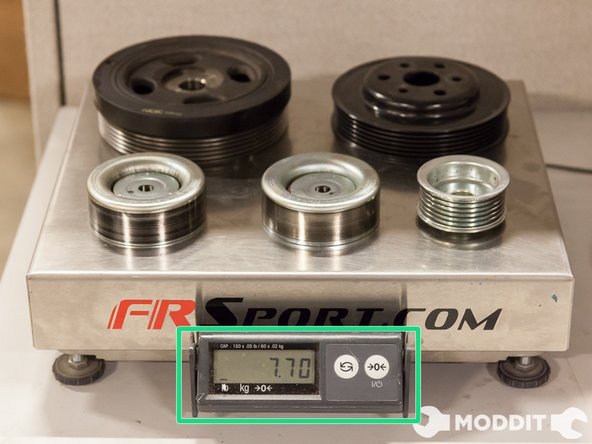
With all the pulleys loose, now remove each one: the crank pulley, water pump pulley, alternator pulley and both idler pulleys.
-
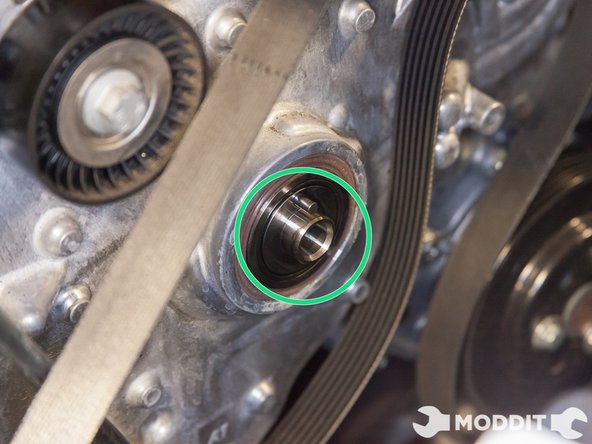
Note: When removing the crank pulley, do not allow the crank pulley hub to back out of the timing cover. If this occurs, you will need to align the internal keyway with the crankshaft before assembly.
-
-
-
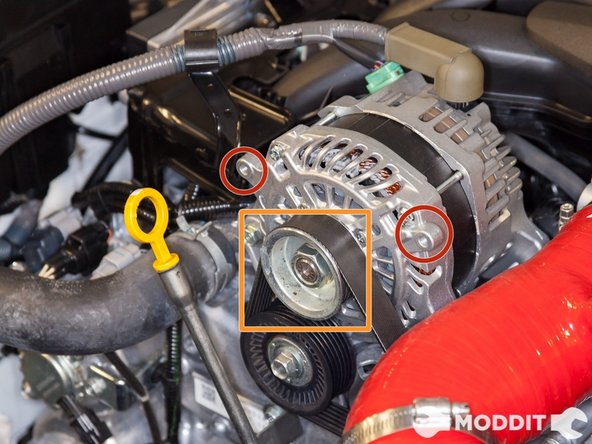
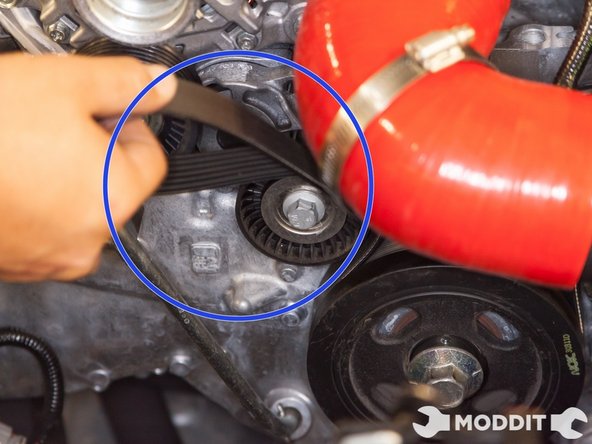
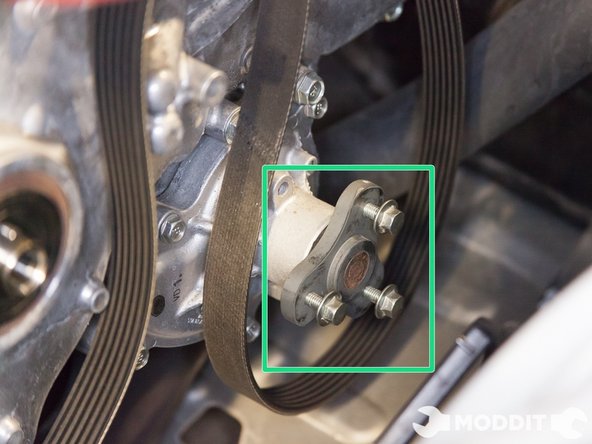
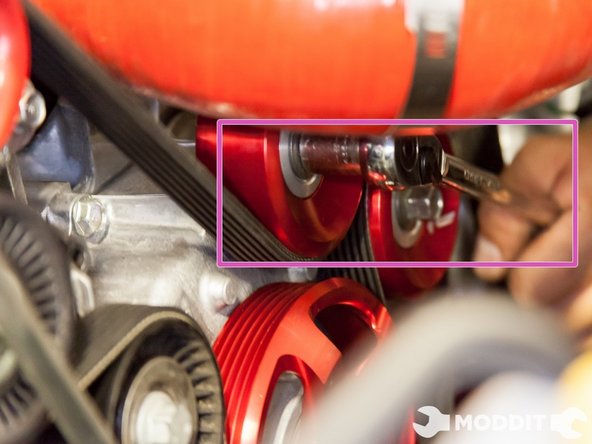
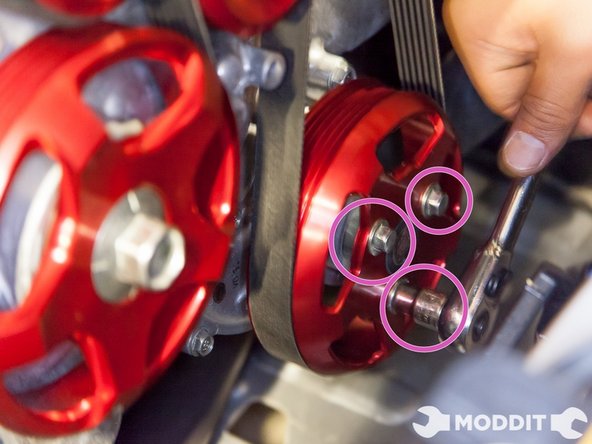
The removal of the stock idlers is not necessary for the S1 kit. Since we are installing the S2 kit, we have to remove the stock idler pulleys.
-
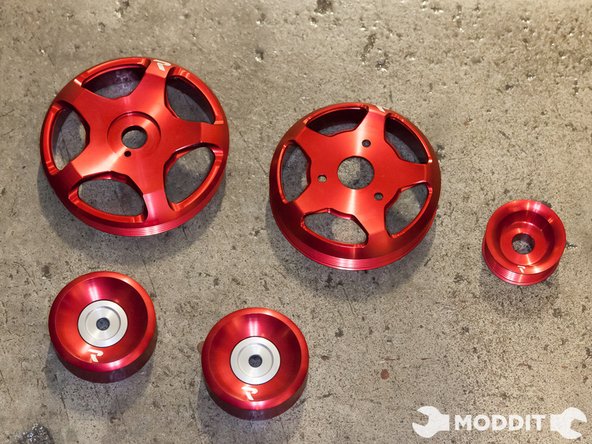
Carefully place everything in one place to keep the pulleys nice and neat. Depending on how you keep your hardware, its always good to organize them as well.
-
Disconnect the battery for your safety.
-
-
-
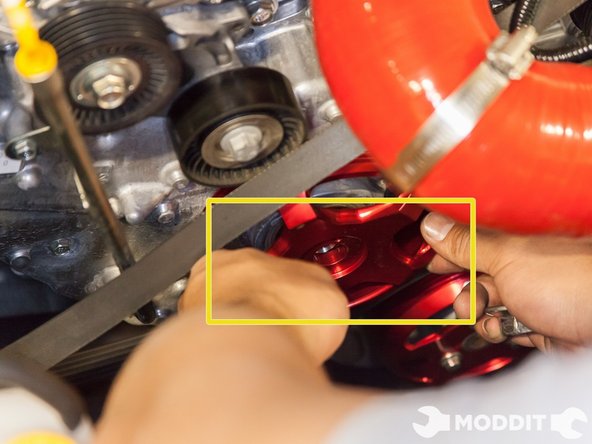
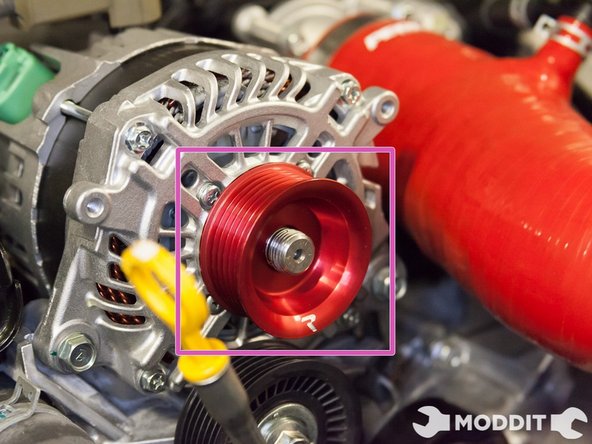
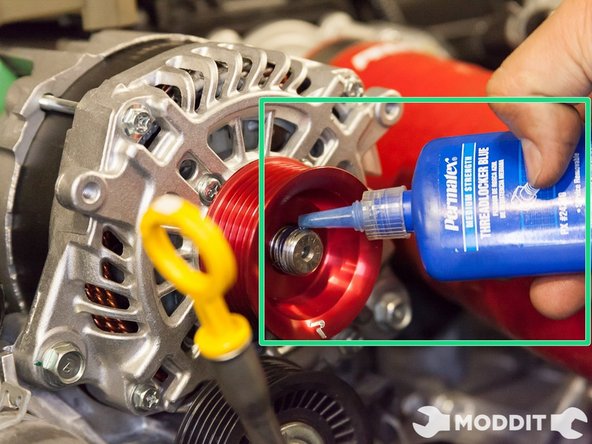
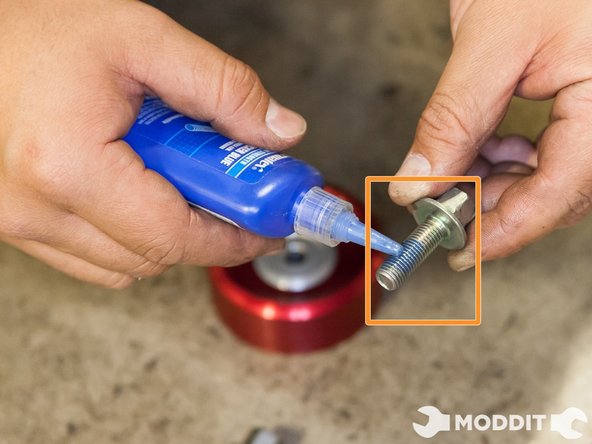
Tighten and torque all the pulleys to the recommended specs.
-
Note: For the crank pulley, torque to 94 ft/lbs.
-
Place the vehicle in Neutral gear position and rotate the crank to make sure the belts are seated properly before turning on the vehicle.
-
Reconnect the battery and start the car with the E-brake on and in neutral.
-


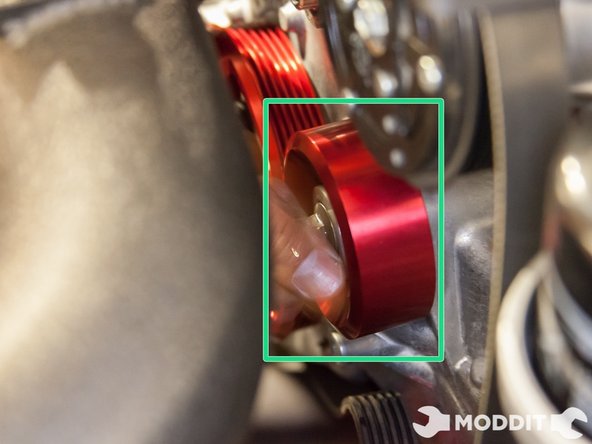
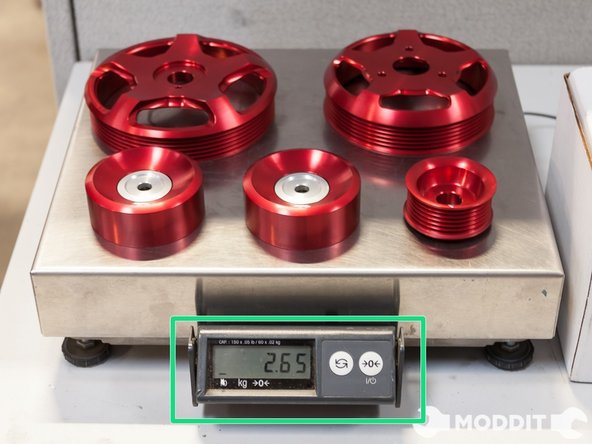
The installation of the light weight pulleys on the motor will definitely perk them up a bit. Just be sure that everything is torqued down, that way the engine runs smooth and well.
The installation of the light weight pulleys on the motor will definitely perk them up a bit. Just be sure that everything is torqued down, that way the engine runs smooth and well.
Cancel: I did not complete this guide.
One other person completed this guide.