
Difficulty
Difficult
Steps
18
Time Required
03:00:00 - 04:00:00

User-Contributed Guide
This guide is not managed by the site's staff.
Quiz
0
Introduction
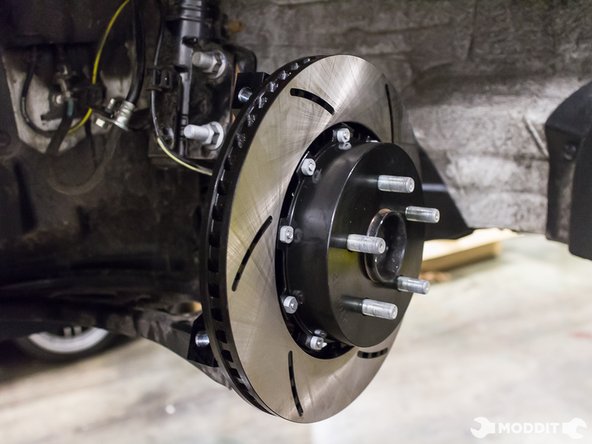
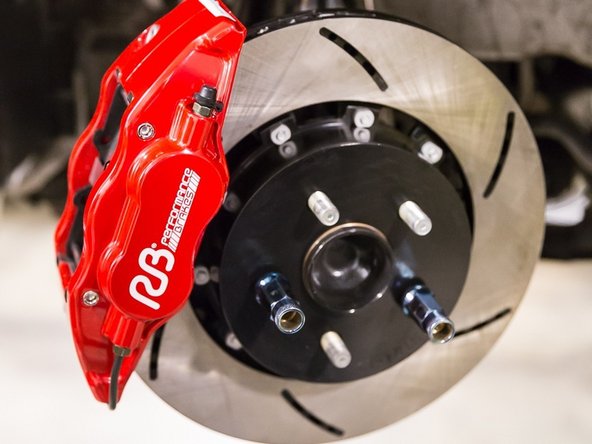
This write up will show the individual steps on replacing the OEM stock dual pot calipers to a bigger beefier 4 pot aluminum caliper. The RB performance caliper is not only lighter but also stronger. It is perfect for those who are looking to stop harder and increase brake performance.
Note: These calipers WILL NOT fit with OEM Stock wheels. Spacers will be needed if the spokes are hitting the caliper. For example, we needed 3mm spacers for the RPF1's to clear the caliper.
-
-
Major Warning: Be sure that your wheels will clear larger calipers. Request template from your authorized dealer. Brake kit will not clear factory wheels.
-
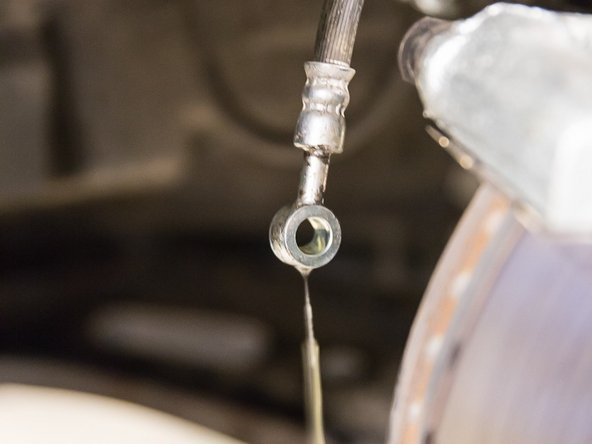
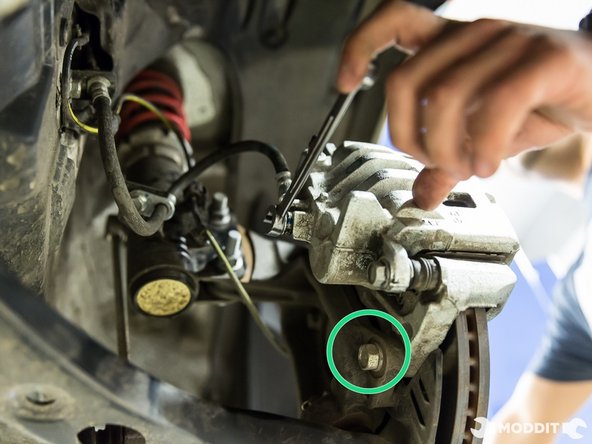
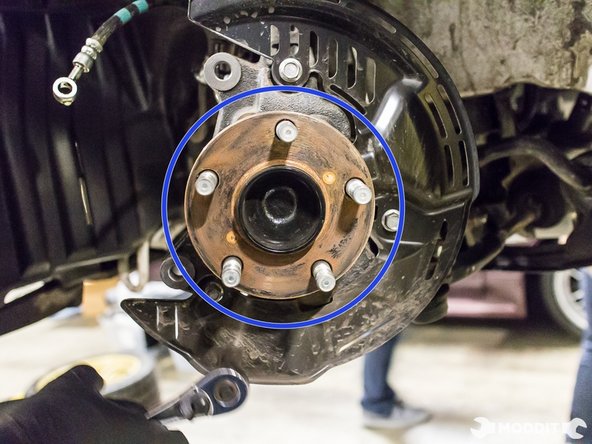
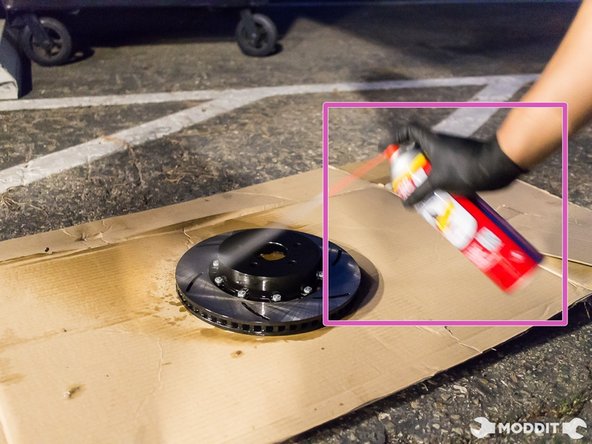
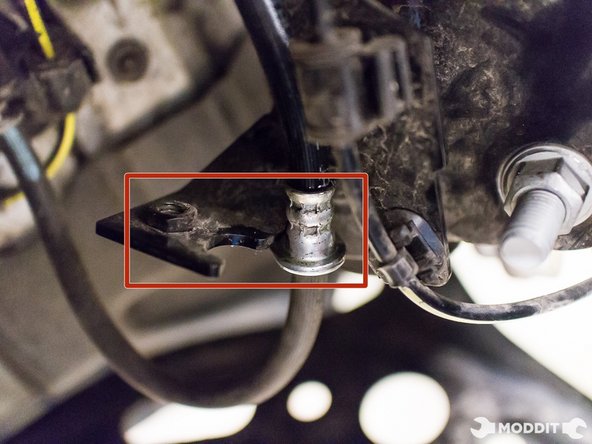
After you remove the wheel, place drip pan under brakes. This process will leak brake fluid. Brake fluid is very corrosive and be sure not to make any contact with paint.
-
-
-
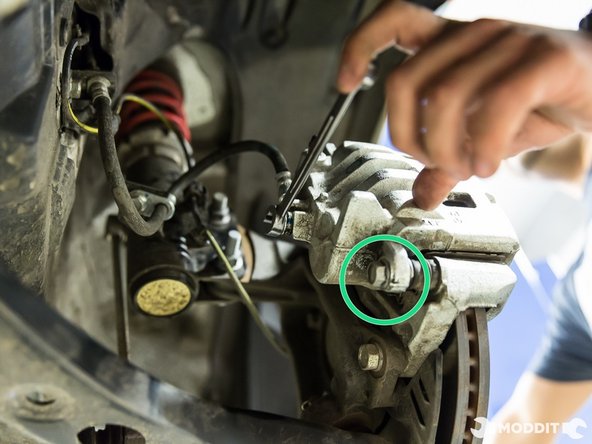
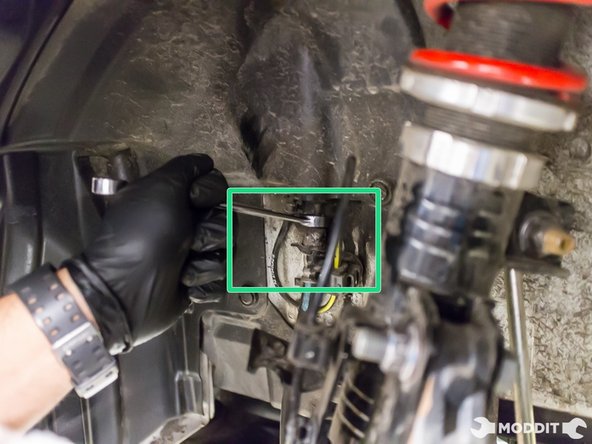
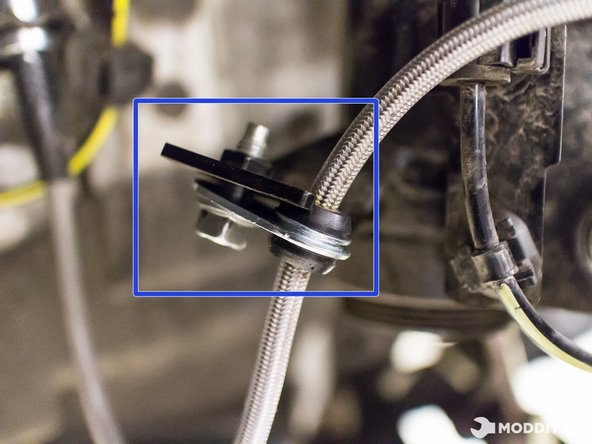
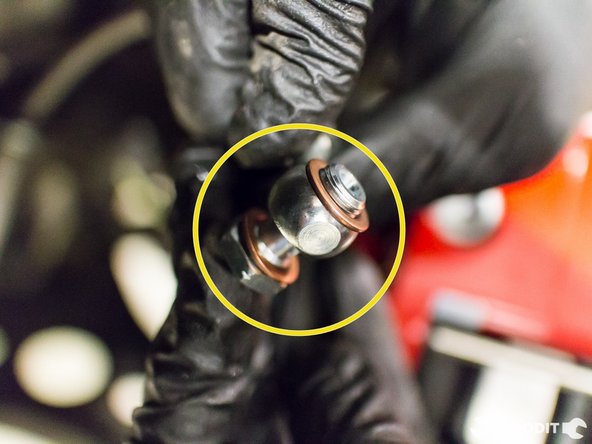
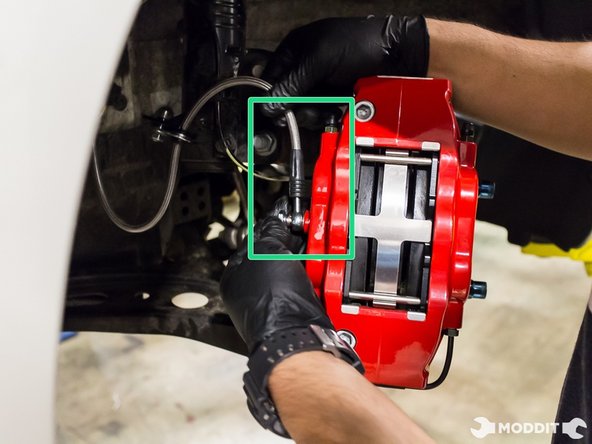
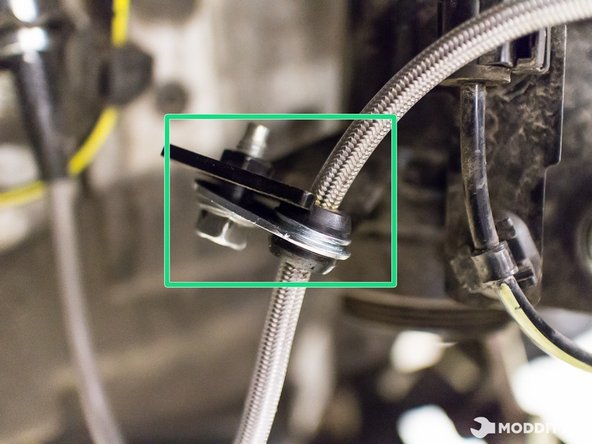
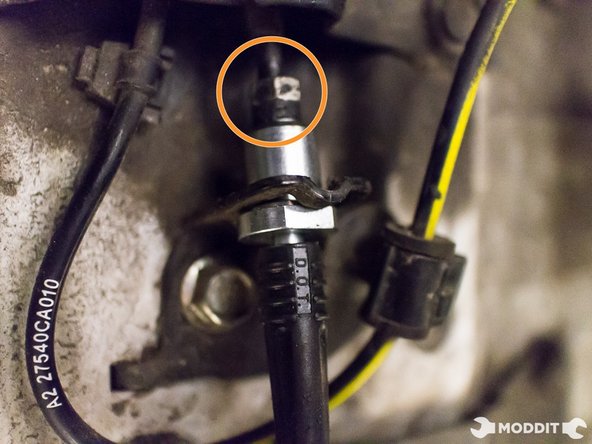
Install but do not tighten stainless steel braided line to factory hard line. This will allow you to set stainless steel braided brake line into correct position. Stainless steel braided brake line will have notched sections allowing it to mate to chassis bracket.
-
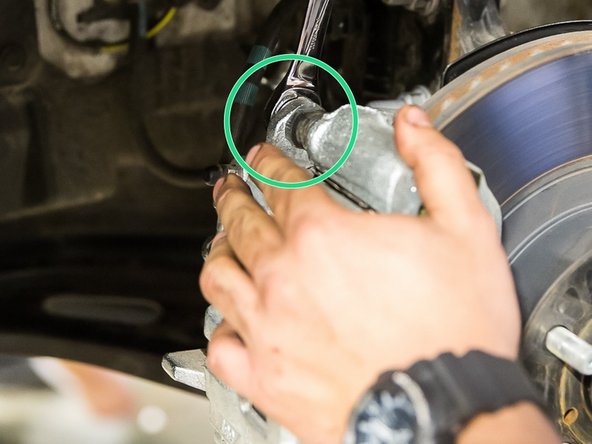
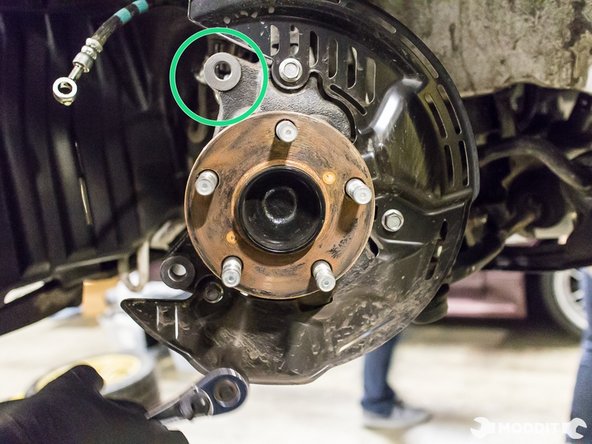
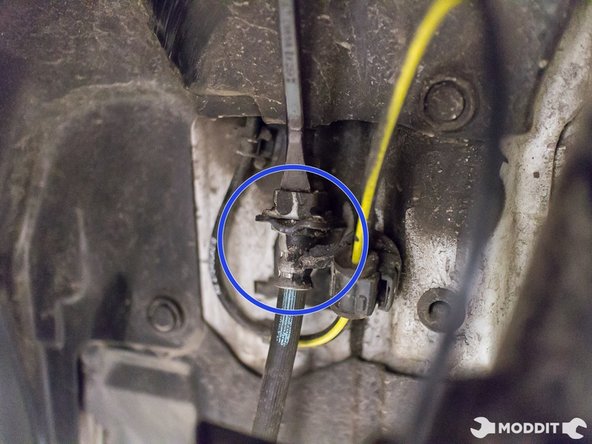
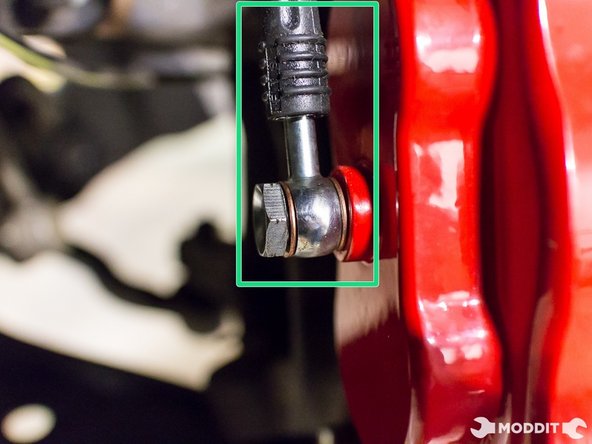
Secure but do not tighten stainless steel braided brake line to the suspension with the factory bolt.
-
-
-
Once you complete the installation, the system needs to be bled properly. Please follow the FSM for proper bleeding procedures.
-
After bleeding all 4 corners, put the wheels back on and go for a drive to mate the brake pads on to the rotor.
-
This brake setup will be exponentially better than stock. Be careful when enjoying them.
-


The installation of these brakes will ensure superior brake performance and longevity. Please enjoy these brakes in a safe manner.
The installation of these brakes will ensure superior brake performance and longevity. Please enjoy these brakes in a safe manner.
Cancel: I did not complete this guide.
One other person completed this guide.