
-
-
Step 1 Use a large sheet or heavy duty plastic to protect the work space/table.
-
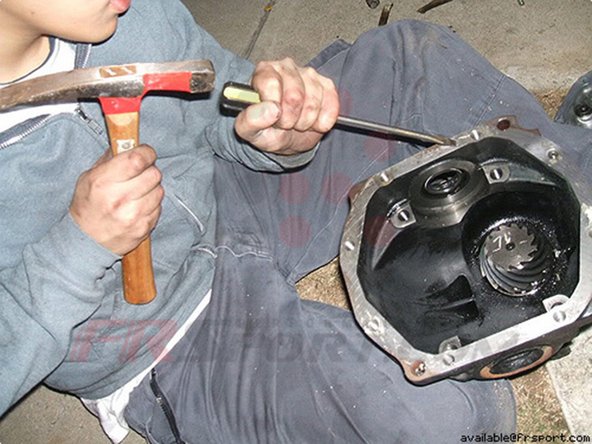
Step 2 Bring your differential over to your working station. Remove differential cover by unbolting the bolts in a crisscross pattern.
-
Using the 14mm ratchet. Image 1 What it looks like once it's revealed.
-
Image 2 Mark the axle shaft according to which side it came from.
-
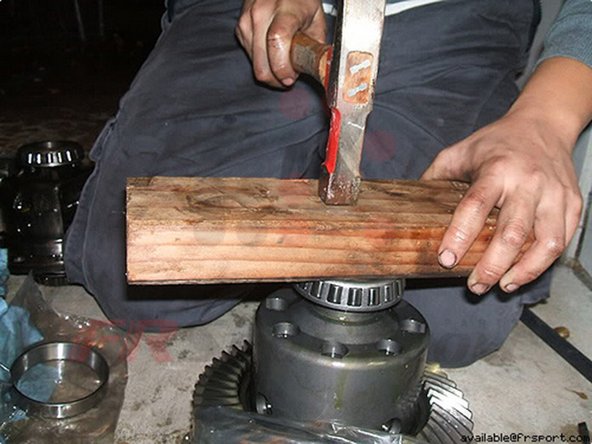
Image 3 Now carefully, bang off the axle shaft with a hammer. Careful not to hit the ring gear.
-
Once the axle shaft is off, place them on the clean table. You could put them on the side accordingly to where they came off on the table.
-
-
-
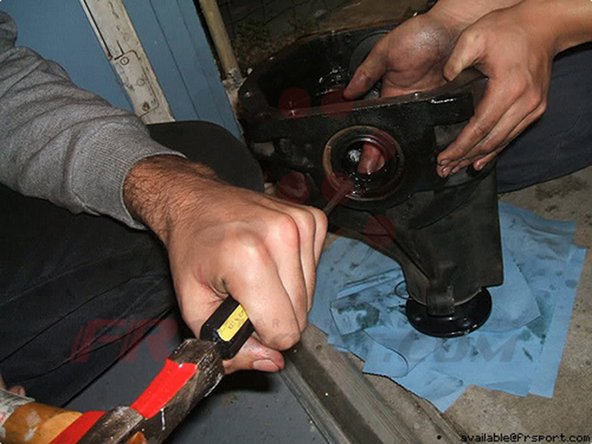
Step 3 Remove bearing cap bolts and bearing cap. Have a friend hold down the differential.
-
Keep the bearing caps according to which side and direction it came from.
-
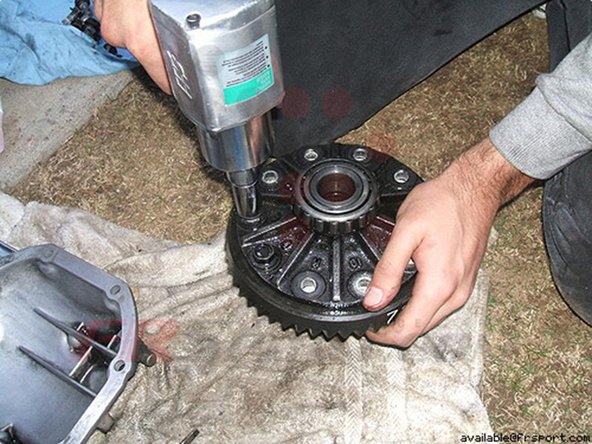
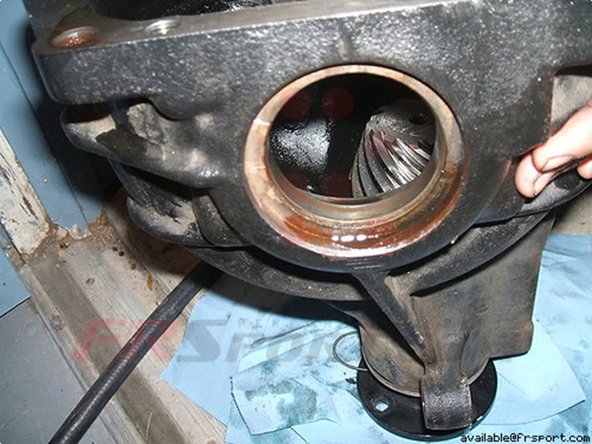
Step 4 You can use a wrench or a pry bar to remove the open differential. I used the wrench and hit one end with a hammer to pry it out.
-
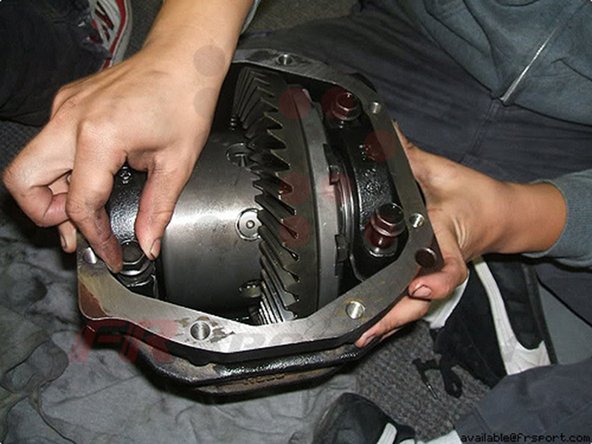
Image 3 What it looks like once it's removed.
-
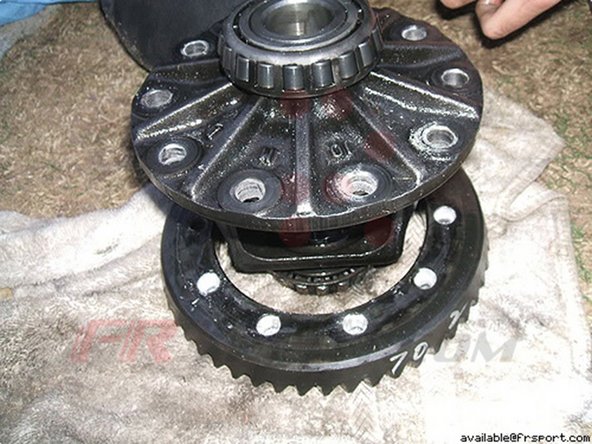
Be very careful, once the differential is out. Keep the spacers according to its exact order and side.
-
-
-
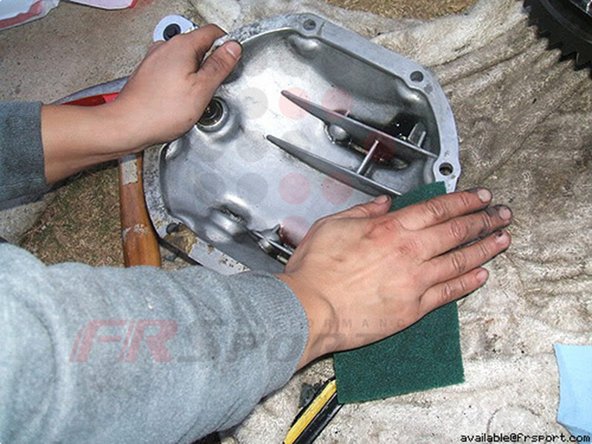
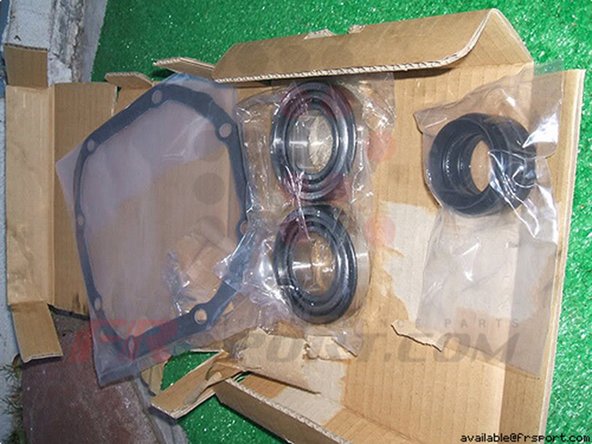
Step 5 With a hammer and flathead, chisel away the old gasket. I recommend to use a gasket scraper to avoid any seal failure or damage to the sealing area.
-
Do the same on the differential cover. Use Scotchbrite to remove the remaining gasket on the cover and differential.
-
Step 6 Spray the inside of the pumpkin with brake cleaner and clean the inside and differential cover.
-
-
-
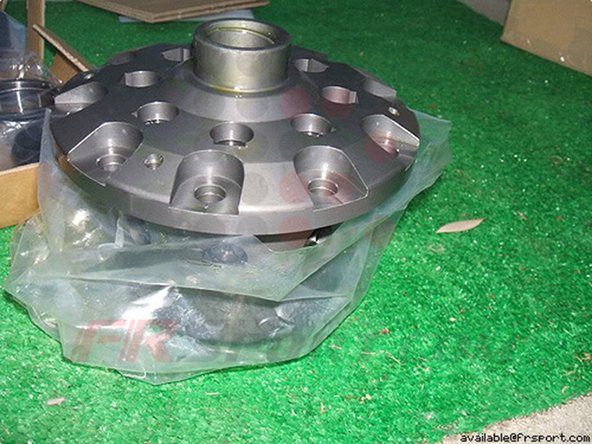
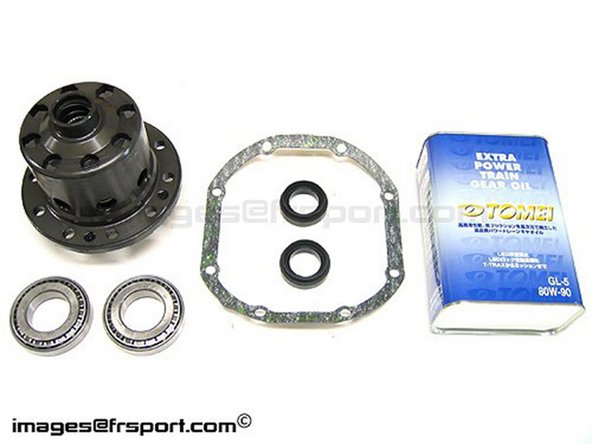
Step 11 Your new differential is ready to go in the pumpkin.
-
Put in the new differential, along with the new spacers provided with the new differential, and your ring spacer you saved previously.
-
Put in the spacers accordingly to its side.
-
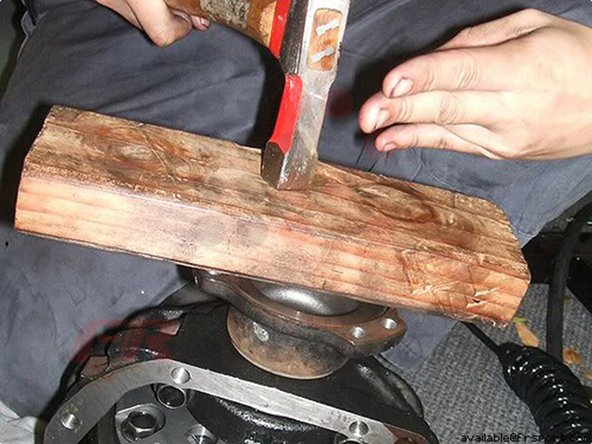
To get the new differential in all the way I used a piece of wood and a hammer so that new damage would be caused to the new differential.
-
Make sure it goes in evenly.
-
Spacers tend to tilt and move on their own, be sure that they stay in place to keep it all even.
-
Be careful to not hit the ring gear in the process.
-
Step 12 Place bearing cap back on, accordingly to its side. Bolt it back in with 65-72ft lbs tq.
-
-
-
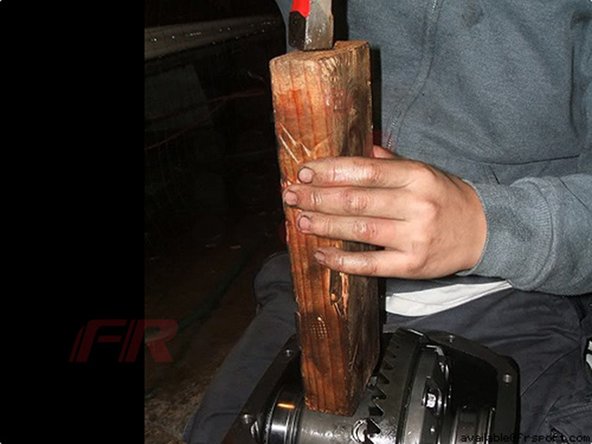
Step 13 Hammer in the axle shaft with a piece of wood in between, accordingly to which side it came from.
-
Step 14 Place gear marker on the face of the ring gear.
-
Rotate the shaft a few times so that it hits the marker.
-
Make sure it hits dead center of the ring gear.
-
If it doesn't you will need to buy adjusting shims of different sizes to move the differential either left or right.
-
Step 15 The differential is ready to be installed back on the car.
-
Installation is opposite of removal.
-
-
-
Break In Procedure: Find an empty parking lot.
-
Do Figure 8 in the parking lot. Go about 10 mph on the straight away, and clutch in around the turn.
-
When you get back on the straight away, release clutch pedal and get back up to 10 mph.
-
Do this for 30 minutes. Once 30 minutes is up, bring it back home and change fluid with the fluid your differential came with.
-
Lastly, drive for 60 miles, not exceeding the 40 mph speed limit.
-


Post install review: The LSD works like a champ. It locks in perfectly and nicely. It took us 10 hours for the whole process, including break-in procedure. Special thanks to FRSport.com.
Have fun and drive safe!
Post install review: The LSD works like a champ. It locks in perfectly and nicely. It took us 10 hours for the whole process, including break-in procedure. Special thanks to FRSport.com.
Have fun and drive safe!
Cancel: I did not complete this guide.
One other person completed this guide.
