Introduction
This front pipe removal will show the few steps it takes to remove the front pipe from the Subaru BRZ - Scion FR-S. The front pipe removal is crucial to the over pipe exhaust install or a new aftermarket front pipe install.
-
-
Initially, before starting on any project on the front of the car, you would want to get it in the air. Supported by Jack stands.
-
There are various bolts on the back under tray that need to be taken off with a 10mm socket
-
There are 11 Bolts that have to be taken off to remove the black under tray.
-
-
-
After getting the rear under tray off, its time to move on to the front under tray.
-
Theres 7 black clips that require a flat head to pop out. Be careful not to break the head on these. Once they pop out, just pull them out of the hole.
-
After the Clips are out, go ahead and use the 10mm socket to get the bolts out. There should be (8) 10 mm head bolts holding up the under tray.
-
Once those bolts are taken out, the under tray will drop. Be careful not to damage the tray as it is a key item in the undercarriage of the vehicle.
-
-
-
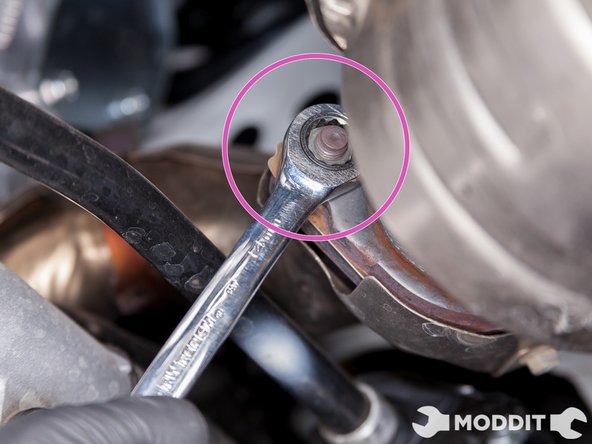
First step is to unbolt the nuts from the front pipe that connects to the cat back part of the exhaust. Keep these, as they will be reused later on.
-
-
-
Caution, depending on your region's weather condition, oxidation must make it difficult to remove nuts.
-
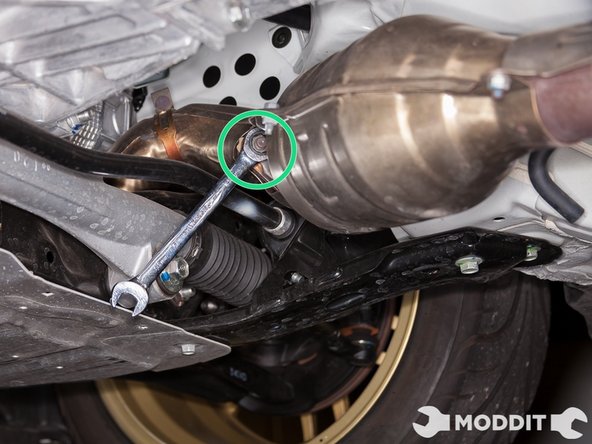
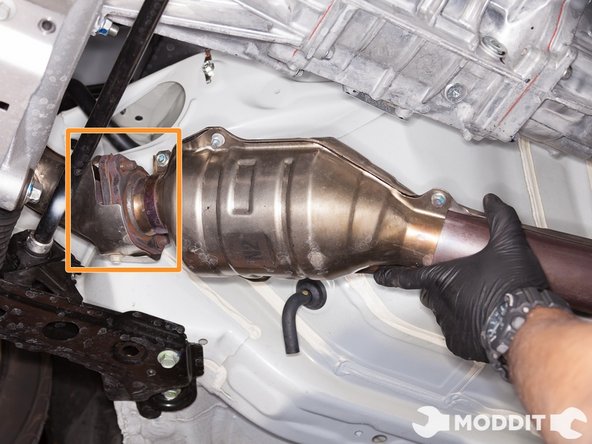
Using a 14mm wrench, remove the two nuts holding the frontpipe to the overpipe.
-
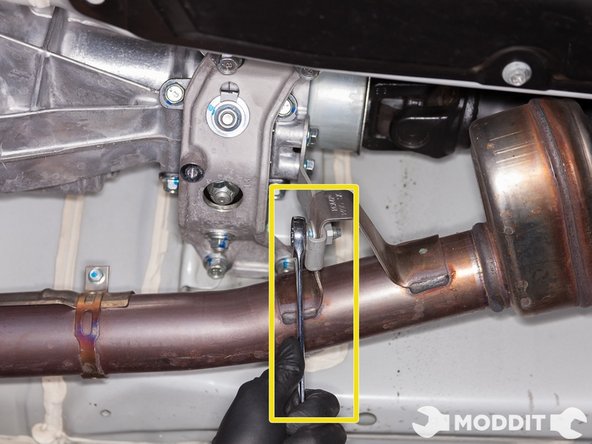
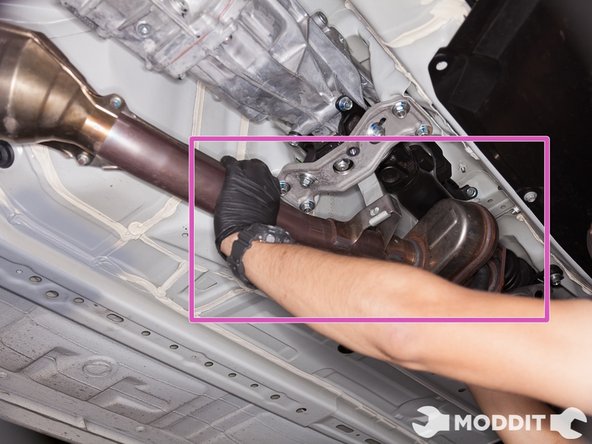
Utilizing a 14mm wrench, remove the bolt supporting the front pipe to the transmission mounting bracket.
-
-
-
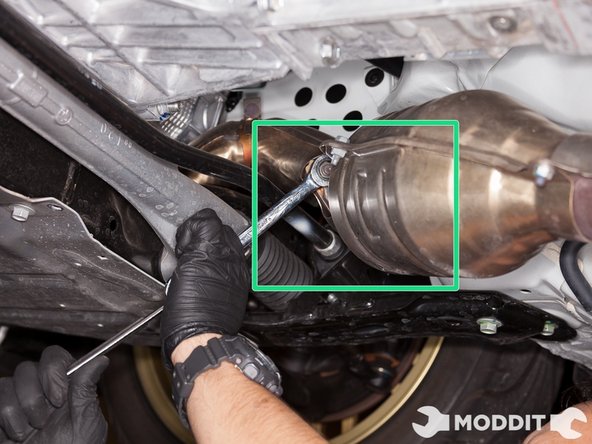
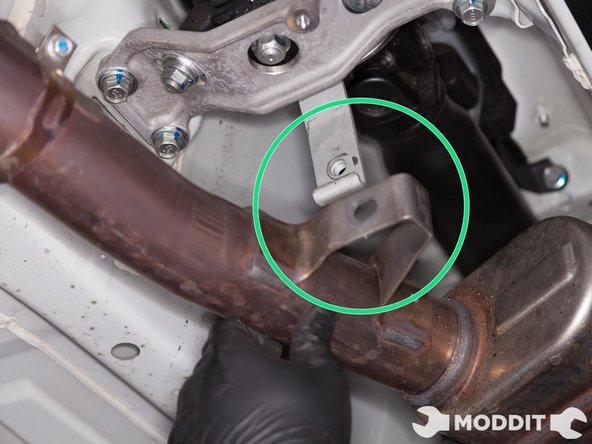
With the front pipe being supported by the hook on the center bracket, separate the front pipe from the catback.
-
Remove front pipe from center bracket. Some pressure on the bracket may be required.
-
Front pipe can now be separated from the overpipe studs.
-
-
-
Now that you have the Stock front pipe out, you are now ready for the install of the replacement front pipe, or any other exhaust component.
-